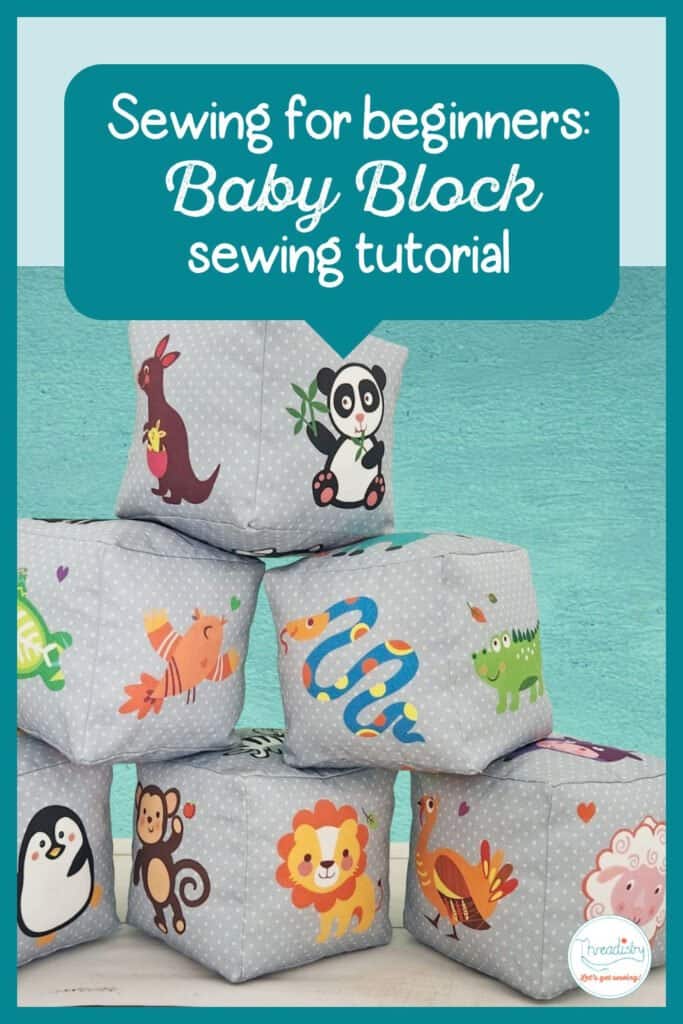
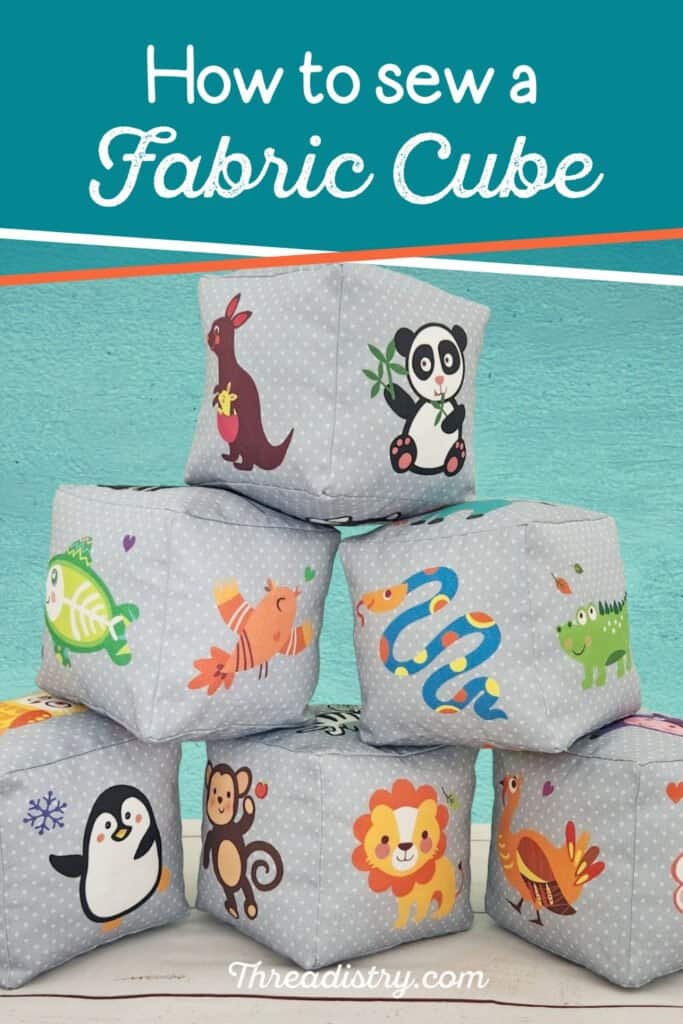
How to sew a cube – quick and easy sewing tutorial
Follow this step-by-step tutorial for how to sew a cube or fabric baby blocks.
I love sewing for babies. The projects are small, quick and easy and oh so cute!
When sewing baby shower gifts, I’m always looking for ideas that are a little bit different (but still useful for Mum and Bub). Fabric baby blocks are such a fun gift to sew, and a great scrapbuster too!
Disclosure: This post contains affiliate links. If you purchase after clicking these links, Threadistry may receive a small commission, at no cost to you.
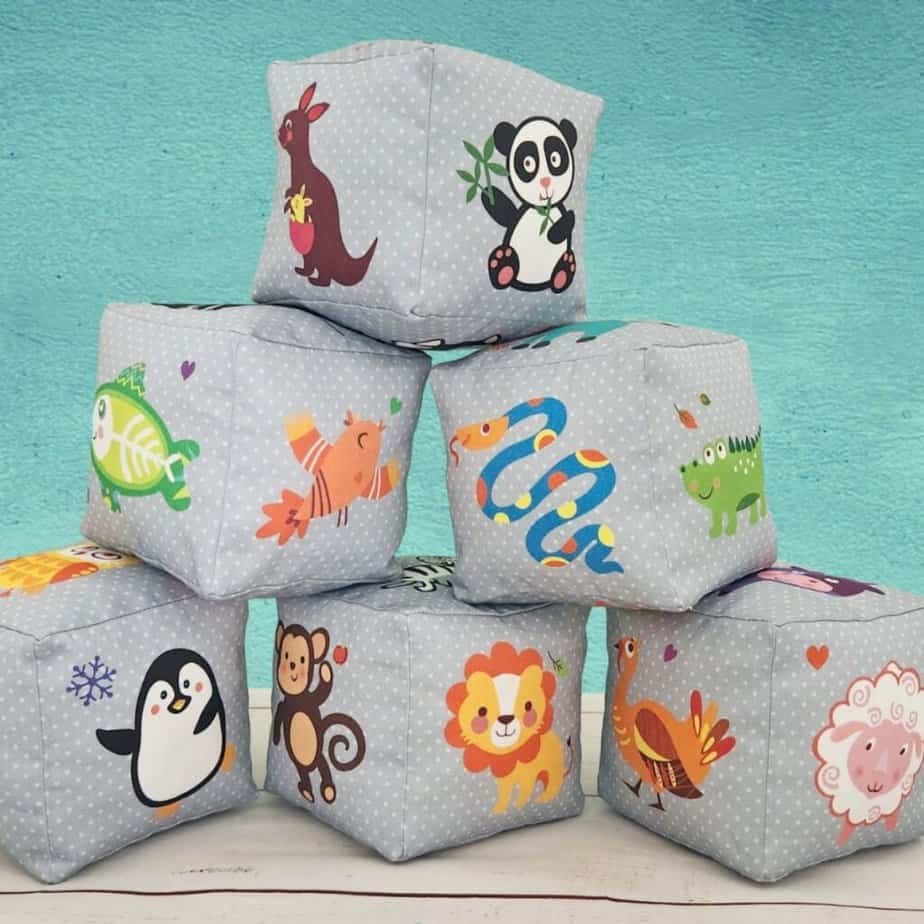
Somewhere in my craft room, I have a set of I-Spy fabrics that I was going to use for my blocks, but somehow they’ve gone missing. Instead, I bought this fun charm pack from LaLiKul on Etsy (which comes precut).

You can use different textures for each side to create a sensory toy. Here are some ideas:
- Minky, fleece or fur for something fluffy and soft to touch,
- Satin or silk for something smooth and cool
- Rough home decor fabric
- Add crinkle material or rattle box for sound effects
Or you a different colour on each side to create a rainbow block. Or use a single colour for each block and make one in every colour of the rainbow.
For very young babies, black and white fabric with bold patterns would be another fun idea for DIY baby blocks.
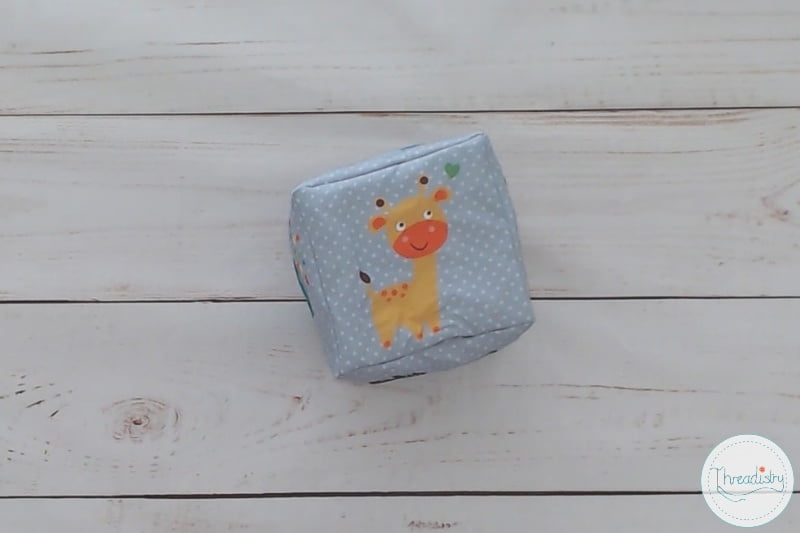
How to sew baby blocks (fabric cube toy)
Supplies
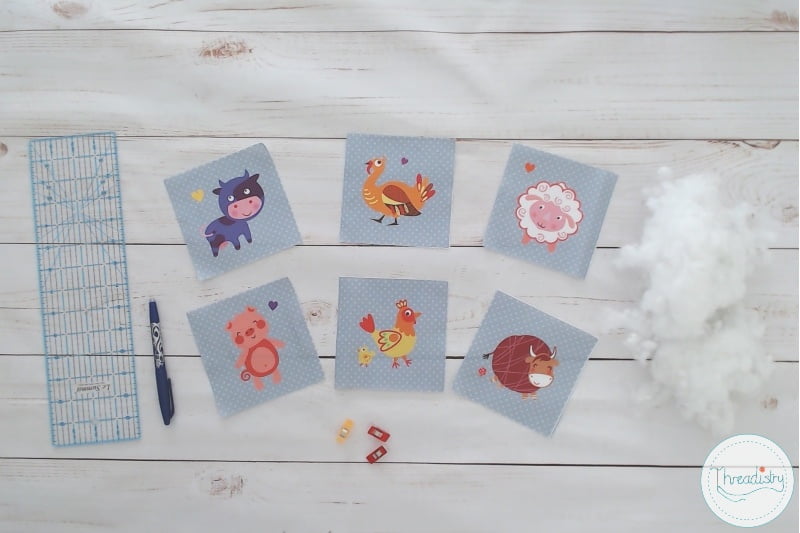
- 6 squares of fabric (I used these 5-inch precut charm squares)
- Polyfill or other stuffing
- General sewing supplies (sewing machine, coordinating thread, scissors, pins etc)
Instructions
Watch the video or scroll down for the photo tutorial:
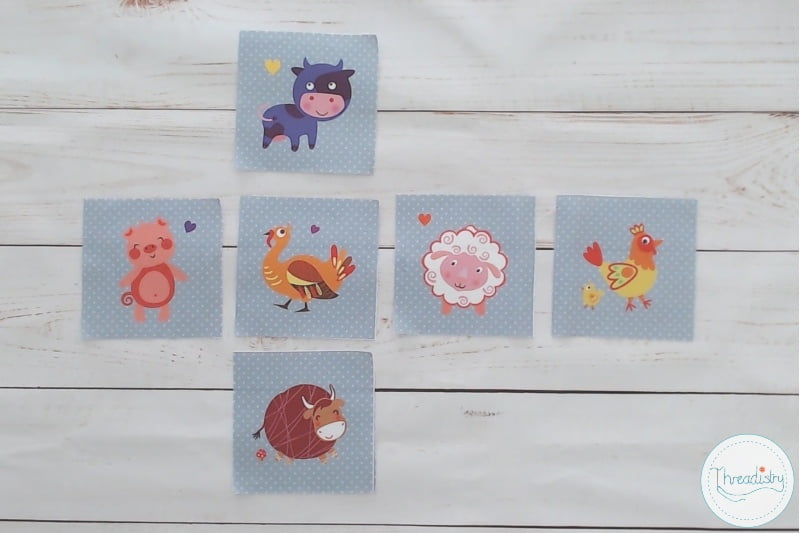
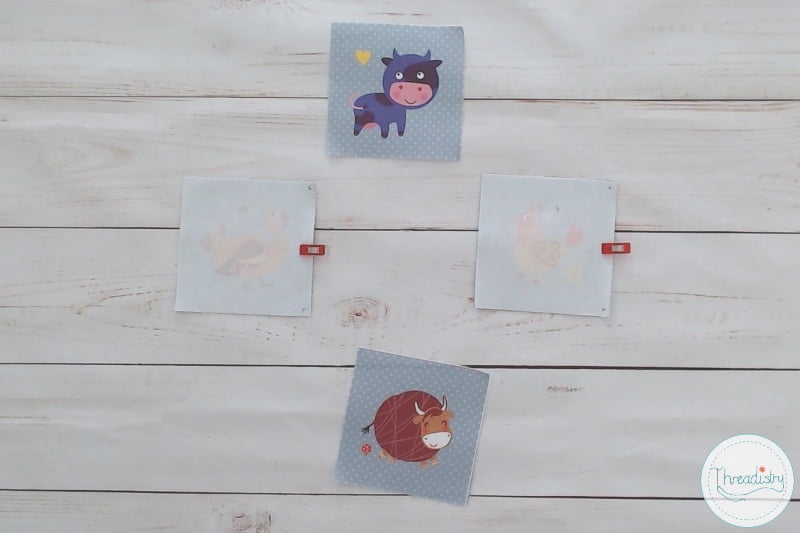
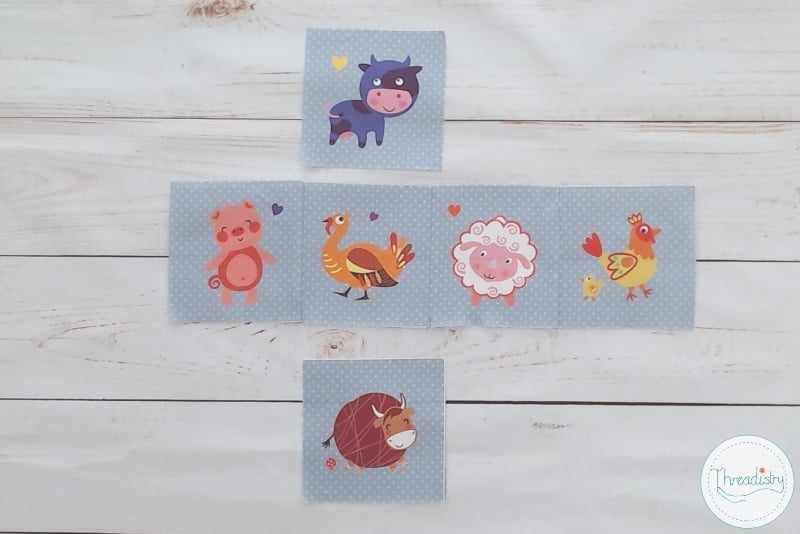
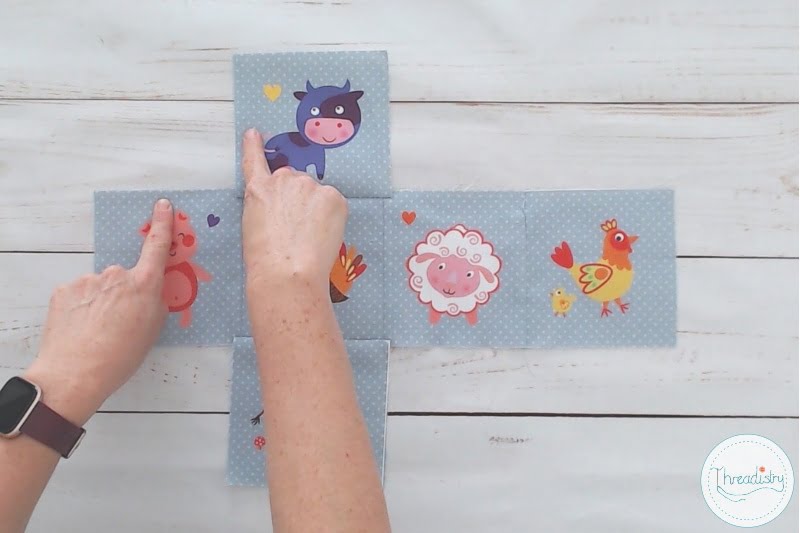
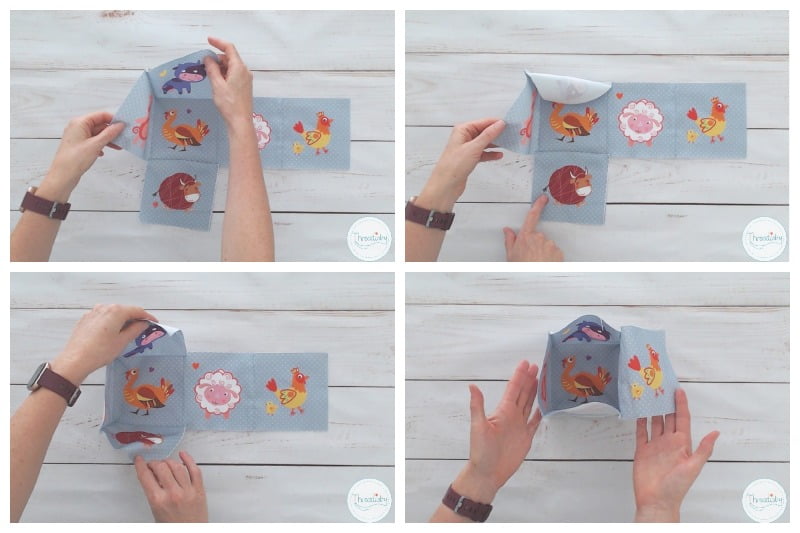
Step 1: Arrange your fabrics in a t-shape.
If you are using 3 fabrics and you don’t want the same fabrics next to each other, lay them out like this:

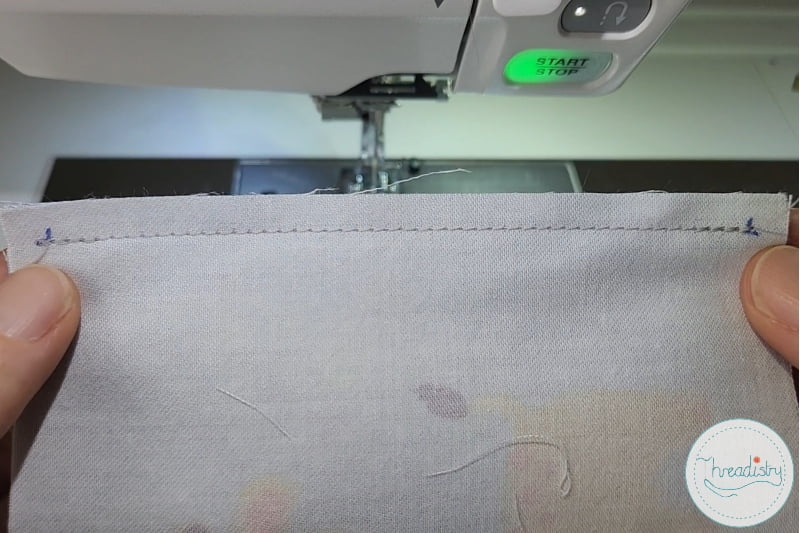
Tip: To sew a box corner, you will start and stop each seam a quarter of an inch from the edge of the fabric. You can use guides on your needle plate or mark the start and end of the seams on your fabric.

Step 2: Place the fabric squares along the centre of the T right sides together in pairs. I’ve put a clip on the sides to sew.
Mark the start and end of the seams a 1/4 inch away from the edge of the fabric, and sew the pieces together.
Step 3: Place the two pieces you just sewed right sides together, mark the start and end of the seams again and sew together (the side with the clip).
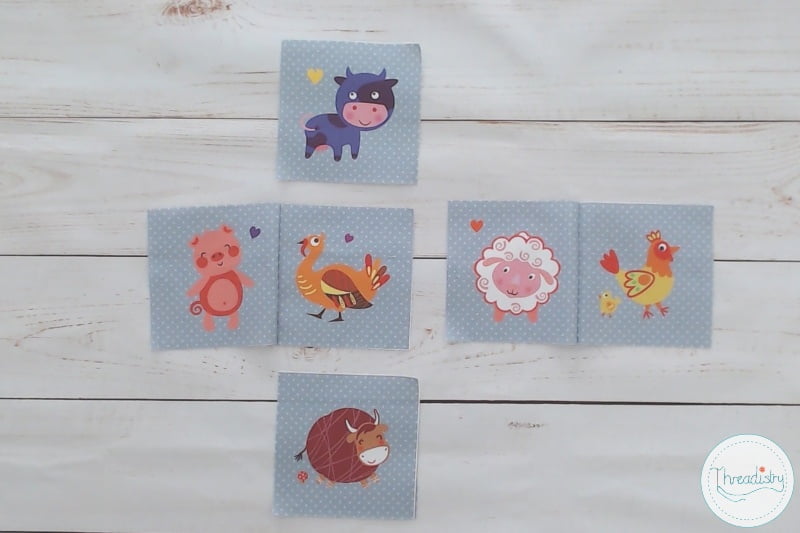
Step 4: Press all the seams. For the square second from the left (that will have the top and bottom square attached – the turkey in my block!), press the seams away from that square.
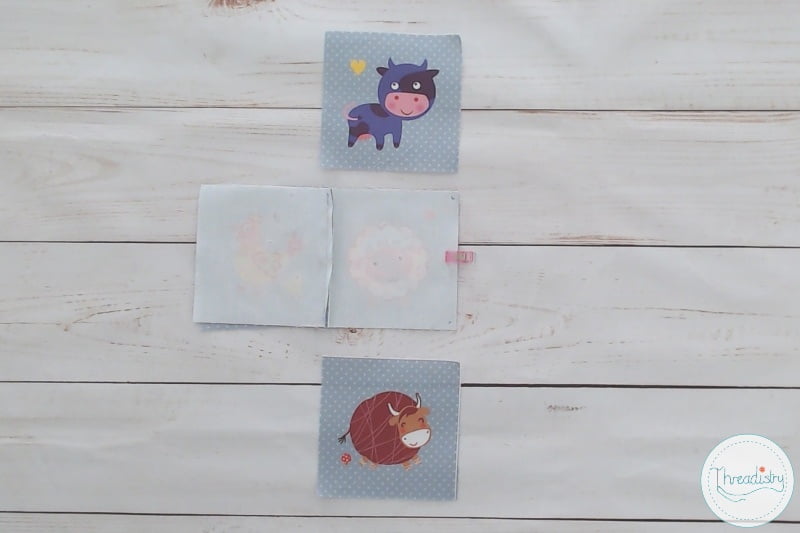
Step 5. Sew the top and bottom pieces to the strip of fabrics, right sides together. Start and stop each seam 1/4 inch from the edge of the fabric. Make sure the seam allowances for the other squares are folded out of the way. Press the seams.
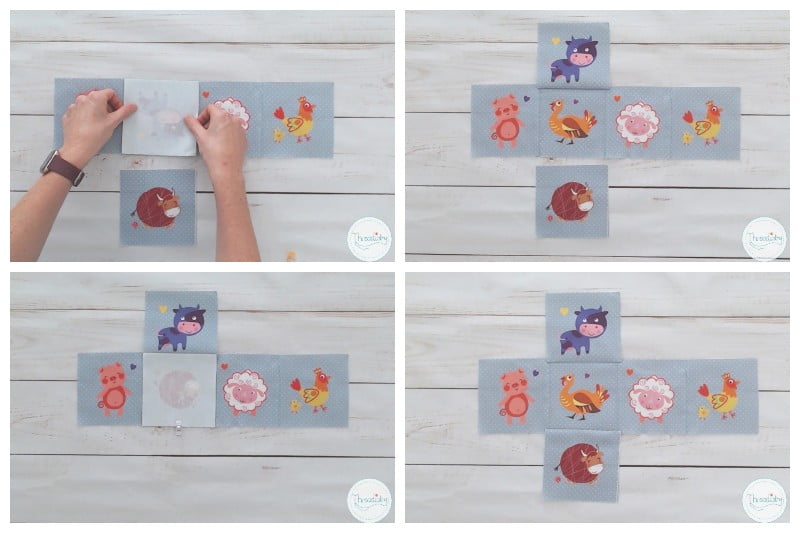
Note: It’s easiest to sew this seam with the strip of four squares on top, so you can start and stop in the same spot as the previous seams.
Step 6: Sew two adjacent sides together to start to create a cube. Start sewing where the two previous seams meet and finish 1/4 inch from the edge of the fabric.
Make sure the other sides and seam allowances are out of the way:
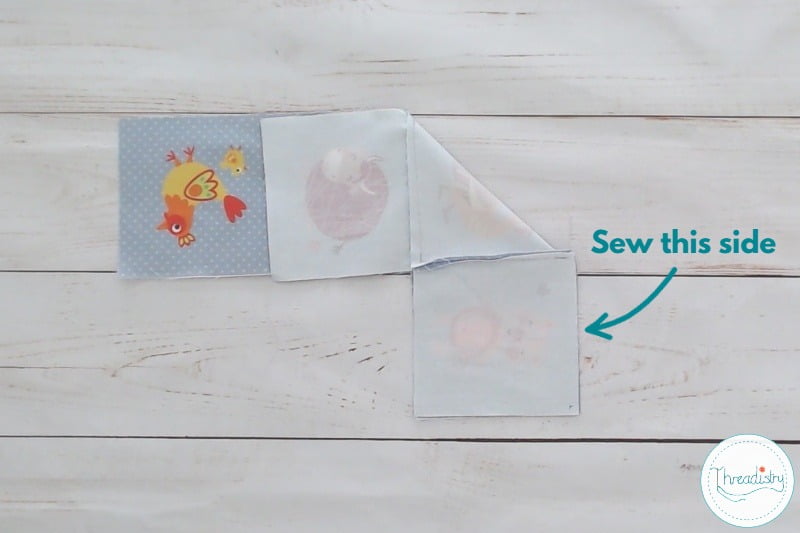
Step 7: Sew the other 3 sides together to form a cube with a flappy lid.
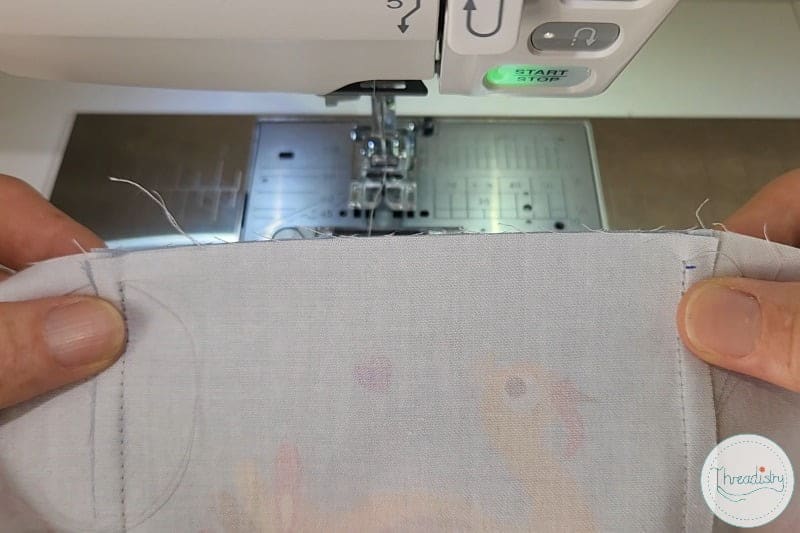
Step 8: Sew two sides of the top “flappy” piece, right sides together, starting and stopping where the side seams end (1/4 inch from the fabric edge).
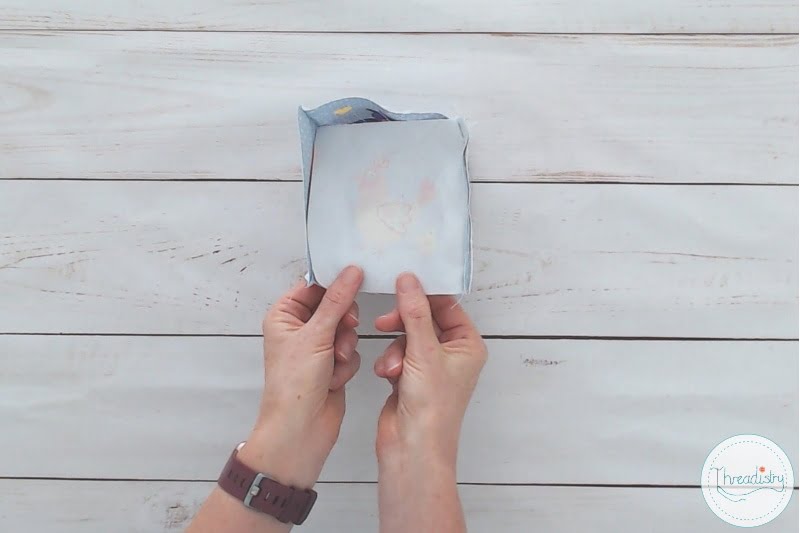
Step 9: On the final side of the top piece, stitch the seam right sides together, leaving a 1.5 inch gap. Turning and sewing into the seam allowance (see photo below) will make it easier to fold in your seam allowance when you stitch the opening closed.
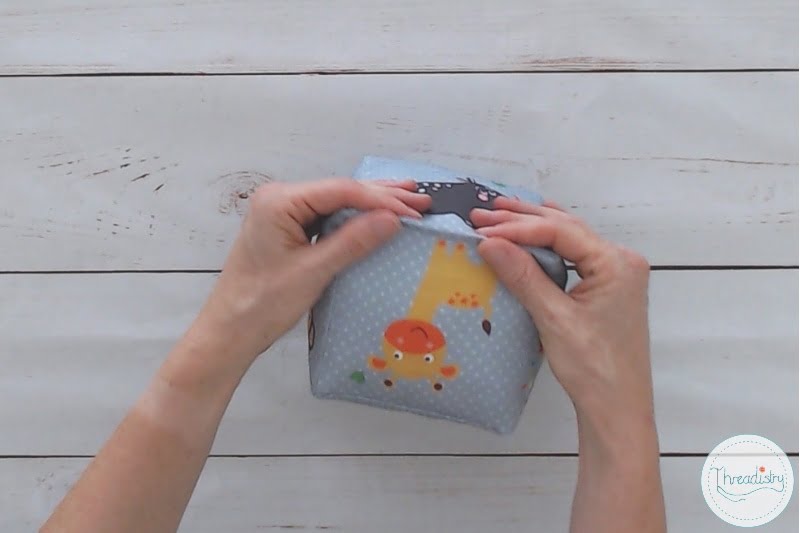
Step 10: Turn the cube right side out through the opening. Gently ease out the corners using a knitting needle or chopstick (being careful not to poke a hole in the fabric).
Step 11: Stuff the cube with polyfill or other stuffing.
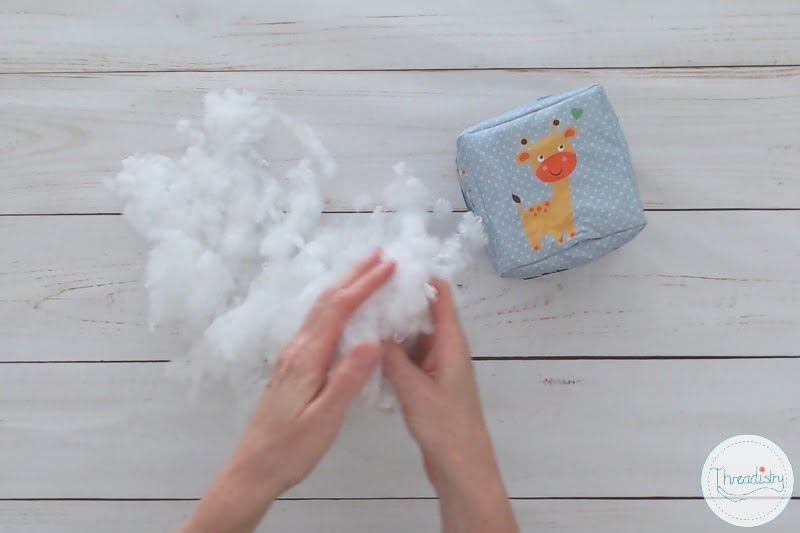
Tip: Break the polyfill up into small pieces before stuffing to prevent lumps. I like to lightly fill my cubes, so the shape isn’t distorted and they are easy for a baby to pick up.
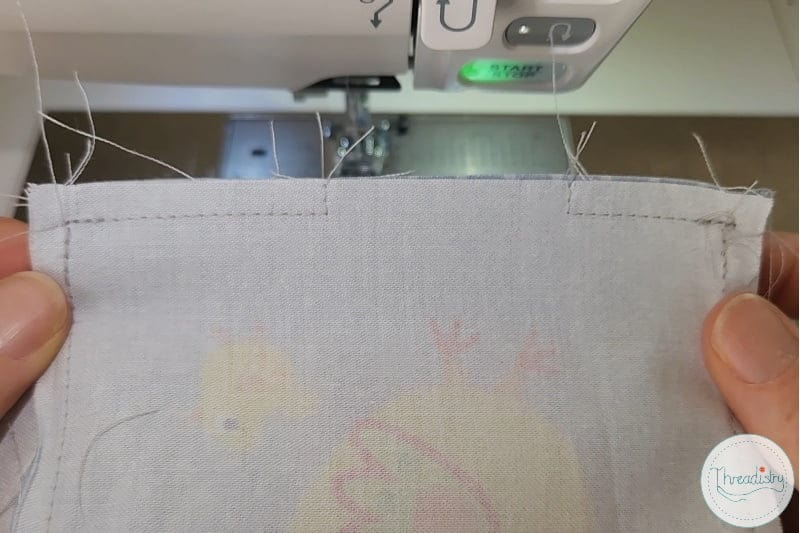
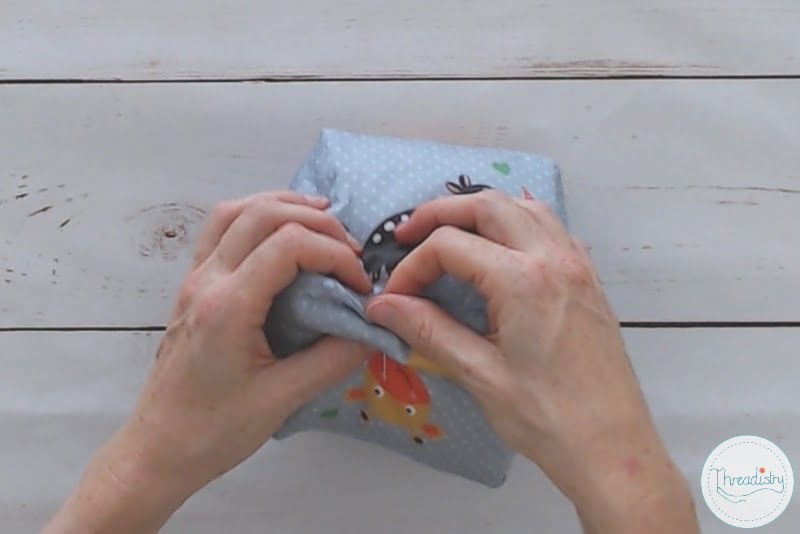
Step 12: Sew up the gap with a ladder stitch, overlapping the machine stitches by 1/4 inch or so.
At the end of the opening, tie a knot, and push the needle into the cube and out one side. Trim the thread and wriggle the end of the thread inside the cube.
Now you’ve made one, stitch up a set!
More sewing inspiration
- Find more easy baby toy sewing ideas here.
- How to sew a baby bib with a pocket
- Cutest baby hat sewing patterns