Fabric Marking Tools for perfect sewing!
After you’ve cut out your sewing patterns, the next step is to transfer the pattern markings. This is an important step in making sure your sewing project comes together perfectly. Let’s find out all about fabric marking tools!
Quick tip: always test your fabric marking tool on a scrap of fabric before you start. Different fabrics can react to marking tools. You don’t want to ruin a perfect sewing project with a stain in just the wrong spot (eg the apex of a bust dart!).
Disclosure: This post contains affiliate links. If you purchase after clicking these links, Threadistry may receive a small commission, at no cost to you.
What are fabric markings?
Fabric markings are information that is provided on the sewing pattern that will help you put the pattern pieces together. They can include:
- Darts
- Button positions
- Zipper positions
- Pocket positions
- Pleat lines
- Gathering notches
- Notches to help align fabric pieces, particularly for curved pieces
and more…
1. Scissors
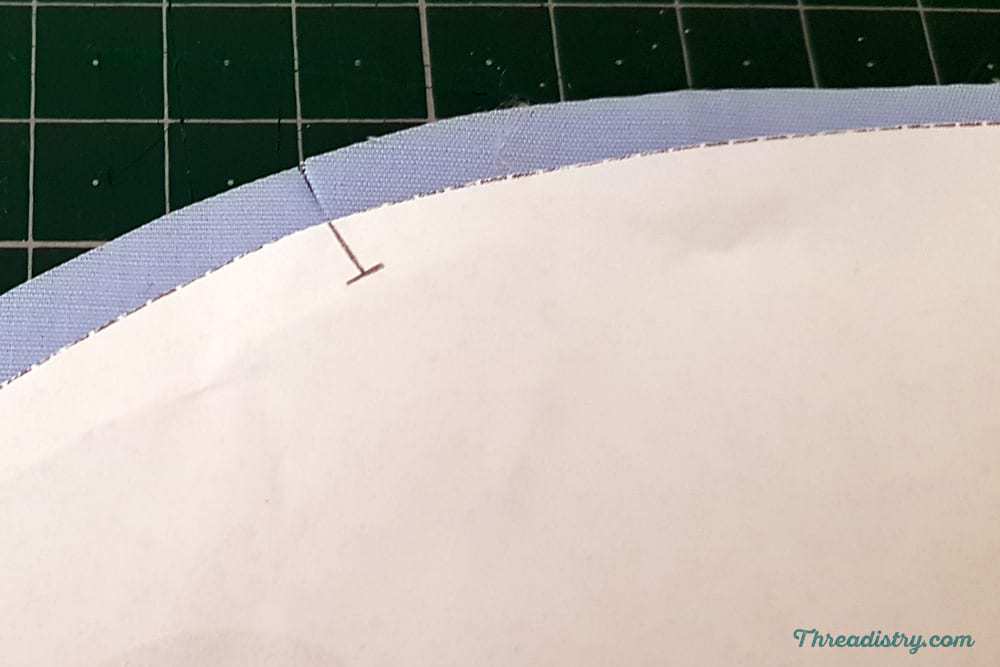
When you’re making a mark in the seam allowance, such as for lining up pattern pieces, the quickest and most accurate way is to make a small snip with your scissors or rotary cutter. Just take care not to cut too far!
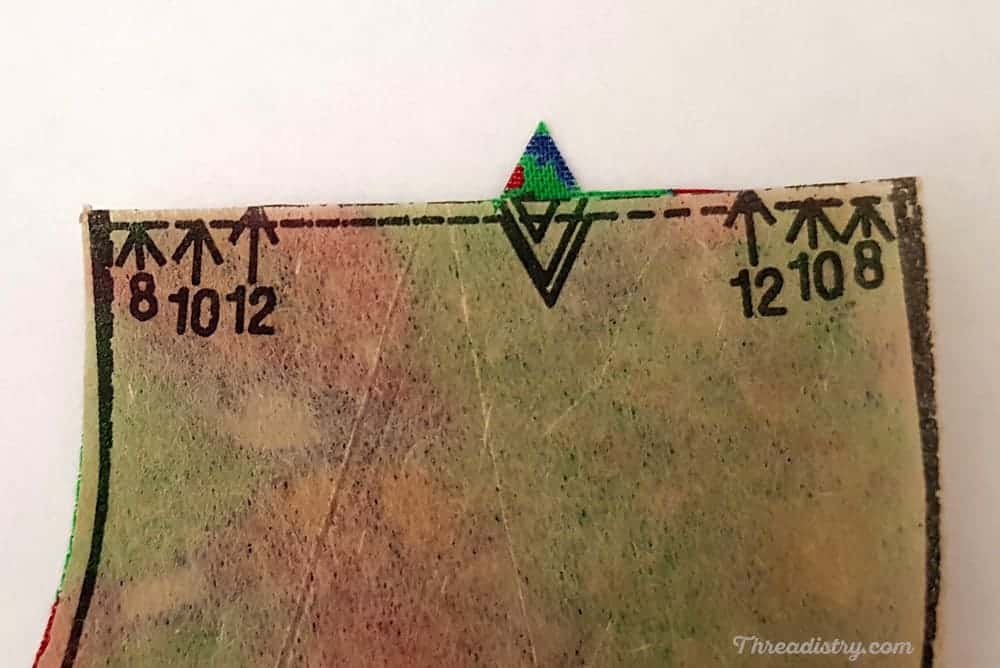
Another option for marking notches is to cut a triangle mirroring the notch of the pattern.
2. Disappearing ink pens
Disappearing ink markers are water-soluble (dab with a wet cloth to remove) and/or air soluble (so fade after being exposed to air). The air-soluble work best when you are going to sew your project shortly after cutting and marking. It’s so annoying when your marks have disappeared when you go to sew!
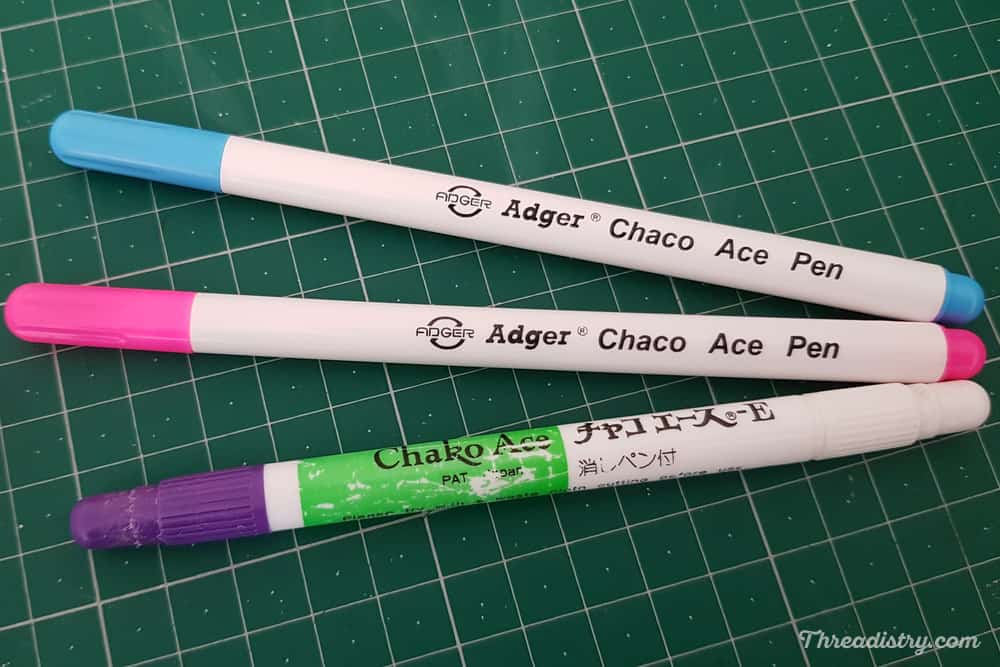
Purple is the most common colour, but they are available in a range of colours. They can be difficult to see depending dark fabrics.
The colour can also set if heat is applied, depending on the brand. Care should be taken to not press the fabric until you’ve removed the mark (which is annoying when you are sewing darts and pleats!).
The pens can also dry out quickly, so don’t tend to last long.
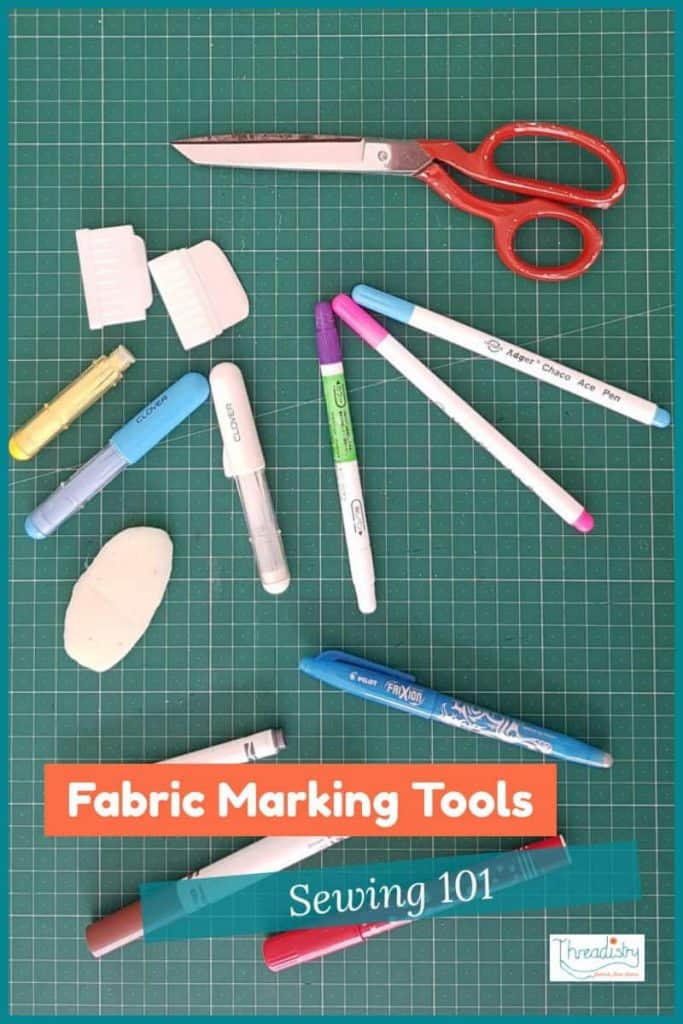
There are lots of different brands available, including Adger, Dritz, and Chako Ace.
3. Chalk/Chaco Liner Pen
I bought a few Chalk/Chaco liner pens on clearance a few years back and I love them. It’s a plastic casing filled with powdered chalk (in a range of colours), with a wheel at the tip that the chalk comes out of as you draw on the fabric. The colours show up well on dark or patterned fabric. You can also get refills.
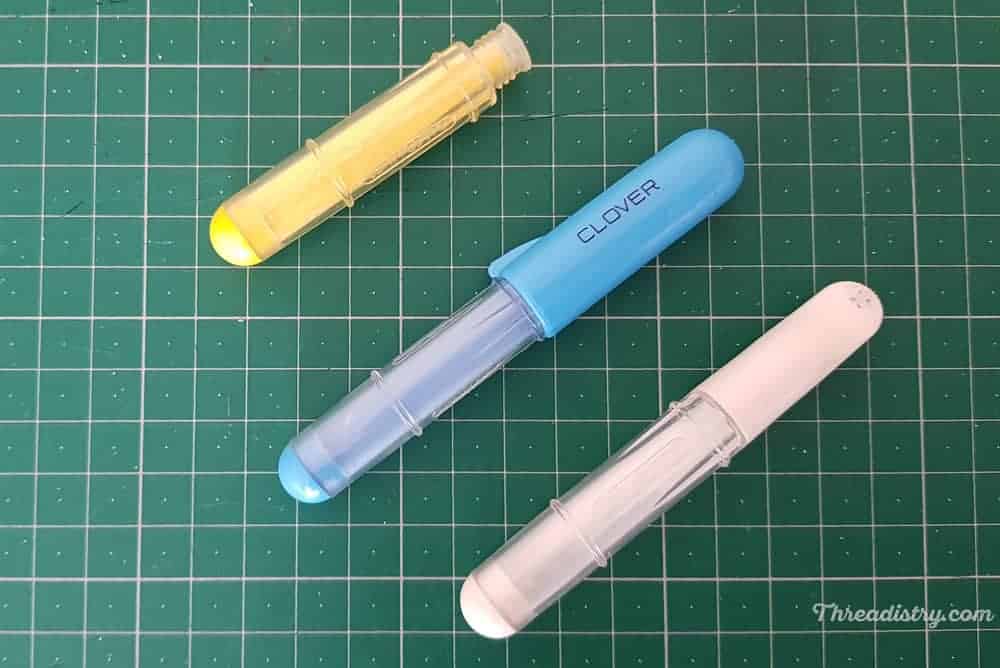
The main disadvantage is it’s easy to brush the chalk off accidentally, but it’s also really easy to dust off the chalk when you’re done. The marks can also be difficult to see or remove on plush fabric. This is my go-to fabric marking tool!
4. Tailor’s Chalk
Tailor’s chalk comes in a variety of colours and can be shaped in a triangle or rectangle, with angled edges to create a sharp point to mark with.
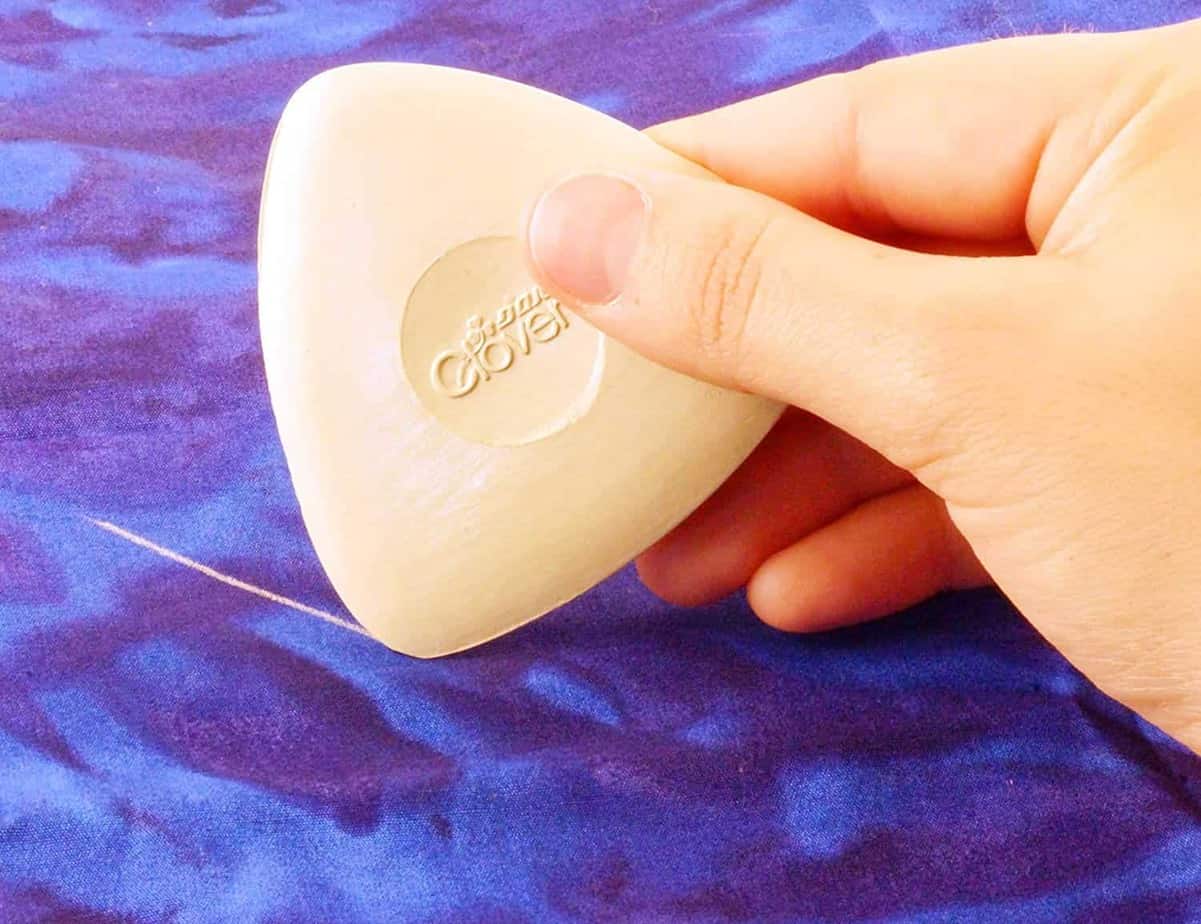
The chalk brushes off when you no longer needs the marks. It’s works best for lines rather than dots and small markings. The chalk can get trapped in fabric with a pile (like velvet) and can be hard to draw with on fabrics with stretch. It also needs to be sharpened (the Dritz version includes a sharpener).
5. Water-Soluble Pencil
Water-soluble pencils are have a chalky “lead”. The pencils work well, especially for small markings and are easy to remove.
However, for the pencils I’ve used, the chalk lead breaks easily within the pencil. I have to sharpen them 2-3 times because the lead either falls out or snaps. Care must be taken not to press too hard and not to drop the pencil.
6. Pilot Frixion Pen
Pilot Frixion erasable gel pens are the new kids on the block. These are available from the usual stationery suppliers and are erasable pens, not especially designed for sewing. They erase with friction or heat (such as an iron).
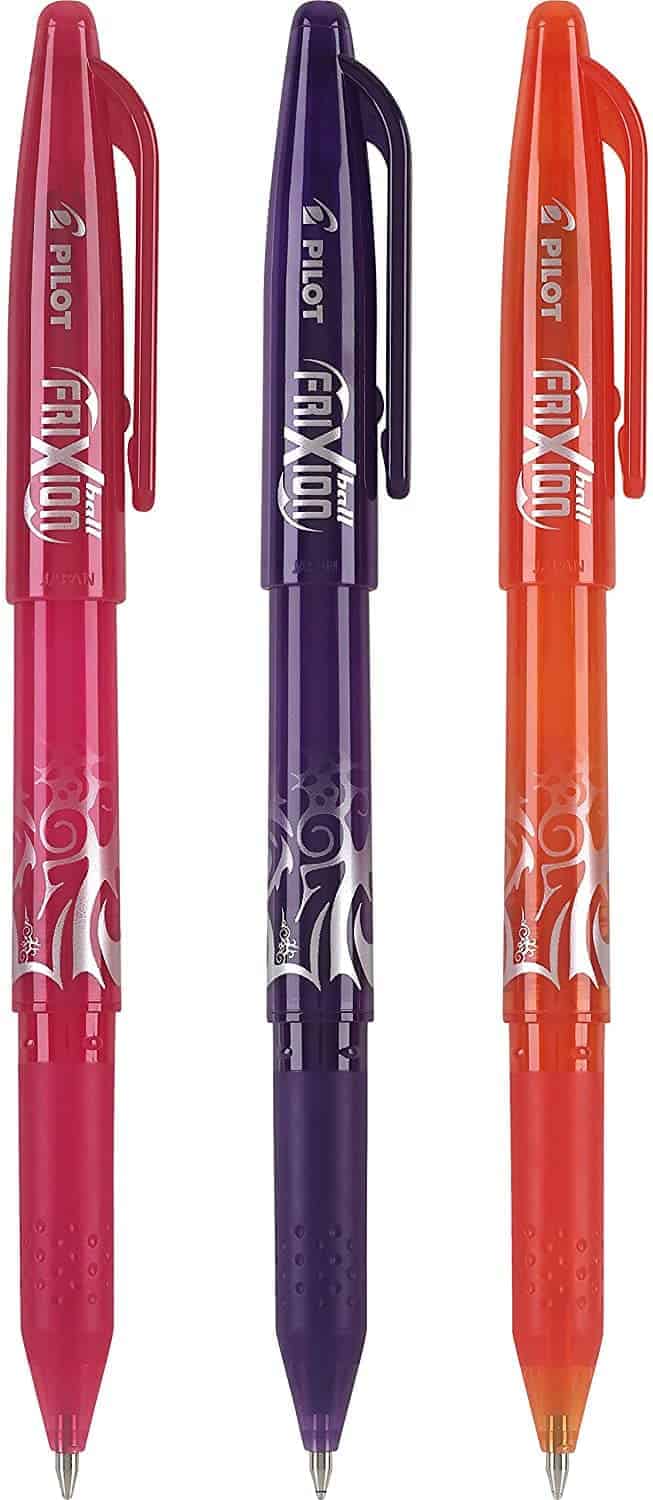
Care needs to be taken with these pens. If the fabric is exposed to low temperatures, the marks can reappear (or ghosts of the marks). They can leave stains on some fabrics too. Also, it’s also easy to remove your marks before you are ready when pressing your project. The pen doesn’t show up on dark fabrics.
I only use these for marks in the seam allowance or other places that won’t be seen.
7. Tracing Wheel and carbon paper
Using a tracing wheel and carbon paper is another old-school option. The tracing wheel presses the carbon paper against the fabric, leaving small dots to transfer your markings. Marking curves can be a challenge, and it’s a bit more fiddly than the other options.

The big advantage is you can mark darts and other markings on multiple layers of fabric at once.
8. Tailor’s Awl
In production sewing, particularly when multiple layers of fabric are being cut an marked at once, a tailor’s awl is used to transfer pattern markings. A small hole is punched in the fabric to create the mark. For darts, press the awl 1/2 inch in from the apex (point) of the dart (so the hole won’t be visible in the finished garment). This is a very accurate way to mark fabric, but may not be the best option for beginners!

(They’re also a great tool for manipulating fabric near the presser foot as you sew or for feeding fabric through a bias tape maker.)
9. Hera Marker
A Hera Marker is a plastic tool that when drawn over fabric, leaves a crease line. It can be used for straight and curved lines and is popular for marking quilts, but can also be used for other sewing projects. It’s perfect for marking applique and patch pocket locations.
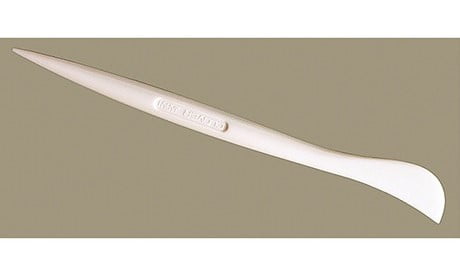
As it only creases the fabric, you don’t have to worry about residue or stains. Fabric marks disappear with time (depending on the fabric), so are best to use when you are going to sew straight away.
10. Tailor’s Tacks/Needle and Thread
When working with silk or other delicate fabrics that mark easily, the best option can be simply needle and thread. Make large hand-stitches in the fabric to transfer the pattern markings. Don’t tie knots in the ends, but leave a long-ish tail (approximately 1-2 inches) at each end.
11. Kid’s washable markers
When I can’t find you’re proper fabric marking tools anywhere (how did my craft room get so messy?), I sometimes grab my kids’ washable markers (I trust the Crayola ones the most!) and mark out what I need.
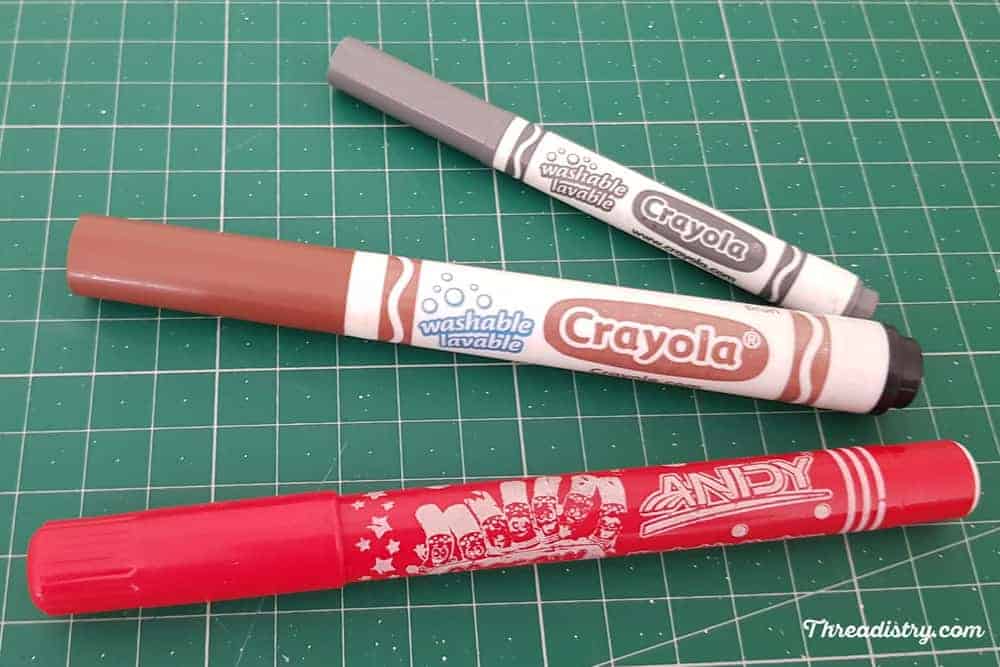
They wash out easily (as my kids put to the test all the time!) and there’s always a few lying around my house (especially in the colours no one likes!).
12. Soap
Finally, if you’re sewing a dark fabric, just grab the soap slivers from your bathroom and draw with the soap. You know the soap will wash away in water and it’s a great “emergency” sewing tool.
What are your favourite fabric marking tools?
