Serger Troubleshooting Guide: Quickly fix your serger woes
I love sewing with my serger. It’s fast and the finish looks so professional. But when things go wrong, it can be difficult to know where to start serger troubleshooting. Here’s what to check when things go wrong with your serger:
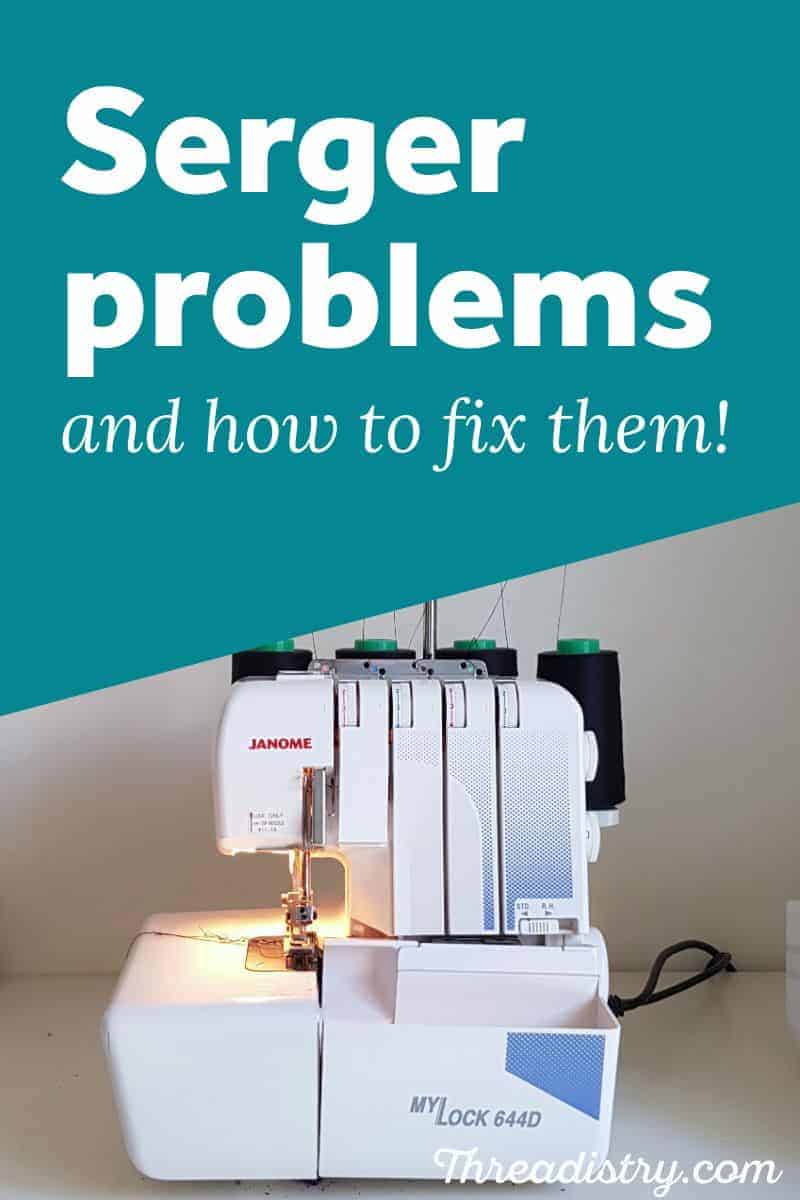
Here’s what to check when things go wrong with your serger:
1. Is the thread aerial up?
Whether you’ve unpacked your serger for the first time, moved it, or popped the aerial down to put a cover on, it’s easy to forget to (or not realise you need to) put the thread aerial up (the top part of the serger that holds the threads up high). Pull it up as far as it will go.
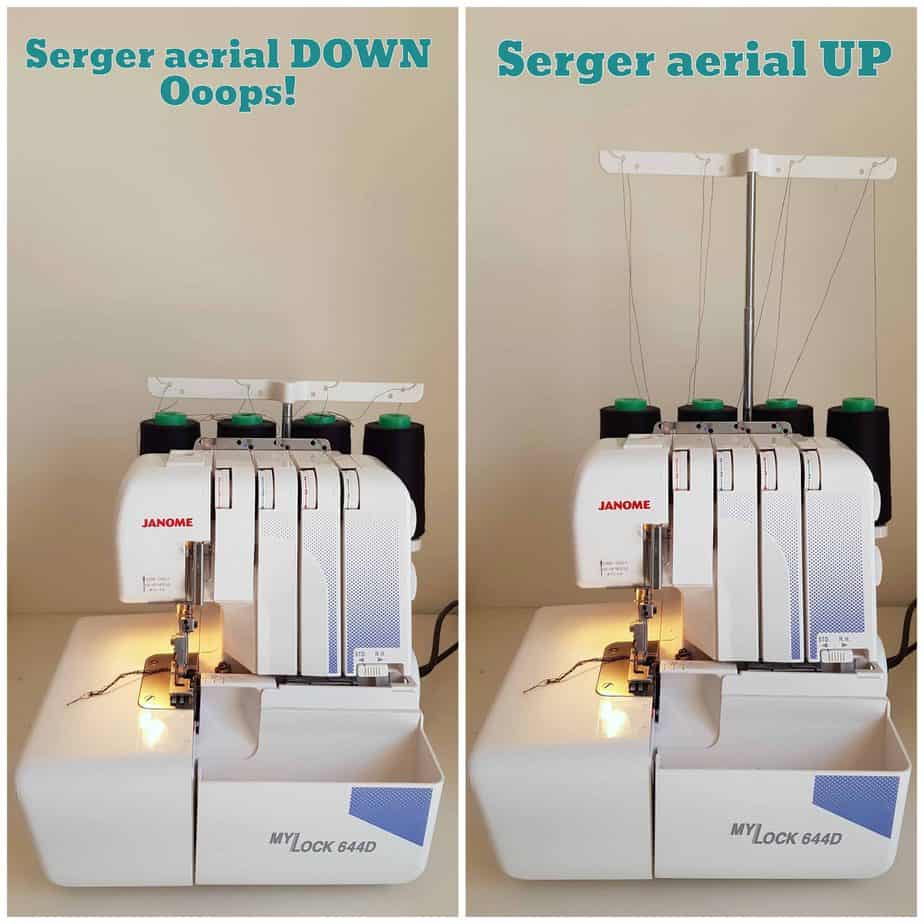
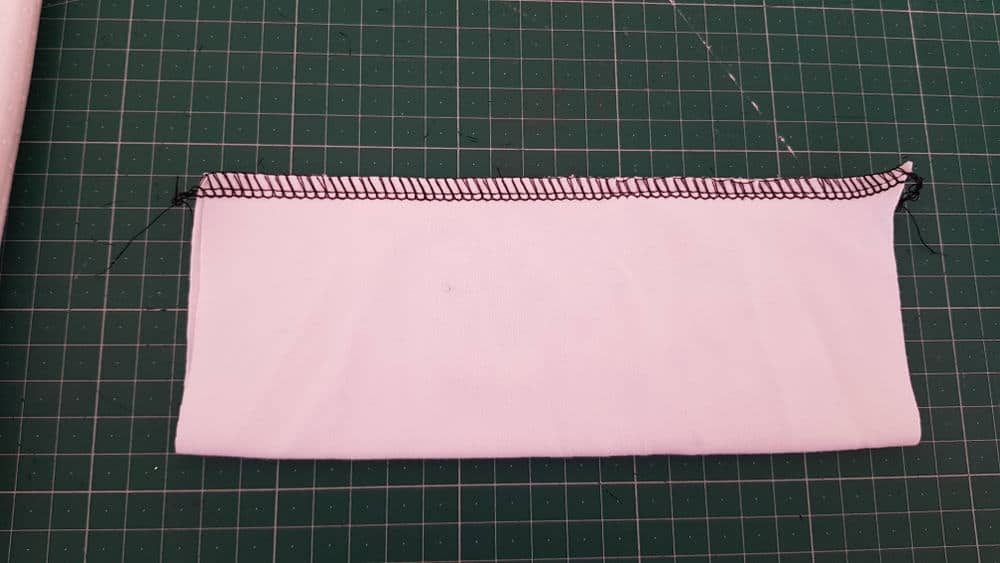
This is what my stitching looks like when the aerial is down – slightly uneven in a random sort of way:
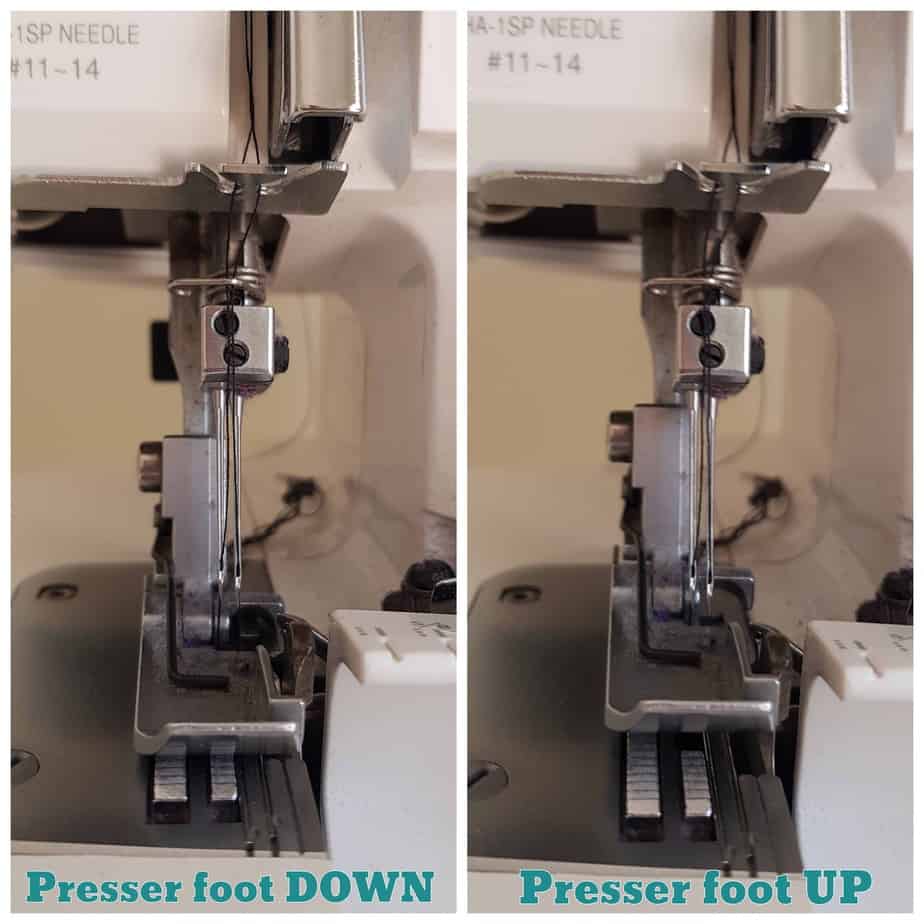
2. Is the presser foot down?
This is another one that sounds obvious, but when you are sewing multiple layers of fabric, it’s not always as easy to tell as a sewing machine if your presser foot is up. On more than one occasion, I’ve cursed my machine for not working when I’d made this simple mistake!
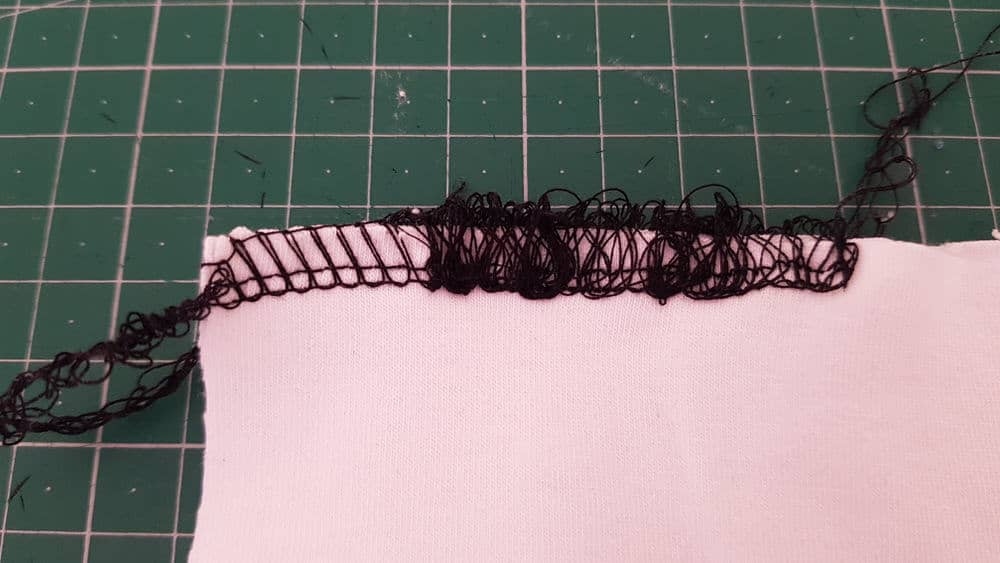
This is what my stitching looks when the presser foot is up with thin fabric (pretty obvious there’s a problem):
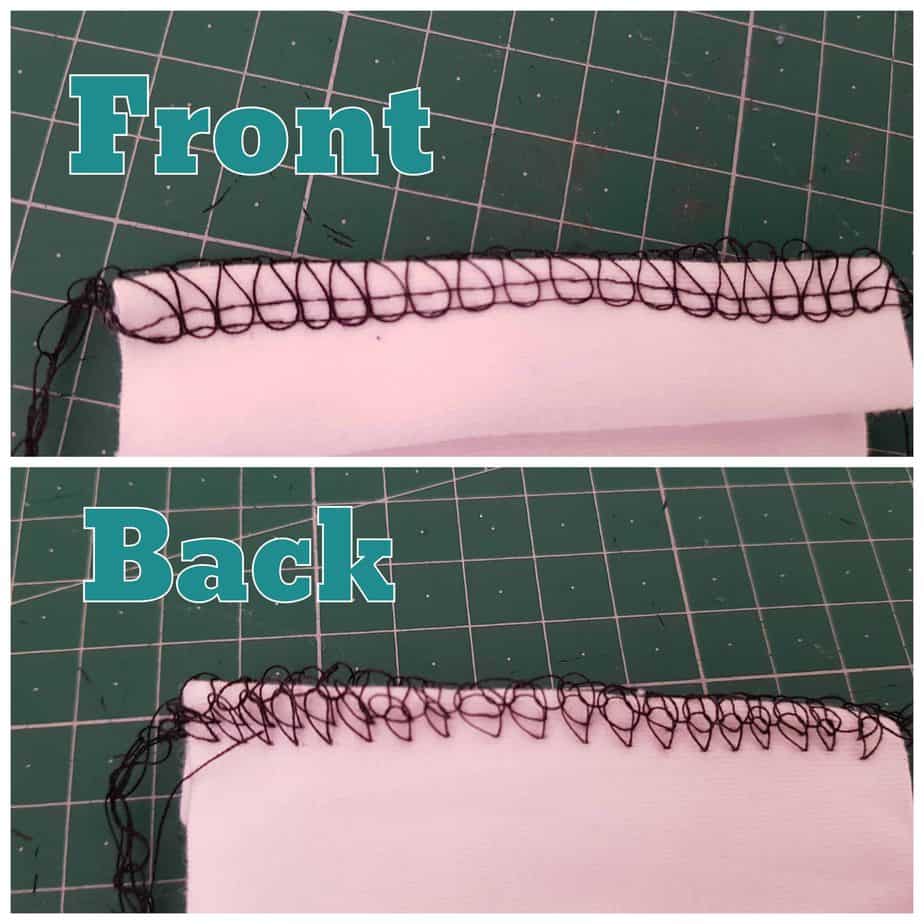
With thicker fabric (front and back):
3. Check thread tension settings
Double-check that the thread tension dials are at their usual settings. If you’re not sure what that should be, check your serger manual.
- Have they been knocked (or adjusted by a helpful toddler)?
- Do you still have it set up for a rolled hem when doing a normal overlock stitch?
- Is a small adjustment all that is needed to get the stitches back to perfect? (Thread tension guide coming soon!)
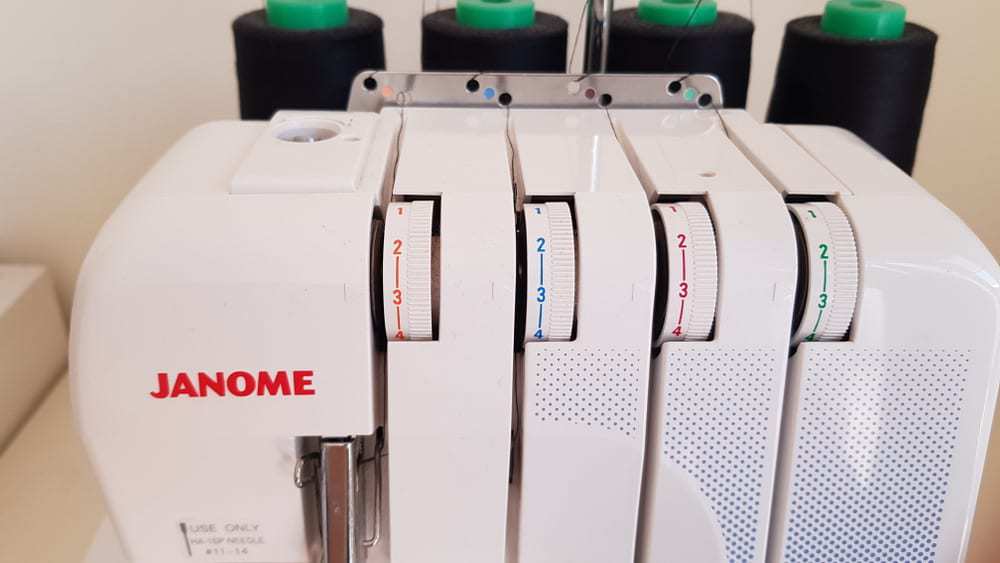
It’s a great idea to keep a record of your usual settings for different fabrics.
4. Are the threads inserted in the tension discs correctly?
Behind the tension dials are discs that hold the threads in place. If the thread is not inserted correctly in the tension disc, the thread tension will be off.
Firstly, always thread your serger with the presser foot in the up position. This releases the tension discs (opens them up), making it easier to get the threads in the correct position.
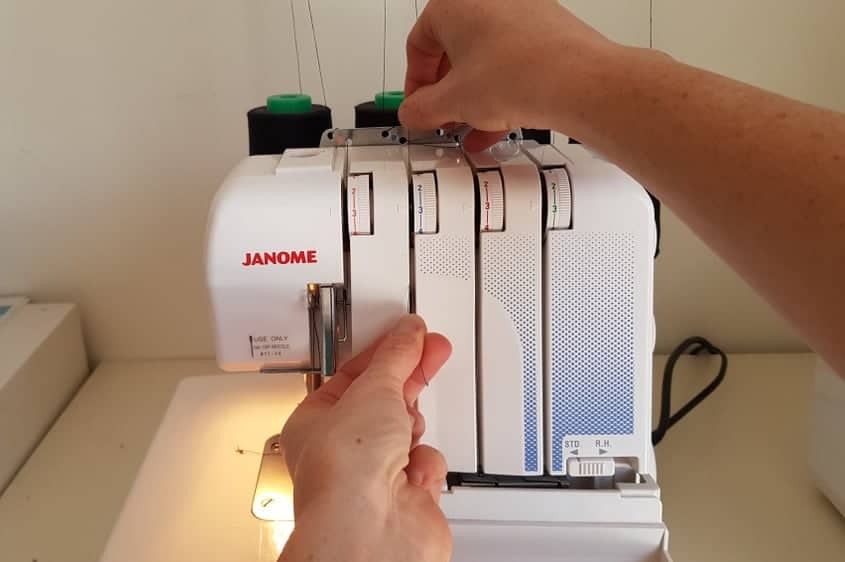
If you’ve already threaded your machine, you can reinsert the threads by holding it above and below the tension disc and “floss” it into position (with the presser foot up). It will also dislodge any threads that might be stuck in your tension disc. When you put the presser foot back down (don’t forget!), you should be able to feel the tension on the thread when you pull it gently.
5. Check differential feed settings
A serger with differential feed has two sets of feed dogs – one at the front of the presser foot and one at the rear. Adjusting the differential feed can stop (or create) rippling, particularly in stretch fabric.
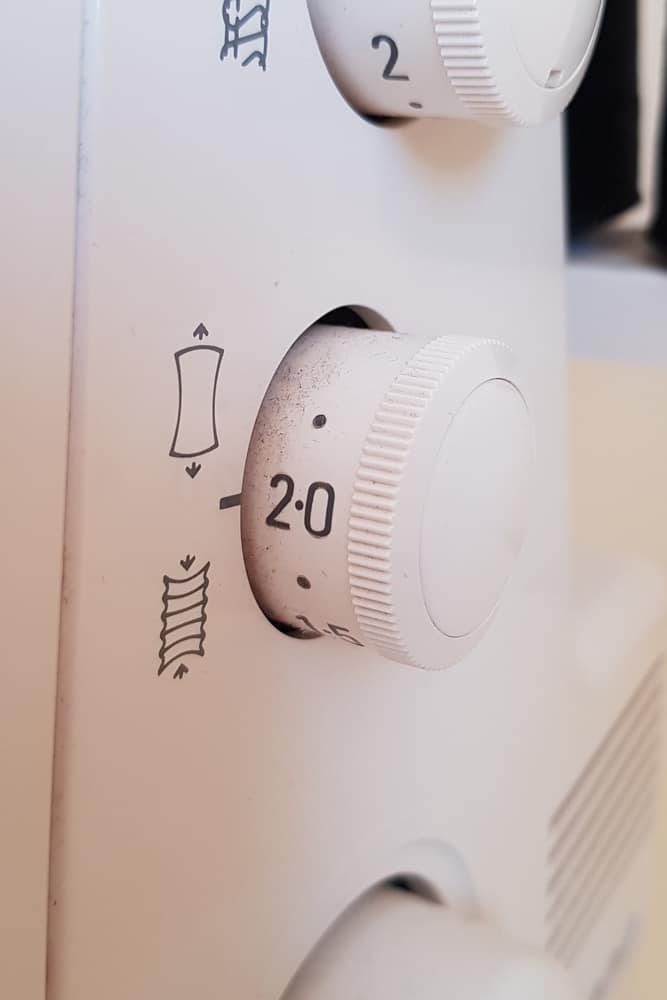
The differential feed dial is another setting that can be bumped, or changed to get a particular effect and then forgotten about.
If the fabric edge looks stretched out and wavy, it means the fabric is being pulled through too fast at the back. Turn the differential feed up to balance it out.
If the seam looks gathered, it means the fabric is being pushed in at the front faster than it is being pulled out at the back. Turn the differential feed down to balance it out.
6. Was it threaded in the correct order?
This is a tough one to get your head around when you move from a sewing machine to a serger, but the order that you thread your serger is important. For my machine, I have to thread from right to left – lower looper, upper looper and then the needles. Check your manual to make sure you thread in the correct order for your machine.
It also means if the lower looper thread breaks, I have to completely unthread the machine and start again. It seems like black magic, and you’ll be tempted to try just threading the lower looper, but it just won’t work!
7. Rethread the machine
Like rebooting a computer, sometimes the only thing to do is to unthread the machine and start again. Check your manual for how to thread it correctly.
Sergers are tricky beasts and you may need to pull a lever or open a cover to get to a hidden thread guide that’s easy to miss.
8. Change the needles
If stitches are skipping, it may be time to change the needles (or switch to a different type of needle for that particular fabric). Make sure you use the right type of needle for your machine (it may be written on your machine or check your manual).
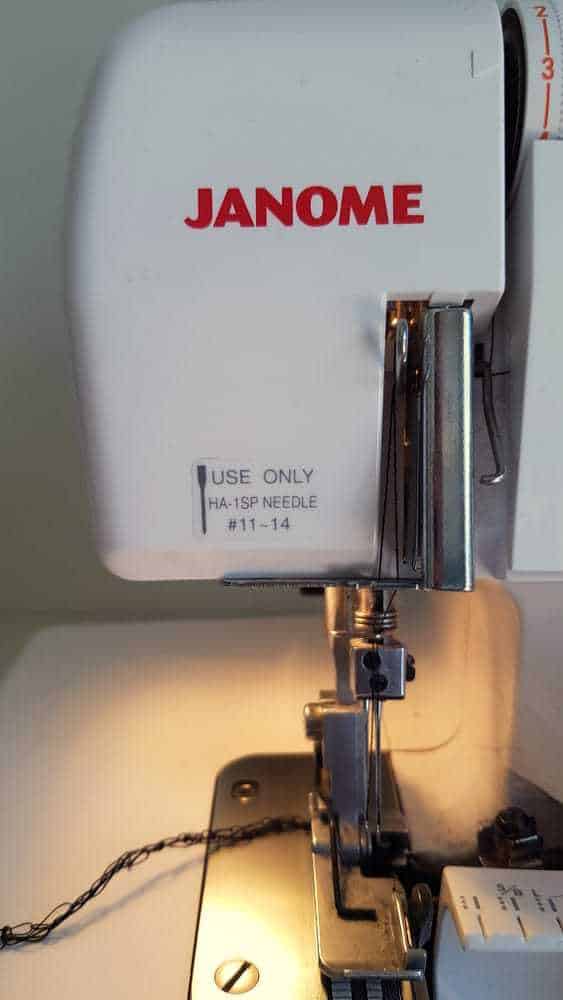
9. Are there 2 needles in the machine when only using one?
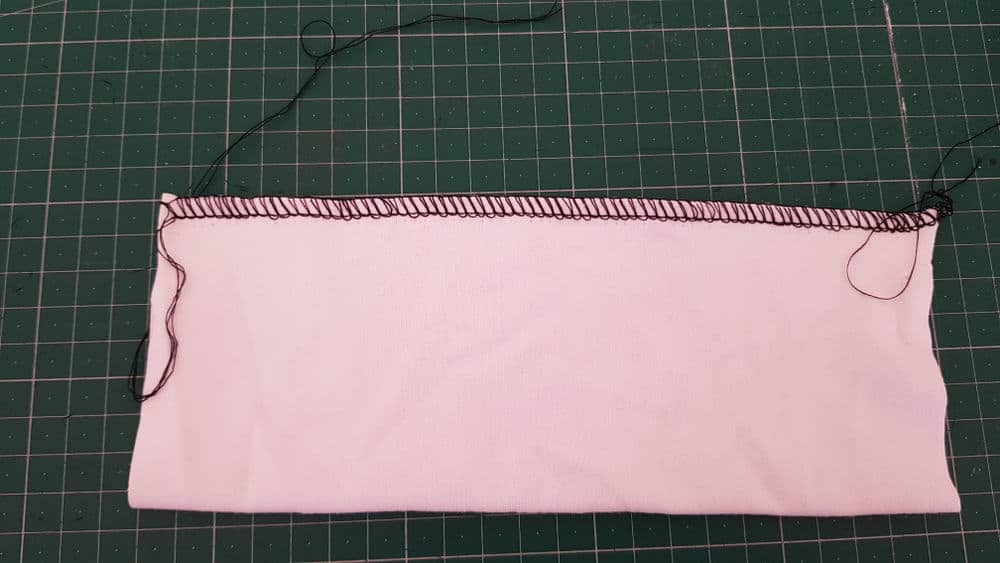
When going from 4 thread to 3 thread overlocking, you may be tempted to leave the unused needle in the serger (yes, I’ve done this!). This will throw out the tension of the stitch, so get that little screwdriver out and remove that spare needle!
This is what the stitching looks like when there’s an extra needle on the left:
10. Give it a clean/remove lint etc
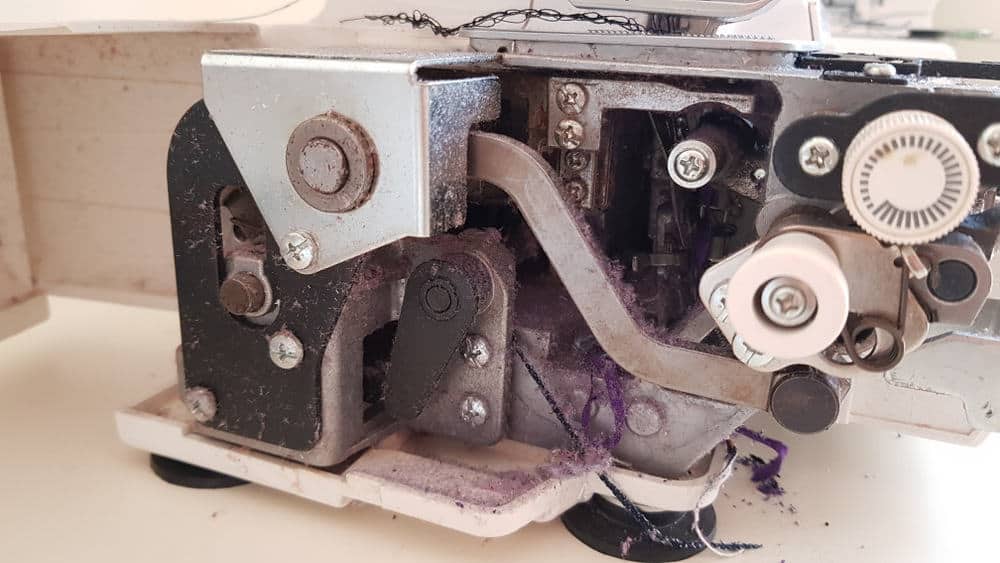
If the fabric jams or puckers, there may be threads/lint caught in the feed dogs, stitch fingers or around the threads. Open up the cover (if you can), and give it a good clean. It’s amazing how quickly lint and threads build up in there!
11. Adjust presser foot pressure
Another cause of stretched out seams is if the presser foot pressure is too high. Turn the dial (typically on the top of the machine, above the needle area) down to lower the pressure.
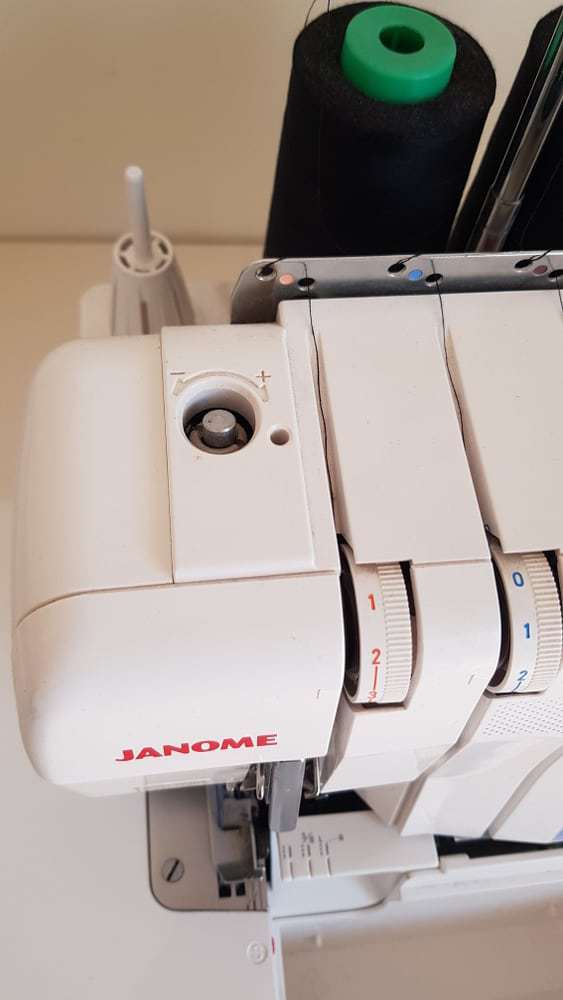
If the presser foot pressure is too low, the seam may start gathering as the fabric isn’t being pulled through the machine.
12. Change the knife blade
If the serger is chewing the fabric rather than slicing it cleanly, the cut edge looks jagged or creates a lot of fabric dust, it’s time to replace the serger knife blade. Other signs are you can’t cut through multiple layers with ease, your machine keeps jamming, or the trimmed piece gets caught in your threads.
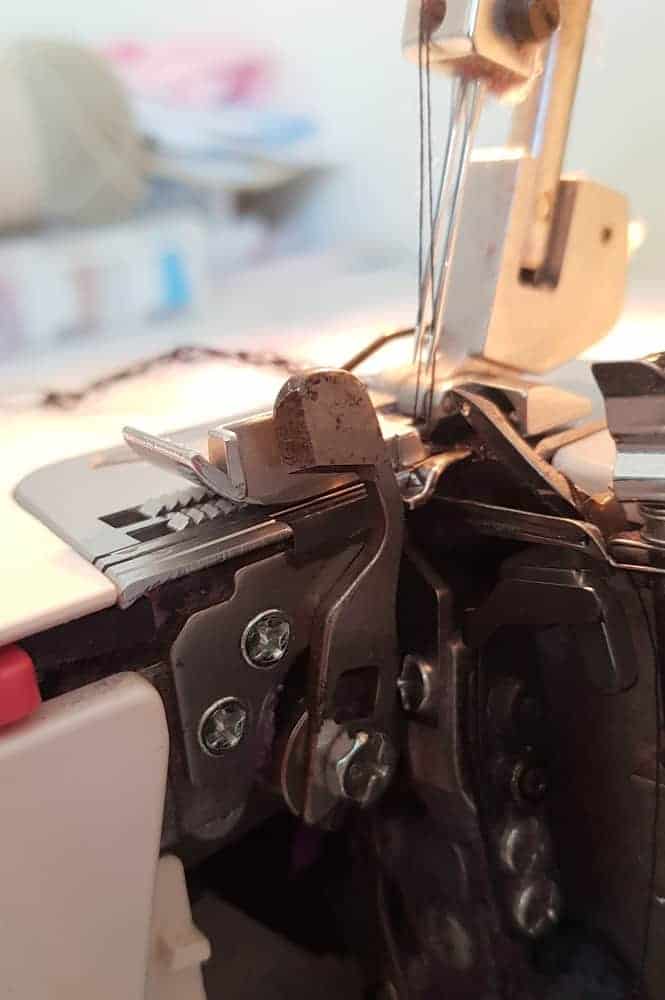
How often you change the blade depends on what fabrics you sew and how often you use your machine. You made need to replace the blade if you hit a pin. I bought my serger more than 10 years ago, and I haven’t needed to change the blade (and it came with a spare blade!).
Serger knife blades are easy to replace – just unscrew the old one and screw back on the new one. You may need to change both the upper and lower knife blades.
13. Get it serviced
When all else fails, leave it to the professionals. Take your serger to your nearest service centre and leave it for some tender loving care!
Or just buy a new serger (if only)…
