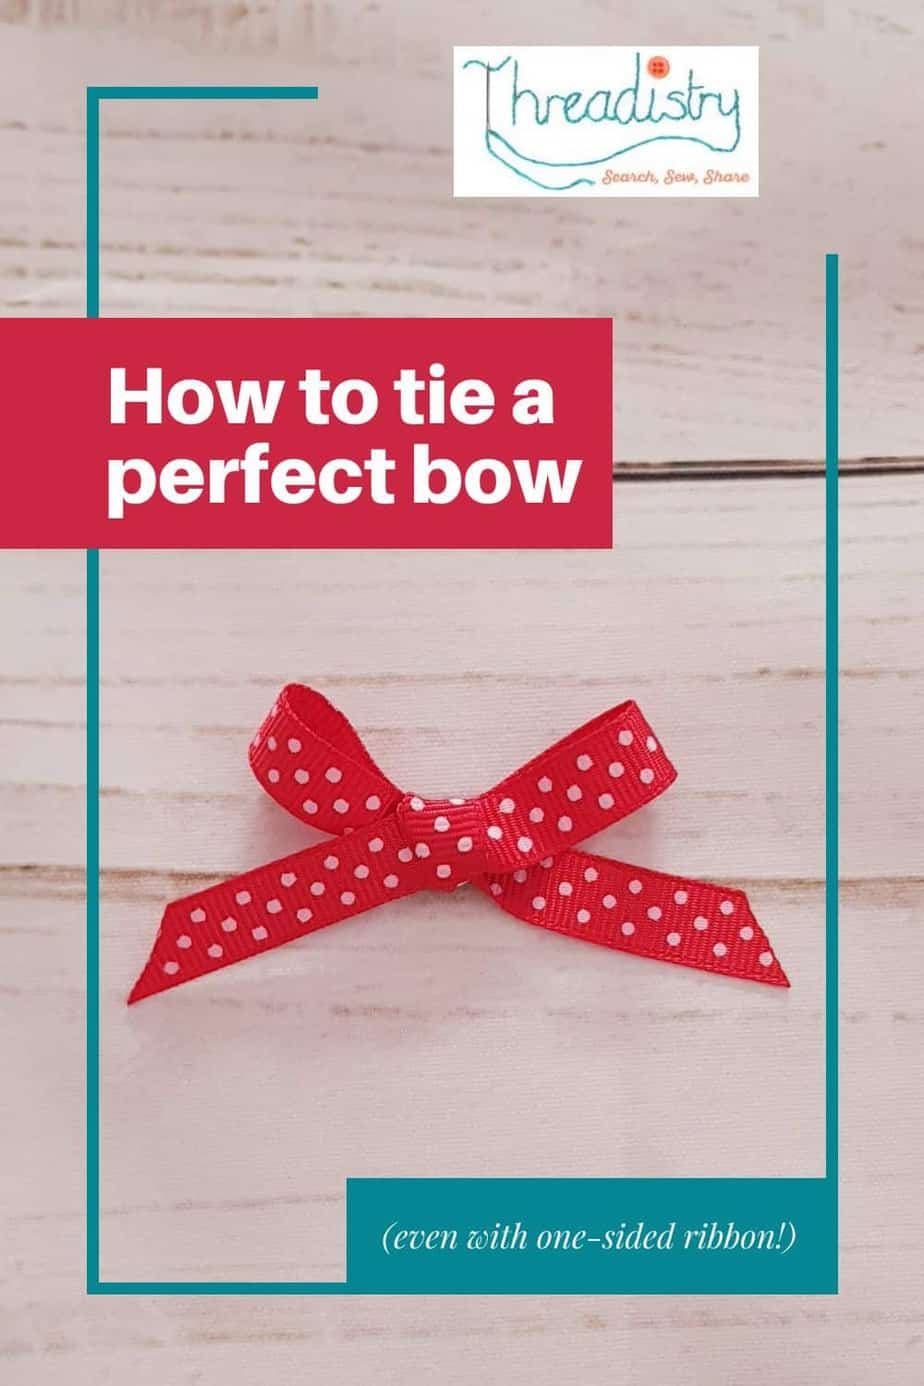
How to tie a perfect bow every time (even with one-sided ribbon!)
Here’s a quick and easy method to tie a bow that works perfectly every time, even with one-sided ribbon! Great for adding some flair to your craft projects.
Here’s a quick and easy method for how to tie a bow that works perfectly every time, even with one-sided ribbon!
Use them on your sewing, yarn, wedding or papercrafts. It’s a handy skill to have in your craft arsenal. I was taught this trick in a cake decorating class I did when I was 12!
Watch the video or scroll down for the step-by-step photo tutorial:
How to tie a flat bow
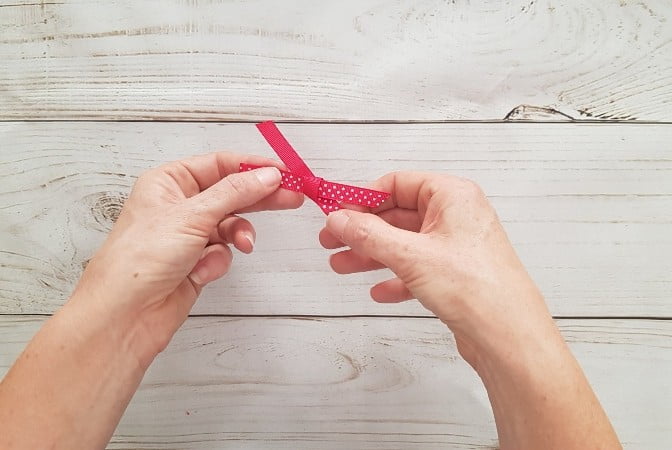
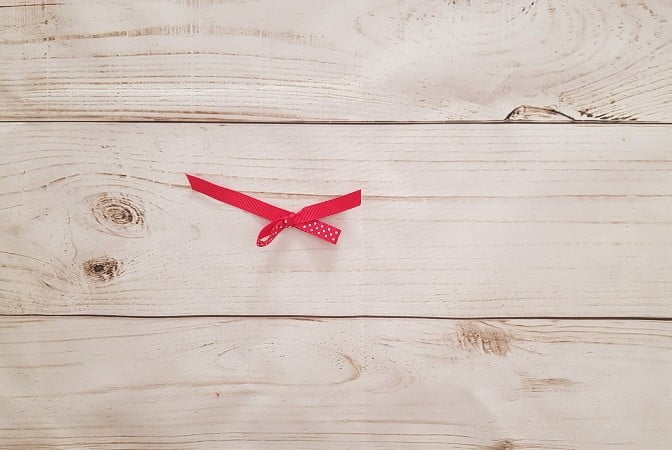
Step 1: Take a length of ribbon and make two “bunny ears”, leaving a tail at each end. I like to use 4-5 inches for this 3/8″ wide ribbon.
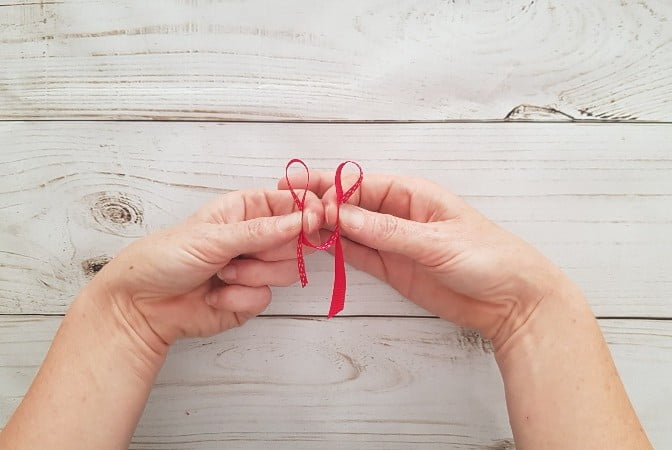
Step 2: Make a cross with the bunny ears.

Step 3: Wrap the top bunny ear behind and poke through the loop at the bottom.
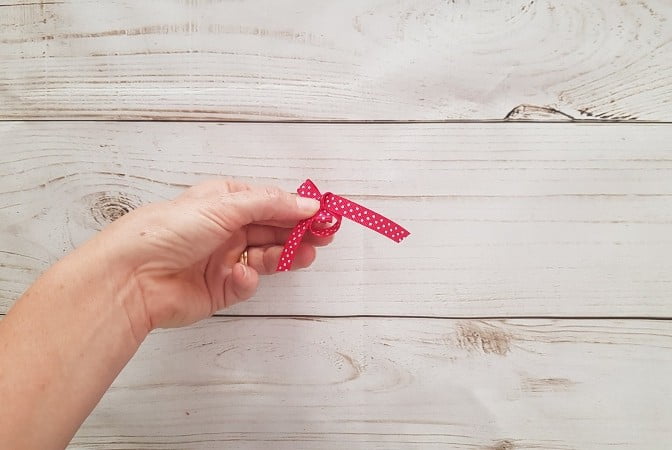
Step 4: Pull the bunny ears tight to form a bow.
If you’ve got a double-sided ribbon, you can adjust the size of the loops to suit, and trim the tails, but if you’ve got a one-sided ribbon, things don’t look so good:
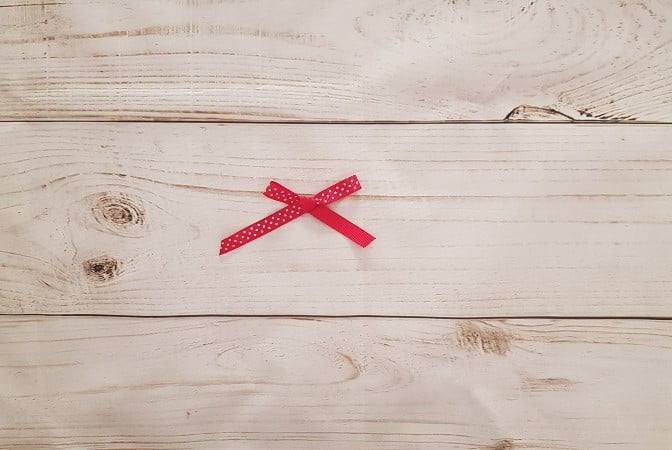
The centre knot and one of the tails is showing the wrong side of the ribbon. Let’s get that fixed…
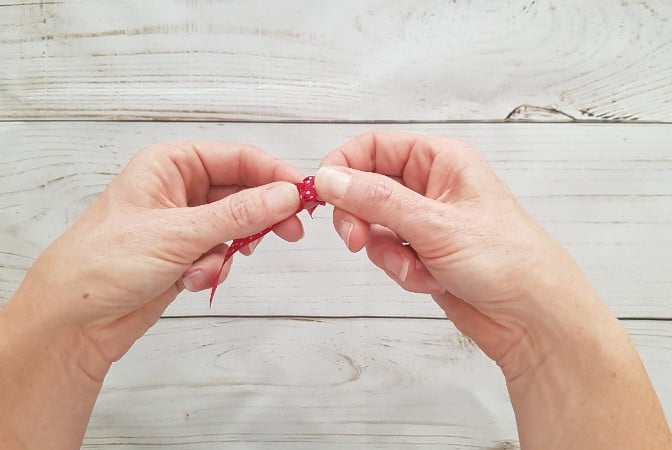
Step 5: To fix the centre, loosen the knot and twist the ribbon so that the right side is showing, and tighten the bow again.
That’s looking better, but still not perfect – there’s still a tail to fix up!
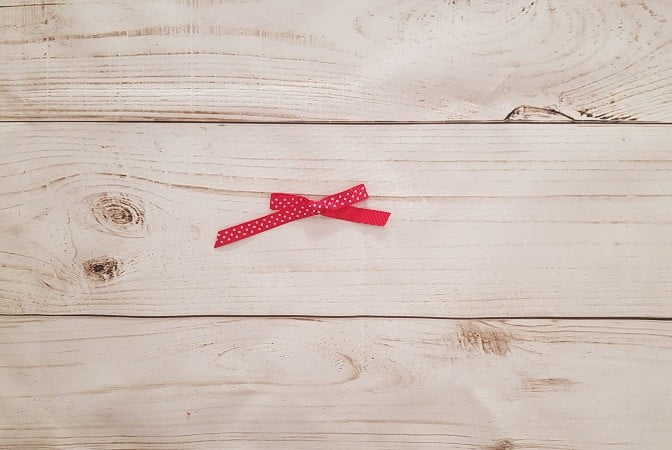
Step 6: At the back of the ribbon, twist the tail behind the knot so that the right side of the ribbon is showing on both sides:
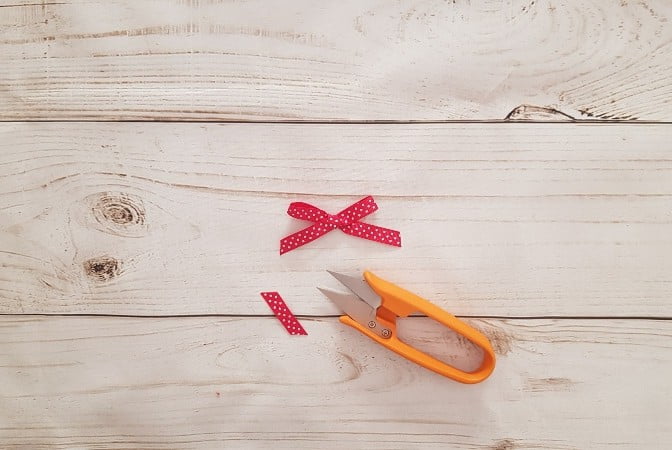
Step 7: Adjust the loops and snip the tails. Seal the ends with a ribbon sealer or flame, if necessary.
And that’s how you tie a perfect ribbon bow, ready to use in your next craft project, like this felt mistletoe:
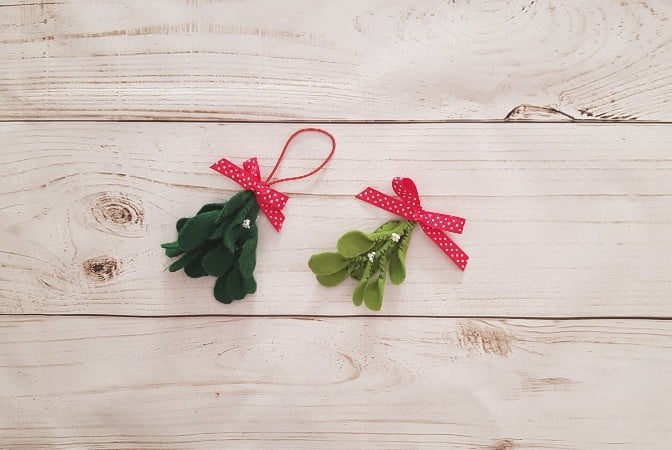
Wasn’t that quick and easy? How will you use your perfectly-tied bow?