From wavy to wonderful: How to sew straight lines
Inside: Sewing a straight line is so much harder than it looks. Here are the best tips for how to sew straight lines, including how to improve your sewing technique and tools to help you along faster.
When I sat down to sew in my high school home economics class, I thought sewing straight lines was easy. Seriously, how hard can it be?
I put my piece of paper under the presser foot (yes, we had to pass a test sewing paper with no thread before we could graduate to fabric) and put my foot on the presser foot.
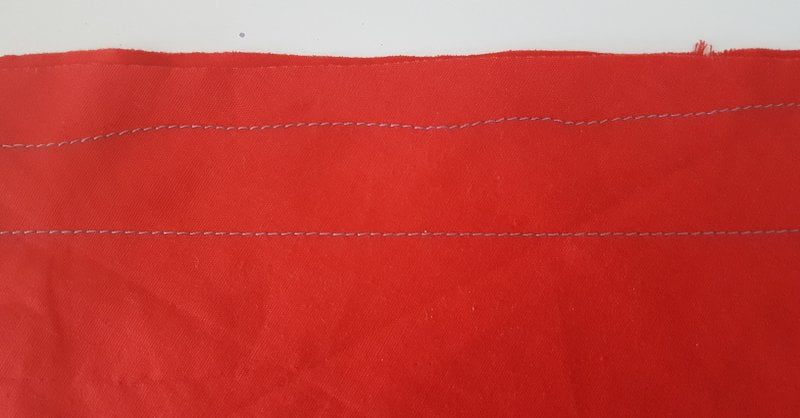
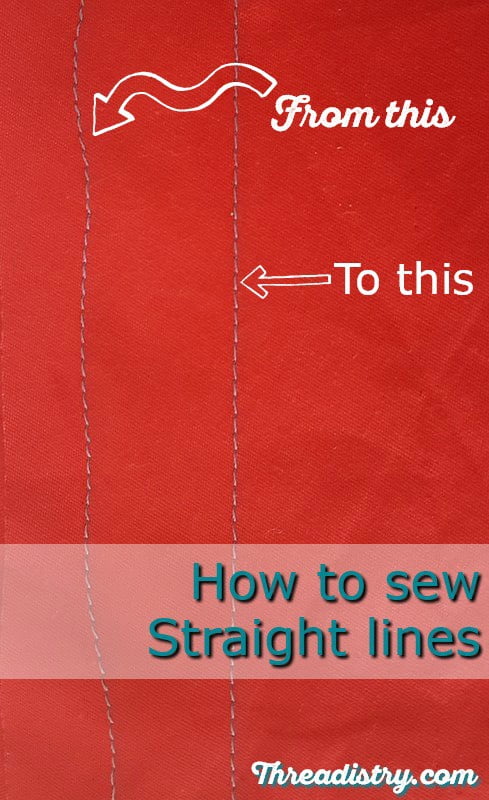
Woah! What happened there? The row of stitching is all over the place!
As a sewing beginner, stitching a perfectly straight line of stitching seems impossible. It sounds ridiculously easy to do, but it takes time to master this skill. Here are my tips on how to sew straight lines:
Disclosure: This post contains affiliate links. If you purchase after clicking these links, Threadistry may receive a small commission, at no cost to you.
Watch the video or scroll down to read the tips.
1. Don’t watch the needle!
The one change that can have the biggest impact on how straight your sewing is, is where you look when sewing. Watching the needle bob up and down somehow makes your stitches wobble all over the place.
Instead, focus on a point in front or to the side of your presser foot. It’s amazing how much of a difference this small change can make!
2. Don’t fight the feed dogs
The feed dogs are the little teeth that rise and lower and pull your fabric through the sewing machine. They do a fantastic job of feeding the fabric through the sewing machine.
Make sure you’re not pushing or pulling the fabric. Let the feed dogs do that and just gently steer the fabric.
If your fabric is lined up and well-supported, you can almost sew with no hands!
3. Support your fabric
If you’re sewing something bigger than the bed of your sewing machine, make sure the fabric is supported. If your fabric is just hanging down, or even sitting on your lap, gravity can pull it to one side and you’ll constantly have to fight that natural pull.
It’s best to have your fabric resting on your table, both at the front and back of your sewing machine.
Note: A sewing machine extension table can also provide extra support for your sewing and quilting projects. Make sure you buy one that fits your particular sewing machine.
4. Use a reference point to line up your fabric
You need a visual marker for where you want that line of straight stitching, and there are a few ways to do this:
a) use the markings on your needle plate
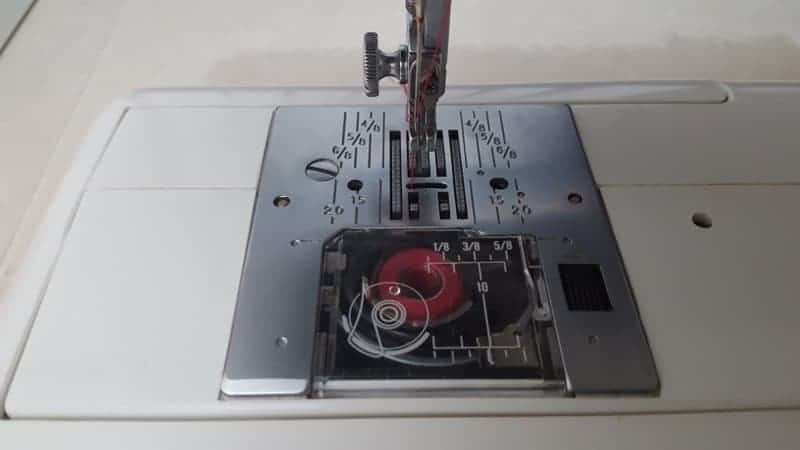
Most sewing machines have seam guides marked on the footplate. Line up the edge of your fabric with the appropriate marking.
b) Use your presser foot as a guide
I prefer to use my presser foot as a guide. For my sewing machine, the inside edge of the presser foot is a quarter-inch seam, the outside edge is 3/8 of an inch, a 5/8 inch seam has a bit of fabric outside the edge of presser foot (ok, that sounds vague, but you get to know what it looks like!).
c) Make your guide stand out
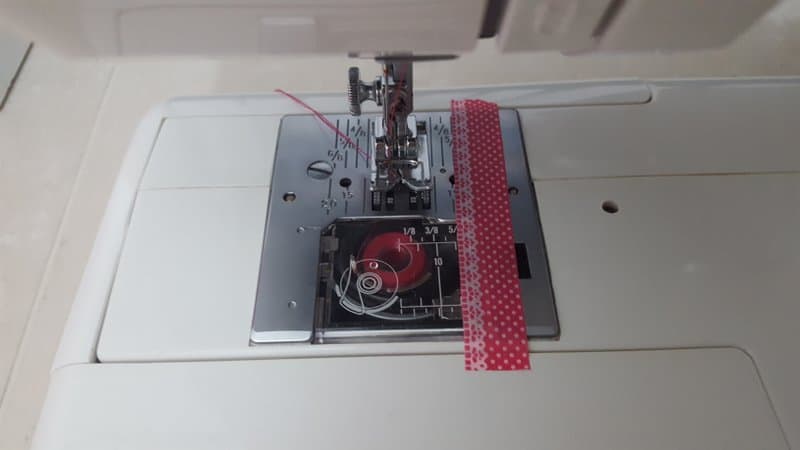
If all those little markings make you go cross-eyed, place a piece of washi tape (the cutest option), painter’s tape or masking tape on your sewing machine and line up your fabric to the edge while you sew.
d) Mark your seam line
Mark your stitch line on your fabric with a washable marker or a chalk pencil. Most sewing machines have a groove or gap to mark the centre. Align your stitching line to this groove.
e) Use a laser guide
If you’re looking for something high-tech, try this laser guide for sewing machines.
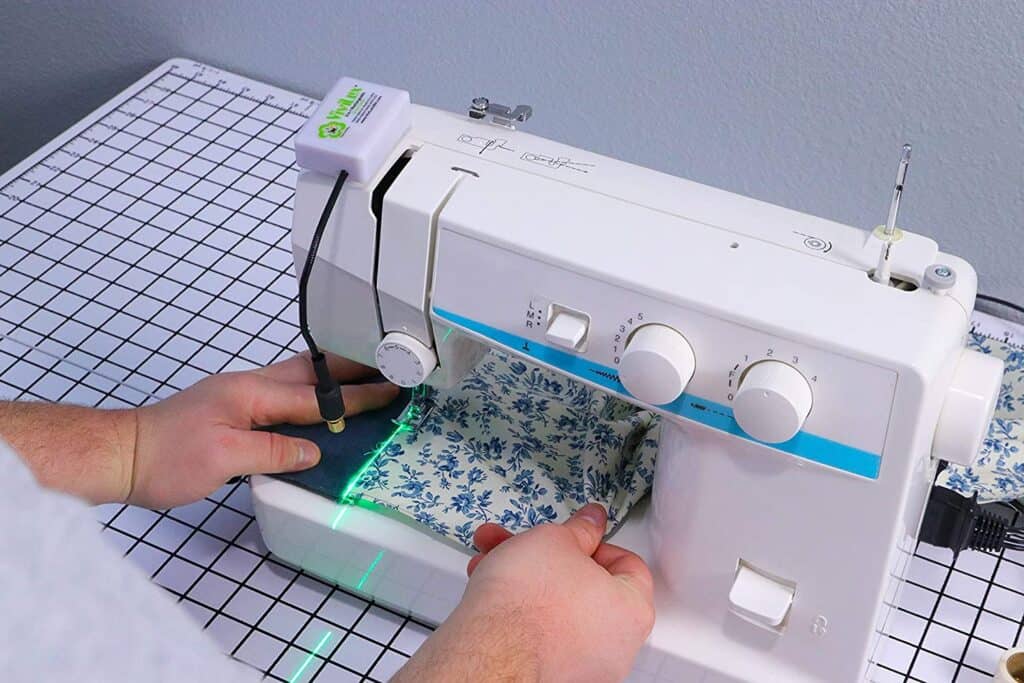
I haven’t tried this, but it looks like an interesting option to line up your sewing!
5. Seam guide attachments
There are a few options available to attach to your sewing machine as a physical seam guide.
- Magnetic seam guides stick to the needle plate on your sewing machine. Place it at the required seam width from the needle and use it to guide the fabric.
Note: Take care using magnetic seam guides with computerised sewing machines. Make sure the magnetic doesn’t go anywhere near the computer/screen part of your machine (but they should be fine on the needle plate area).
- For a non-magnetic option, Sewing Edge is thick reusable vinyl strips that you can attach to your sewing machine, similar to the magnetic seam guide (and a safer option for computerised sewing machines!).
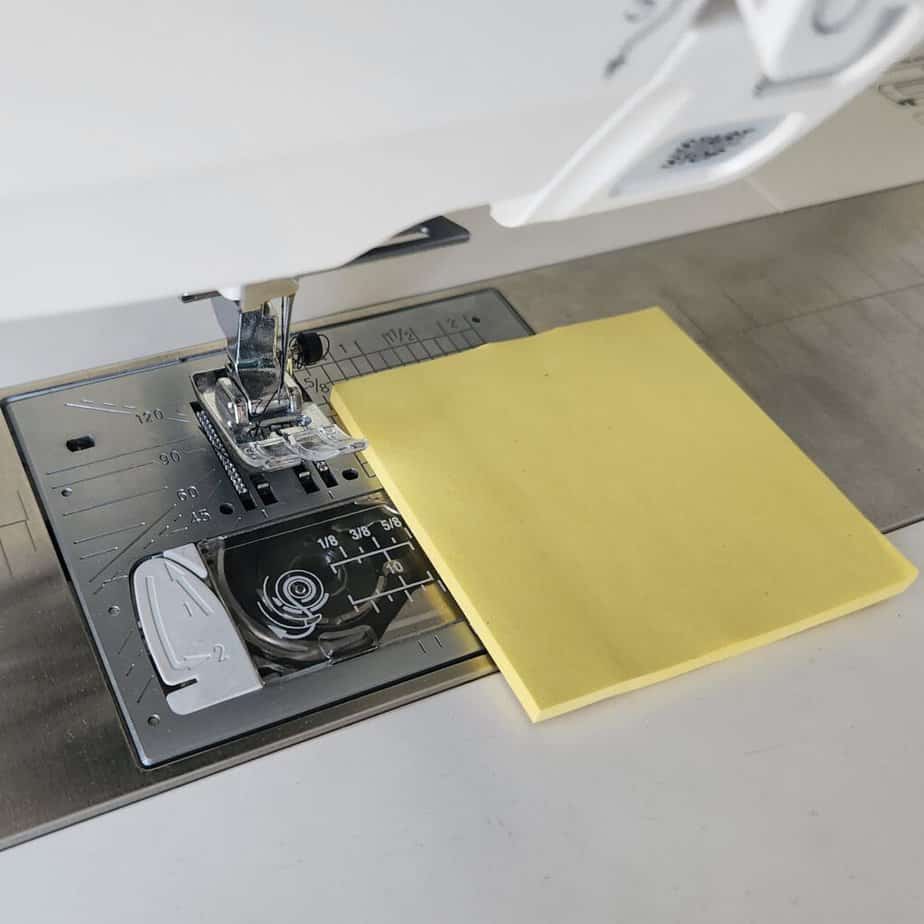
- A quick, cheap option for a seam guide (using stuff already lying around the house) is a stack of Post-It Notes. Place it at the desired distance from the needle. When the bottom sticky note starts to lose its stick, throw it away and stick the pad down again.
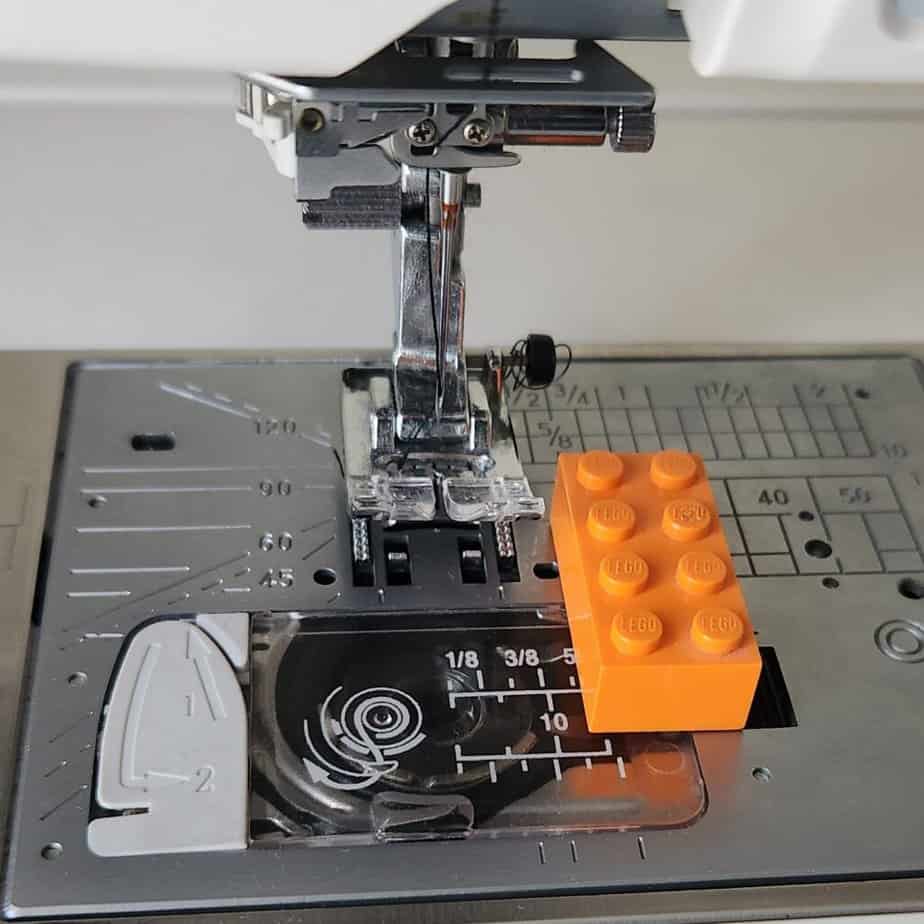
- Another DIY seam guide is a Lego brick (or any other small, brick-like object) and a bit of Blu-tak. Just make sure there isn’t any Blu-tak hanging on the needle side of the brick!
6. Use a specialty presser foot
While not absolutely required, there are several presser feet available to make sewing a perfectly straight seam easier:
An adjustable guide foot has an adjustable flange that you set at the required distance from the needle. Guide the fabric along the flange for perfect straight lines of sewing.
A quarter inch quilting foot has an edge guide to sew a perfect 1/4″ seam, perfect for quilting.
When you’re not sewing seams and the fabric covers the guides on your footplate, such as in quilting, the Border Guide presser foot can help guide your sewing.
Check what feet came with your sewing machine. If you don’t already have them, there are cheap generic presser feet available, but double-check they fit your sewing machine.
Note: While some generic sewing machine may attach onto your machine, check the the needle aligns with the gap in the foot before you start sewing.
You can also purchase the feet from your sewing machine manufacturer – they’re more expensive, but are guaranteed to fit!
7. Adjust your Needle Position
For small seams or hems, where you are sewing close to the edge of the fabric, the fabric may not be gripped by both sets of feed dogs (on either side of the needle). This can stop your fabric from feeding evenly and pull the fabric away from your straight line of stitching. Position your fabric under the presser foot so it’s guided by both sets of feed dogs and adjust your needle position to the right to get the small seam that you need. On most machines, you can adjust your needle position by changing the stitch width when doing a straight stitch.
8. Take your time!
If you sew too fast, things can go wrong very fast and you’ll find your stitches swerving all over the place. Slow down and make small adjustments as you go. Stop sewing, put the needle down, lift the presser foot and adjust the fabric as needed to get back on track when things start to go wrong.
9. Practise, practise, practise
The more you sew, the easier it will become. Practise sewing lines on paper if you want to (but change your needle before you start sewing with fabric). Soon you’ll realise you don’t even have to think about it and you’ll get perfect seams every time (or most of the time)!
Straight sewing may not be as easy as it sounds when you’re a beginner, but these tips for how to sew straight lines will help you master this skill in no time! If the boys in my high school class could do it, you can too!
Now, what are you going to sew? Find the best beginner sewing projects here.
