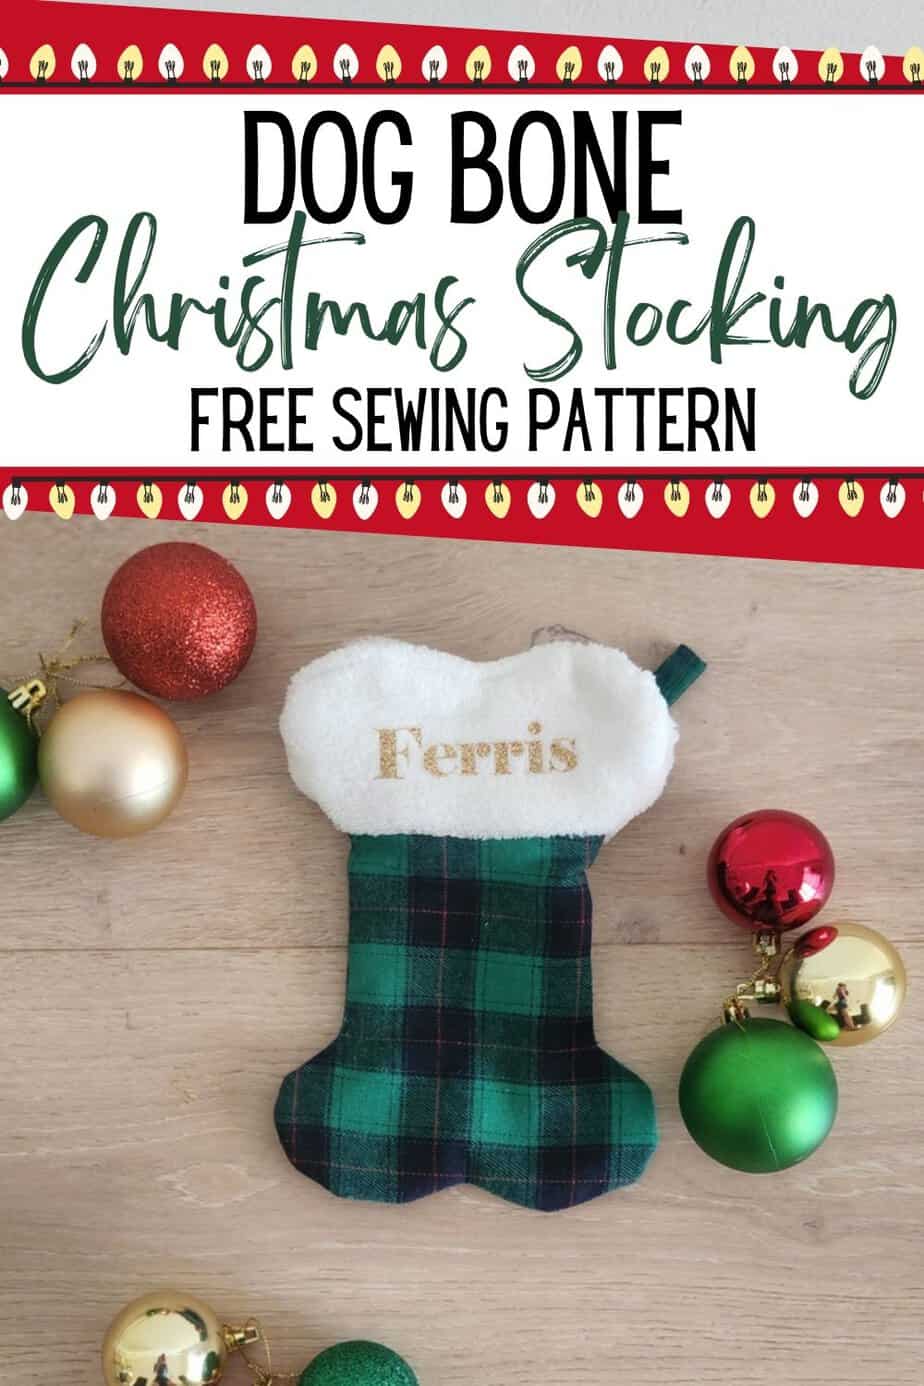
How to sew a Dog Bone Christmas Stocking (with free pattern)
Santa always leaves a treat for our dogs, but it’s taken me 11 years to sew up a Christmas stocking for my oldest dog. It seemed more urgent when the new puppy came along!
I could have sewn a Santa sack (that matches my kids’ ones) or traditional stocking, but I thought it would be fun to have a Dog Bone-shaped Christmas Stocking for my little fluffball.

Disclosure: This post contains affiliate links. If you purchase after clicking these links, Threadistry may receive a small commission, at no cost to you.
It’s a quick and easy project, using less than a fat quarter of each fabric. I used a very Christmas-y green plaid for the outer, plain green quilting cotton for the lining (and it’s reversible!) and fleece for the cuff, for that extra festive feel.
I added my dog’s name with heat transfer vinyl for that extra personalization.
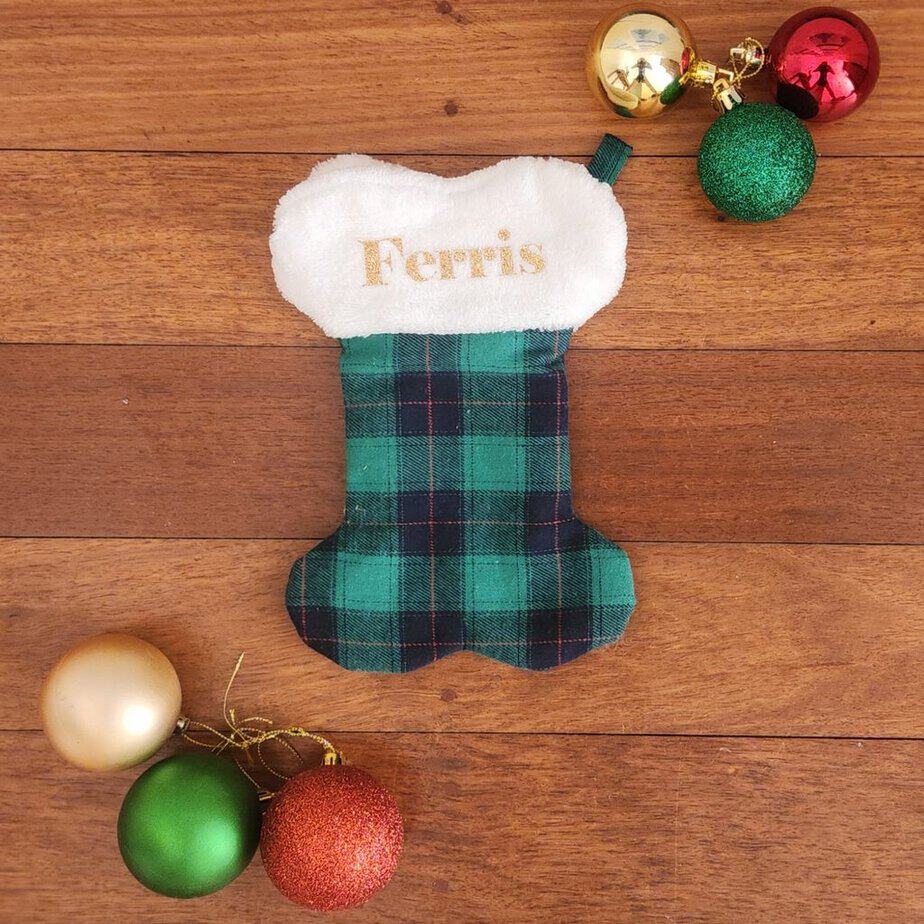
The finished size of the stocking is approximately 9inches (22cm) tall and 6 inches (15cm) wide.
Supplies
The first thing you’ll need is your free Dog Bone Christmas Stocking pattern template. You can get your free copy here:
Want an ad-free printable PDF version of the Dog Bone Christmas Stocking sewing pattern, including step-by-step photos? Head to the Threadistry store or Etsy to purchase a copy at a low price.
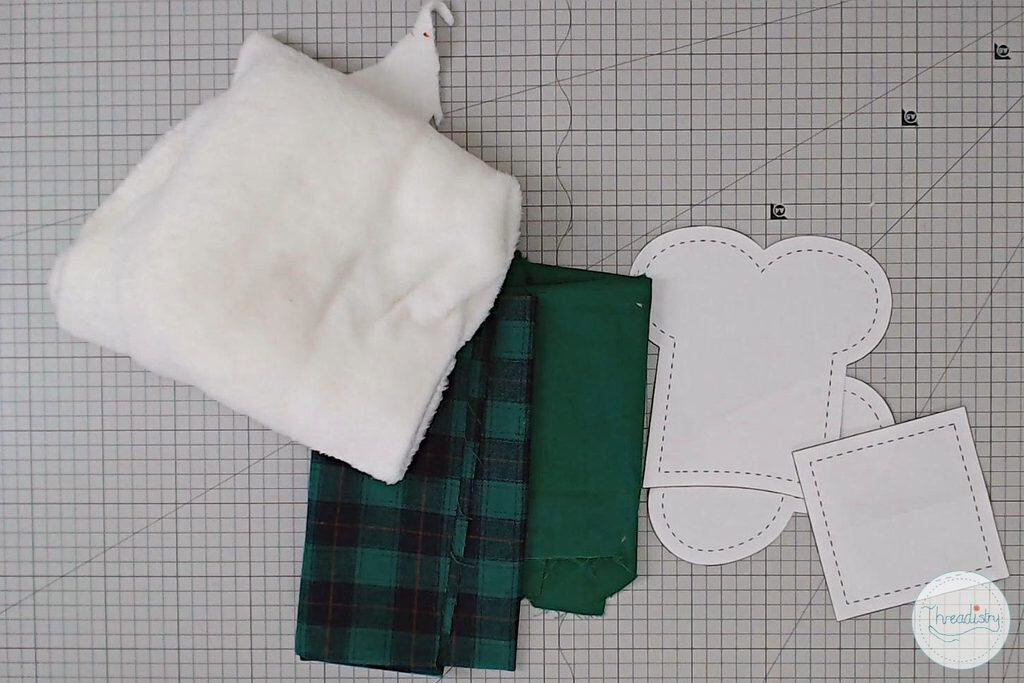
- Plaid fabric (for outer)
- Green quilting cotton (for lining)
- Fleece or fur (for cuff)
- General sewing supplies (sewing machine, scissors, pins, thread etc)
Instructions
Watch the video or scroll down for the photo tutorial:
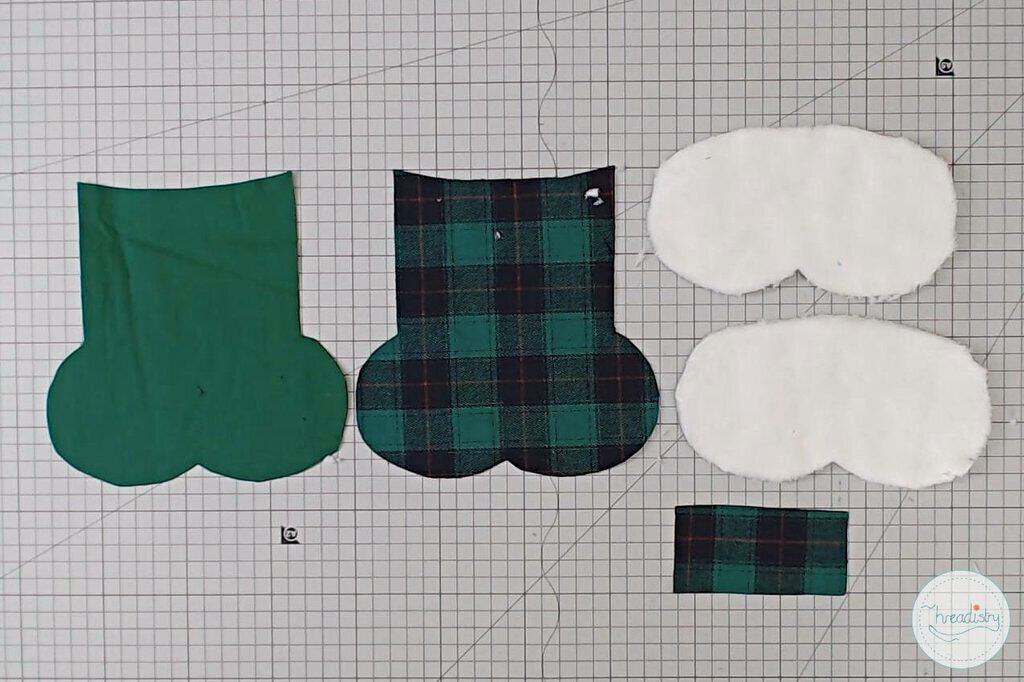
Step 1: Cut out the following pattern pieces:
- 2 bone pieces in main fabric
- 2 bone pieces in lining fabric
- 4 cuff pieces in fleece/fur
- 1 loop piece
Step 2: Pin and sew the curved edge of the cuff to the curved edge of the main fabric (between pattern markings A), with right sides together. Seam allowance is 3/8″ (1cm).
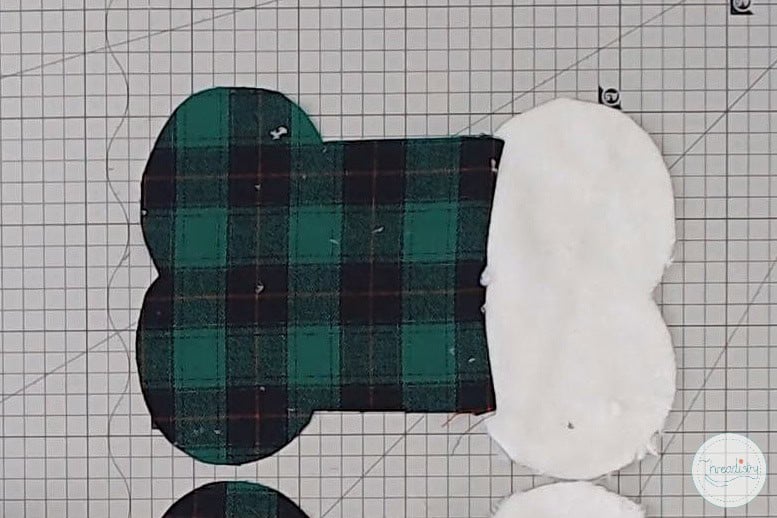
Note: this requires matching of opposite curves. Pin in the center and at the edges and then add a few extra pins in between to get the edges to match up.
Step 3: Repeat Step 2 with the lining fabric and remaining 2 cuff pieces.
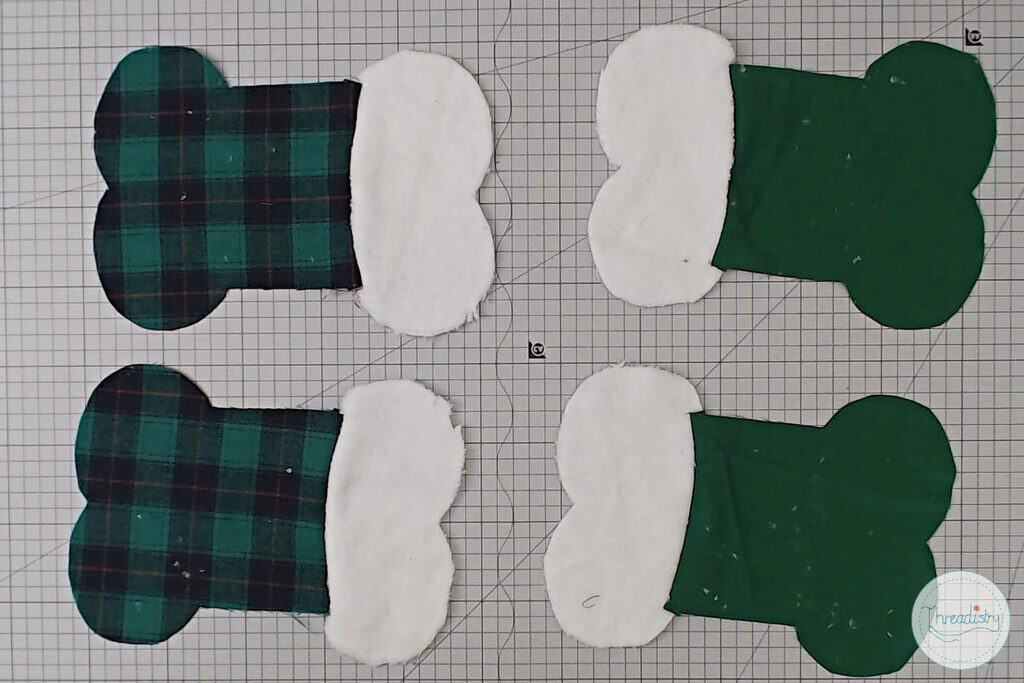
Step 4: Fold the loop piece in half and press. Open up and press both sides to the middle. Fold again along the first fold and sew in place 1/4 inch (6mm) from the edge.
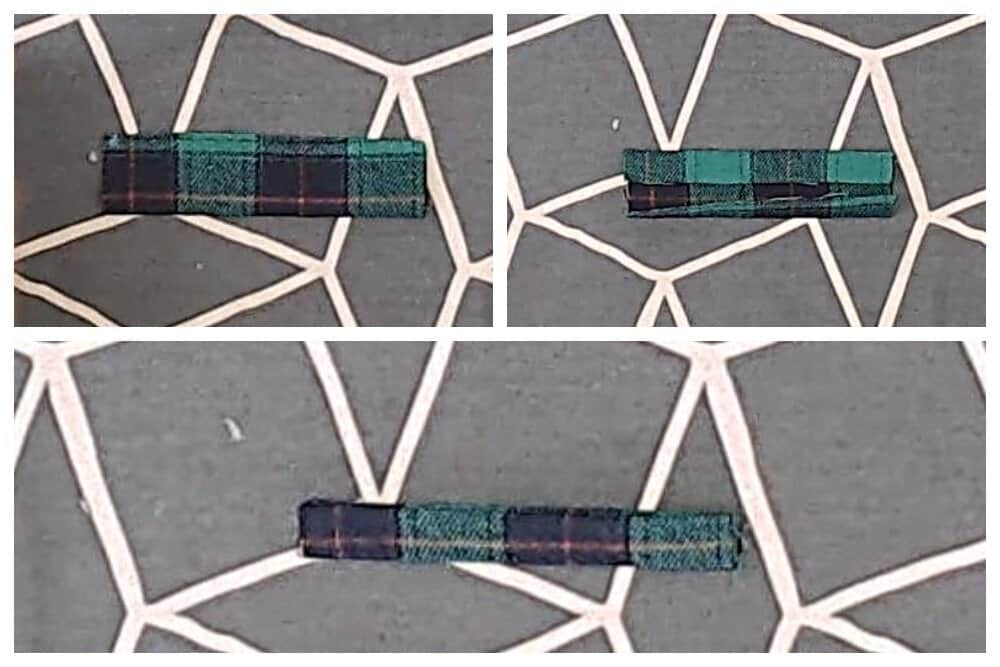
Step 5: Fold loop in half. Position on cuff section of one main body piece, with raw edges aligned. Sew in place with a basting stitch.
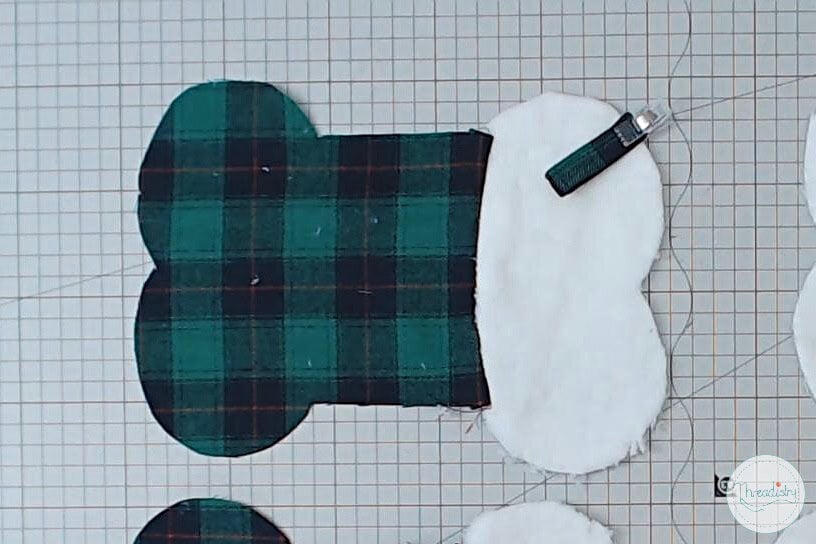
Step 6: Place to main pieces right sides together and sew from the widest point of the cuff around the bone to the widest point of the cuff on the other side (leaving the top part of the cuff open).
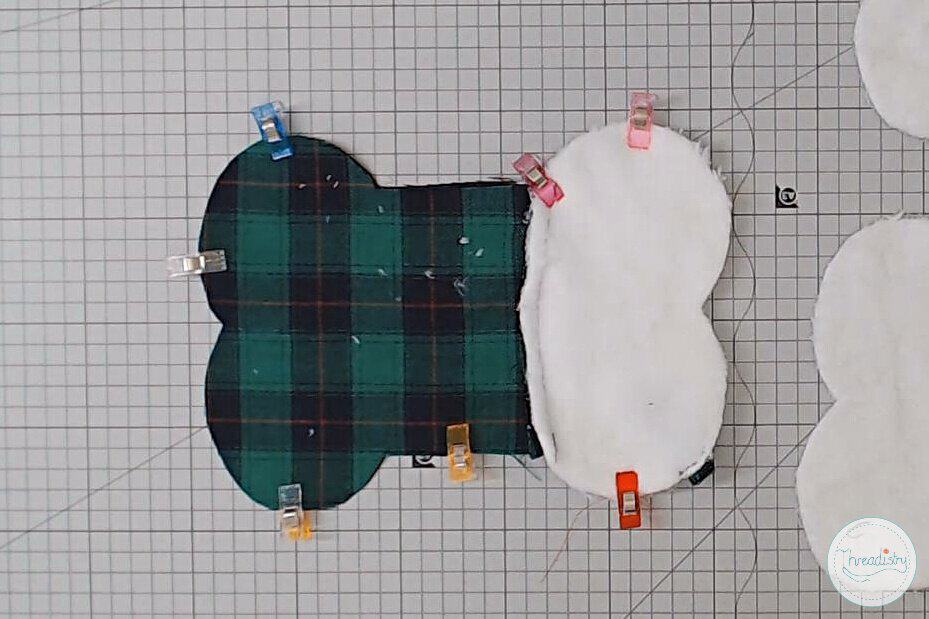
Step 7: Repeat Step 6 for the lining pieces.
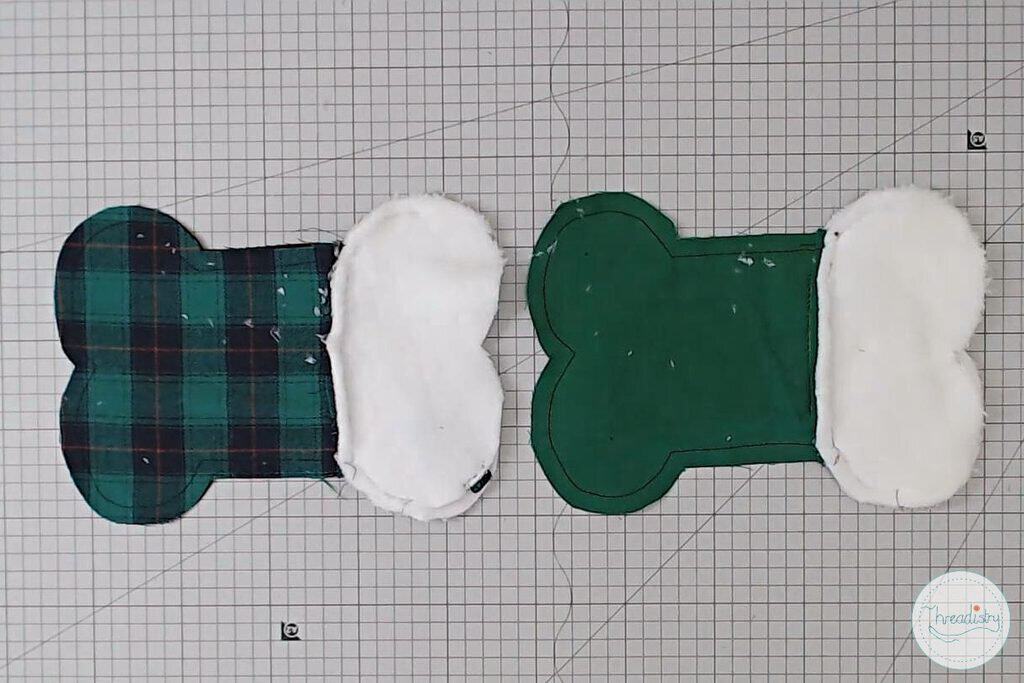
Step 8: Clip the corners and notch the curves for the sewn sections.
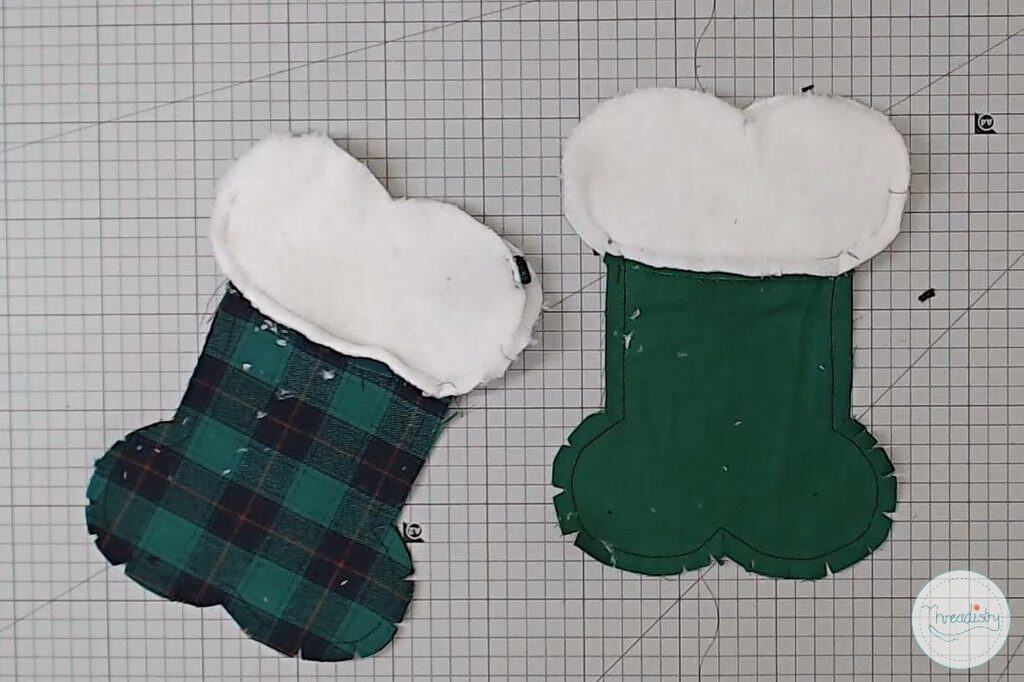
Step 9: Turn both pieces right sides out of give all seams a good press with an iron.
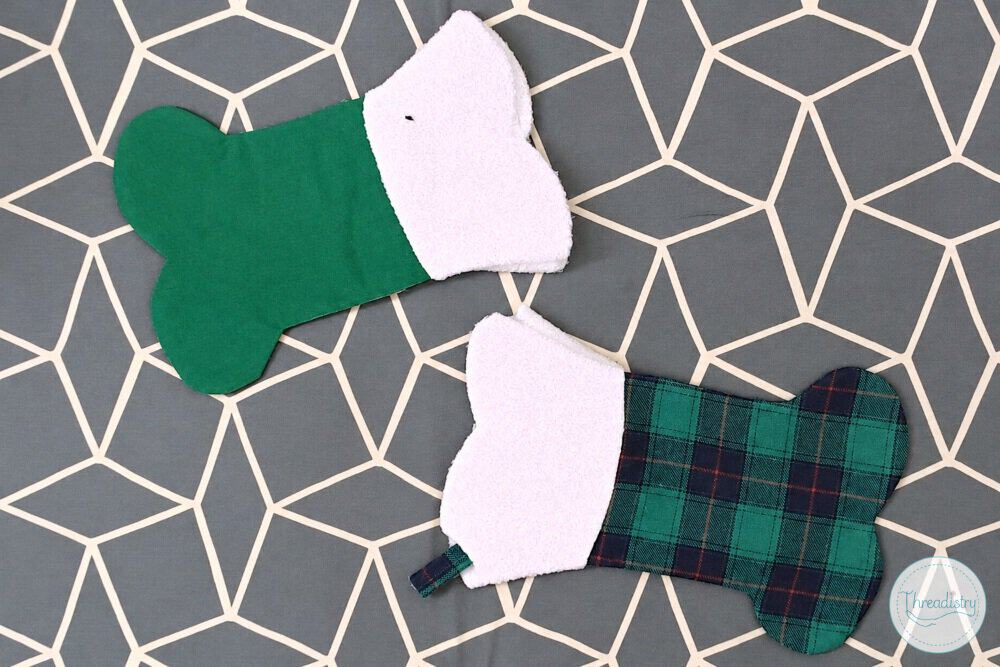
Step 10: Turn the main piece inside out again (but not the lining).
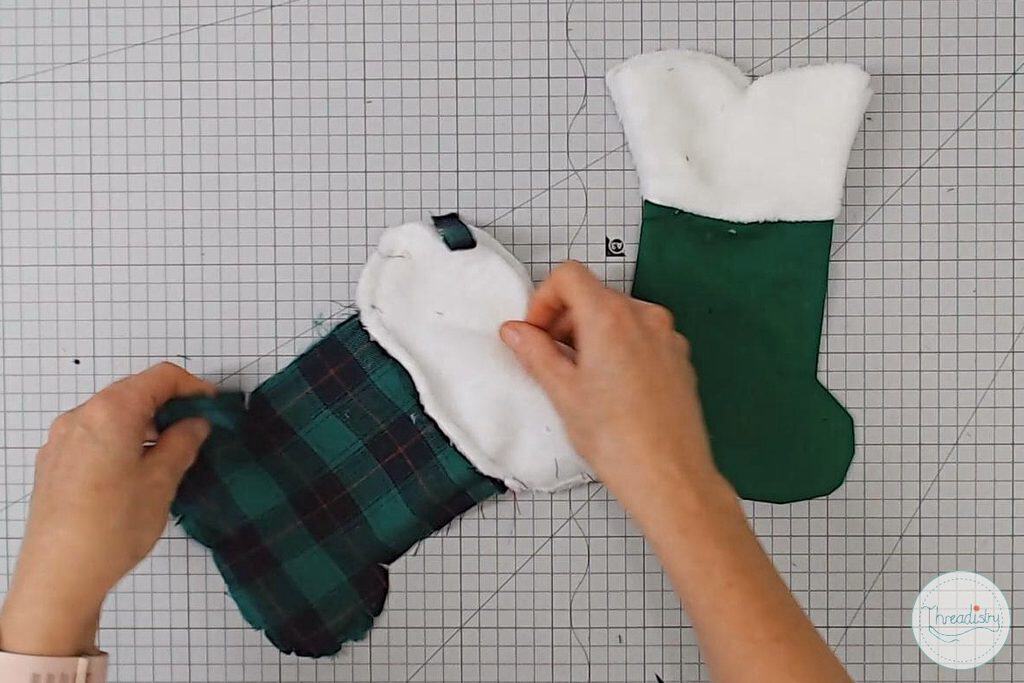
Step 11: Insert the lining piece inside the main piece, so the pieces are right sides together. Match the top sections of the cuff. Sew around the end (with a 3/8″/1cm seam allowance) leaving a 1.5 inch gap to turn.
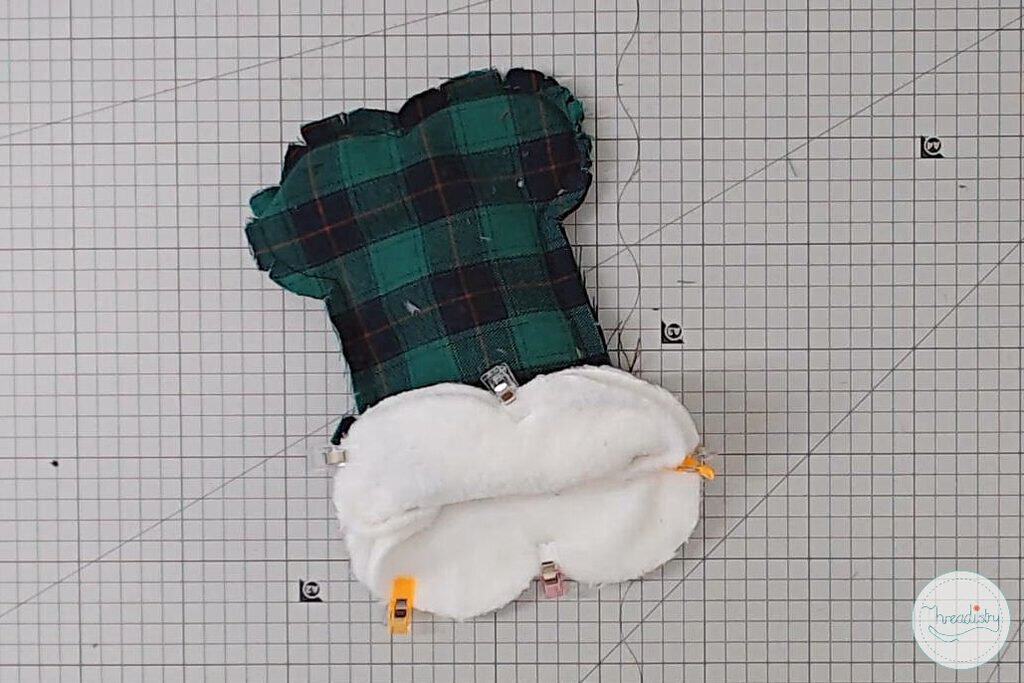
Step 12: Turn the stocking right sides out through the gap. Push the lining inside the main piece.
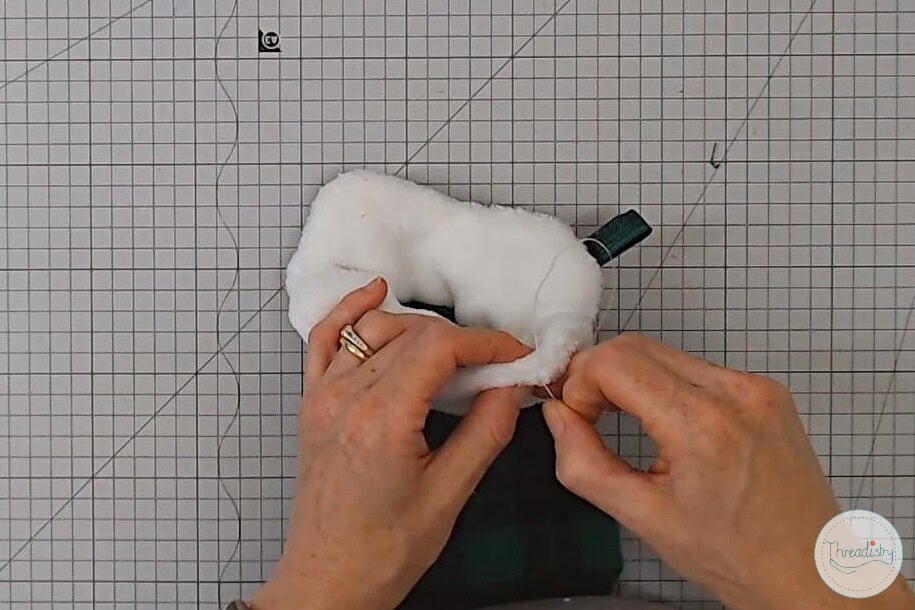
Step 13: Hand stitch the gap closed with a ladder stitch.
And there you have your finished Dog Bone Christmas Stocking, ready to hand from the mantel (or put under the Christmas tree).
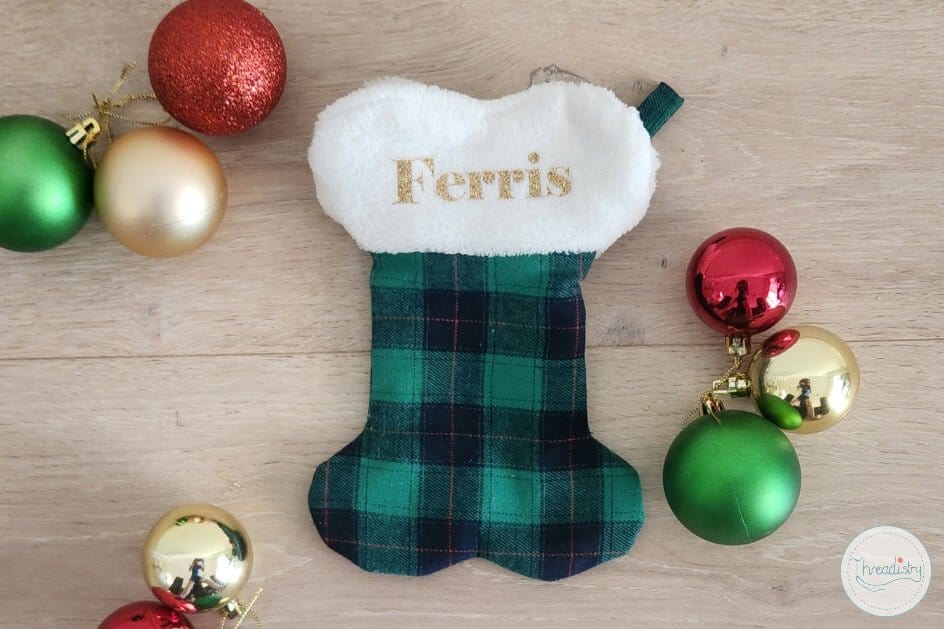
I added my dog’s name using gold glitter heat transfer vinyl for an added personal touch!
Now there’s no mixing up who gets the dog treats at Christmas. I designed a different stocking for my puppy. That tutorial is coming soon!