How to Read a Sewing Pattern Envelope
You’ve set up your first sewing machine, maybe tried a few simple projects, and you’re ready to dive into sewing patterns. Maybe you’ve flicked through the pattern catalogues in the fabric store and pulled the pattern out of those big drawers. Or you’ve found the perfect pattern online. So now what?
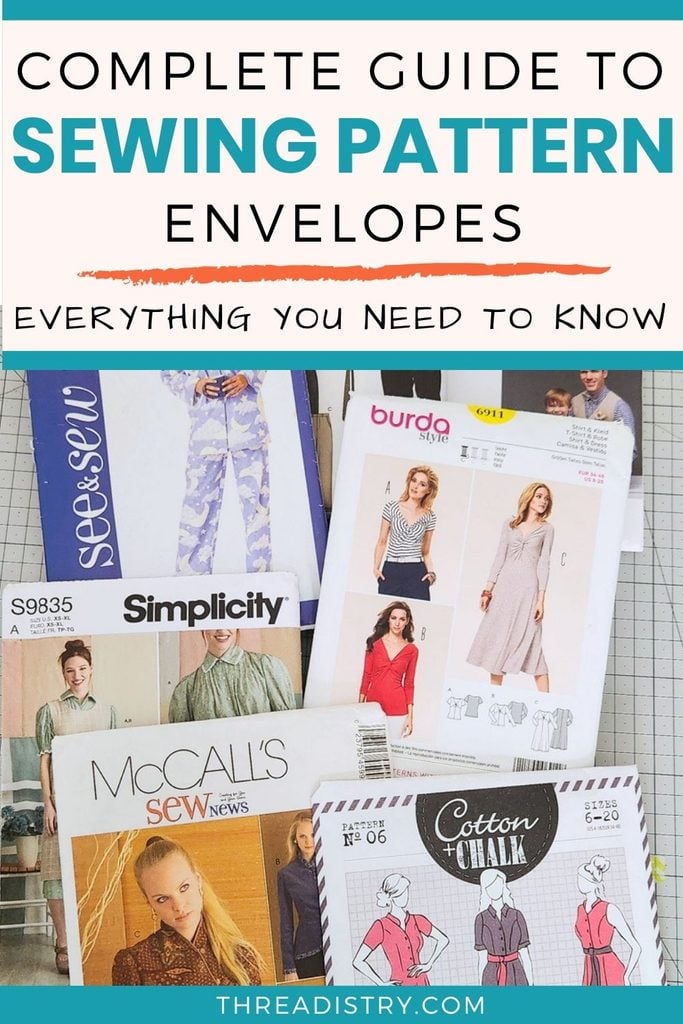
Here’s all the things you need to look at on the envelope before buying you start sewing.
1. Photos and line drawings
Typically, the front of the pattern includes photos of the finished garment worn by models, including the different variations or garment pieces. This will be labelled with a letter (so you can work out the fabric and notions required – more about that later).
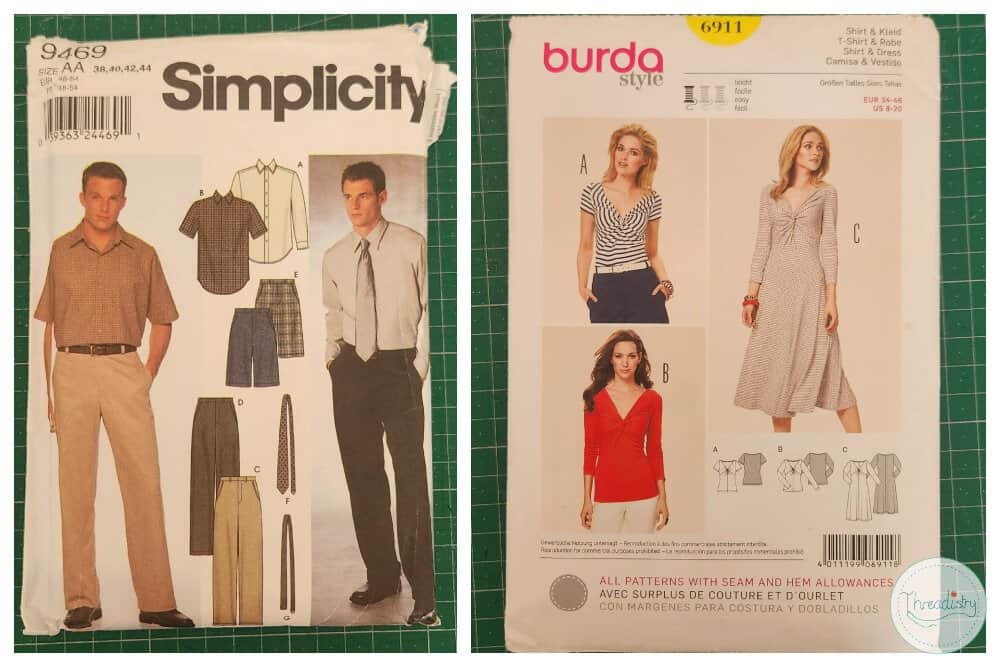
Patterns also include a line drawing of the front and back of each view. This is a technical drawing of the pattern, that shows all the details like seam lines, darts, pleats, gathers, buttons, zippers etc.
Some patterns have the line drawings on the front of the envelope. Other patterns include them on the back. And some show the front line drawing on the front, and the back view on the back of the envelope.
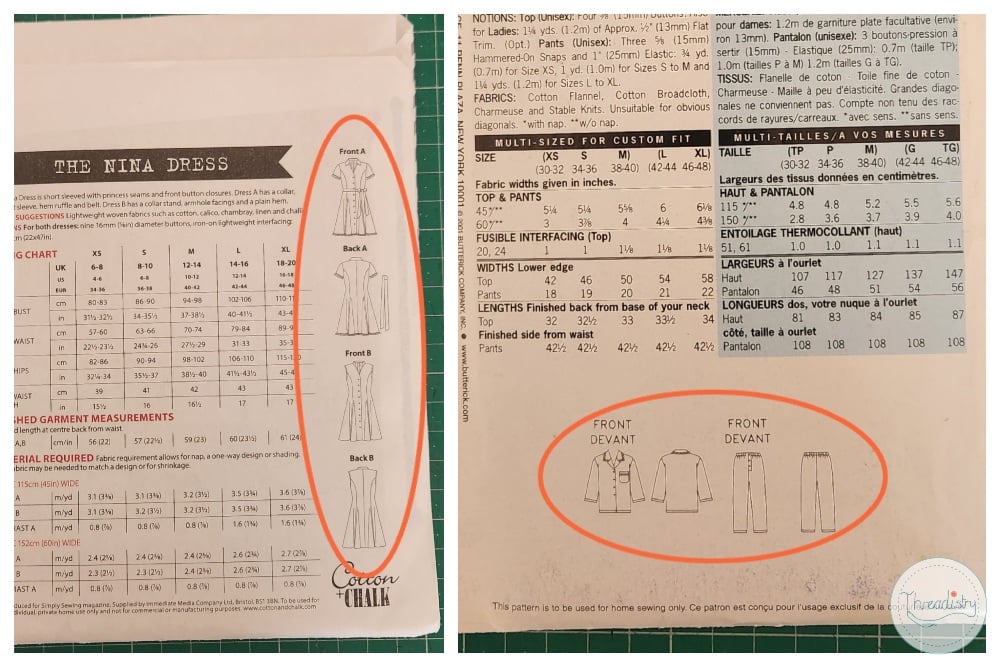
So check the line drawing for all the little details that might not be clear on the garment photos.
2. Pattern description
Some patterns include a brief description of the pattern, such as the intended fit (loose-fitting, close fitting etc) and design details, such as the type of collar and cuffs. It can also include an explanation of the different views.
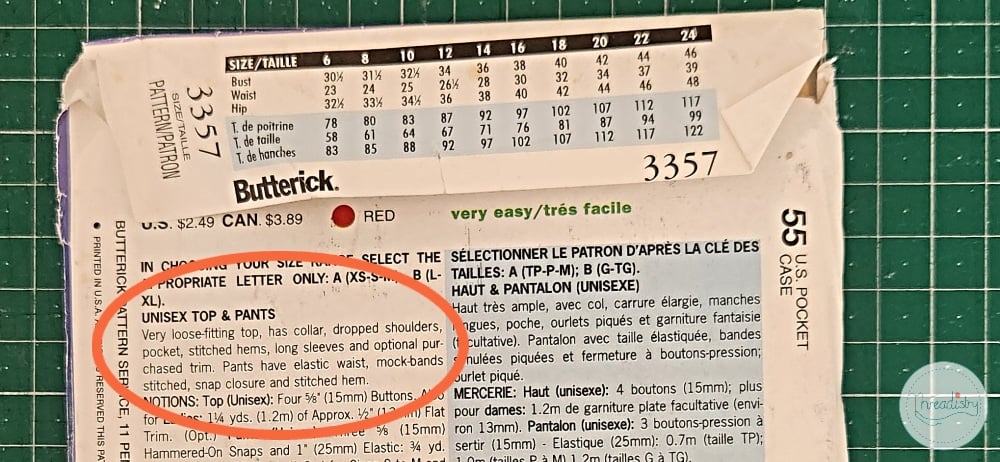
There may also be a description of the pattern level, but there is no standard for this. Certain pattern makers seem to call everything “easy”! I’d only pay attention to this if it’s listed as intermediate or advanced (and then look at the other pattern details for why!).
3. Sizing information
There are typically two sections of sizing information:
- Body measurements: compare these with the measurements you take of your own body to choose the correct size.
- Garment measurements: this is the finished size of the garment after you’ve sewn it up. This includes ease, which can be a combination of wearing ease (so that you can move in the clothing) and design ease (whether the style is close-fitting or loose).
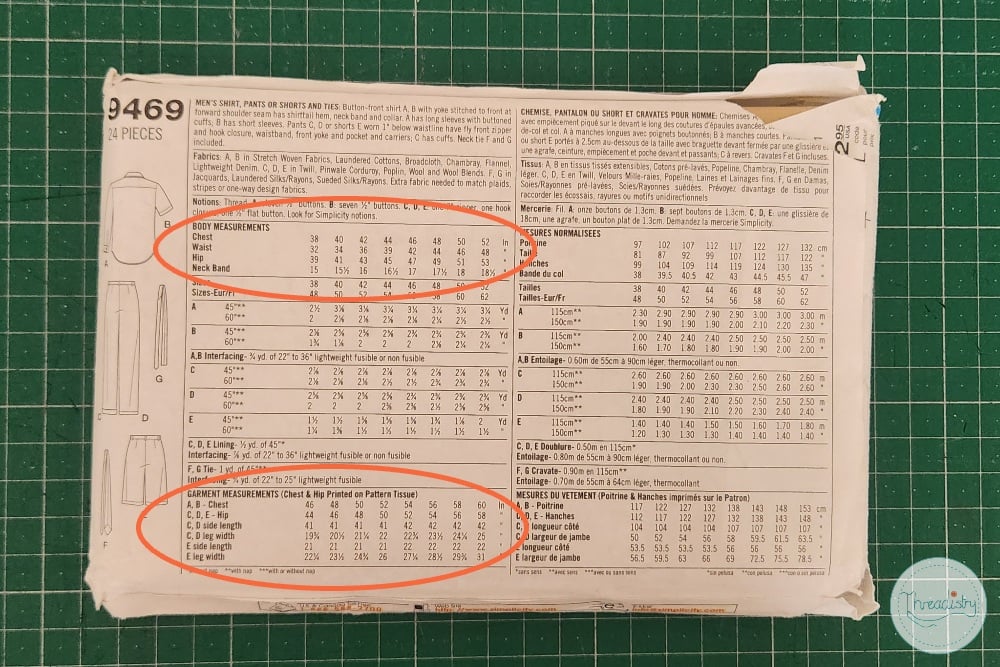
Some pattern companies use a lot of ease, which can result in oversized finished clothing. So it’s worth having a quick look at the finished measurements and maybe compared them to your existing clothes.
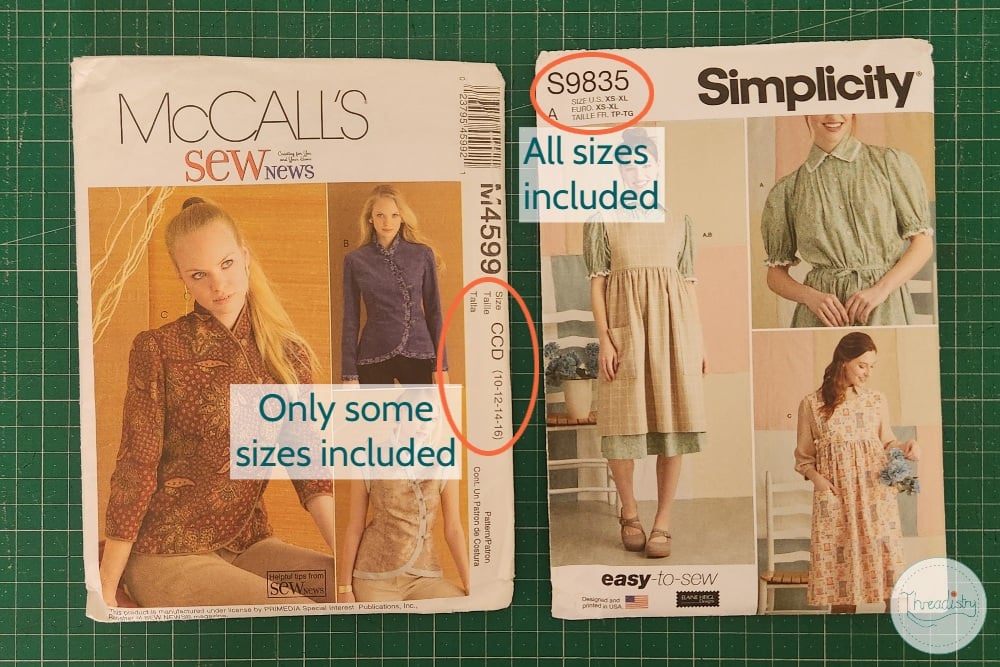
After you’ve selected your size, check the sizes included on the front of the pattern envelope. Some paper patterns include all size. Others only include a small range. As most paper patterns can’t be returned, you don’t want to grab the wrong one!
4. Fabric recommendations
Once you’re happy with the style and sizing, it’s time to check the fabric recommendations (or suggested fabrics). This can be different for the different views.
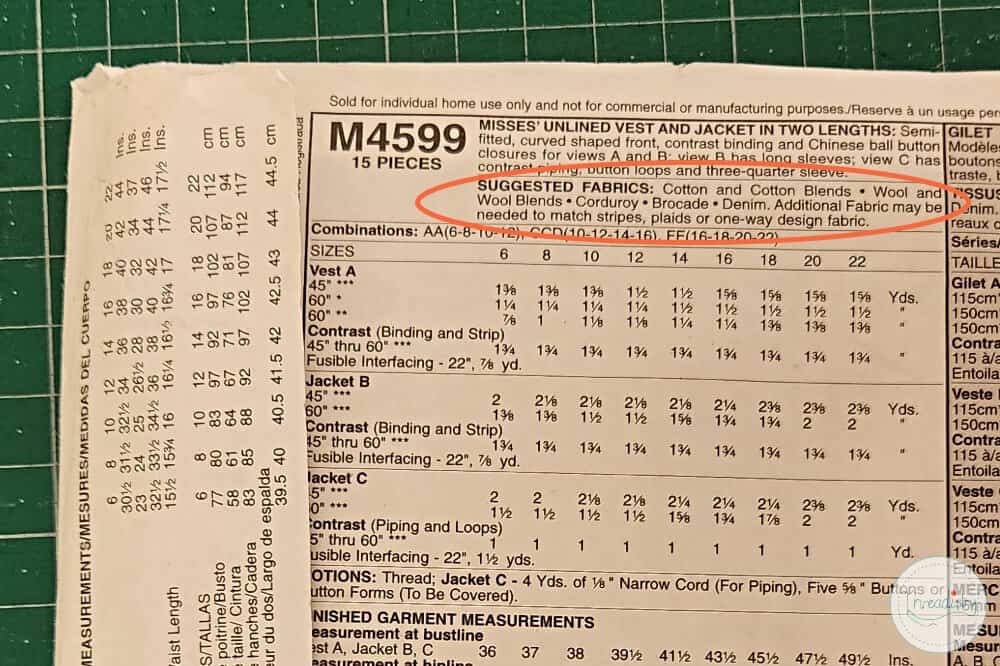
Not every suitable fabric will be listed (because there are so many fabrics in the world!), but you will want to choose a fabric with a similar weight and drape to the suggested fabrics (unless you’re happy to take a risk!).
Never use a woven fabric for a knit pattern. If you use a knit fabric for a woven pattern, the finished garment may not turn out as you expect.
5. Fabric requirements
So now you’re happy the pattern is the right style and size, and you’ve chosen your fabric. How much fabric do you need? Fabric requirements will be listed in a table. When reading the table, consider the following:
- Which view? The fabric requirements are listed separately.
- Width of your fabric: the standard bolts of fabric in the store are around 45 inches or 60 inches wide. Select the right option for your chosen fabric.
- Yards or metres: most patterns list the requirements in both yards and metres. Make sure you choose the row for your prefered measurement unit.
- With or without nap: If your fabric has a “right way up” (eg a directional print or texture like velvet), use the fabric requirements with nap. If it doesn’t matter (like with a plain cotton), use without nap which usually requires less fabric. Find out more about fabric nap here.
- Multiple Fabrics? If the garment uses multiple fabrics (such as for color-blocking), the amount of each each fabric required will be listed.
- Pattern matching: If your fabric has stripes or other pattern that you want to match along seam lines, you may need more fabric than listed. How much more depends on the size of the pattern repeat and the type of pattern pieces, so it’s hard to provide a rule for this.
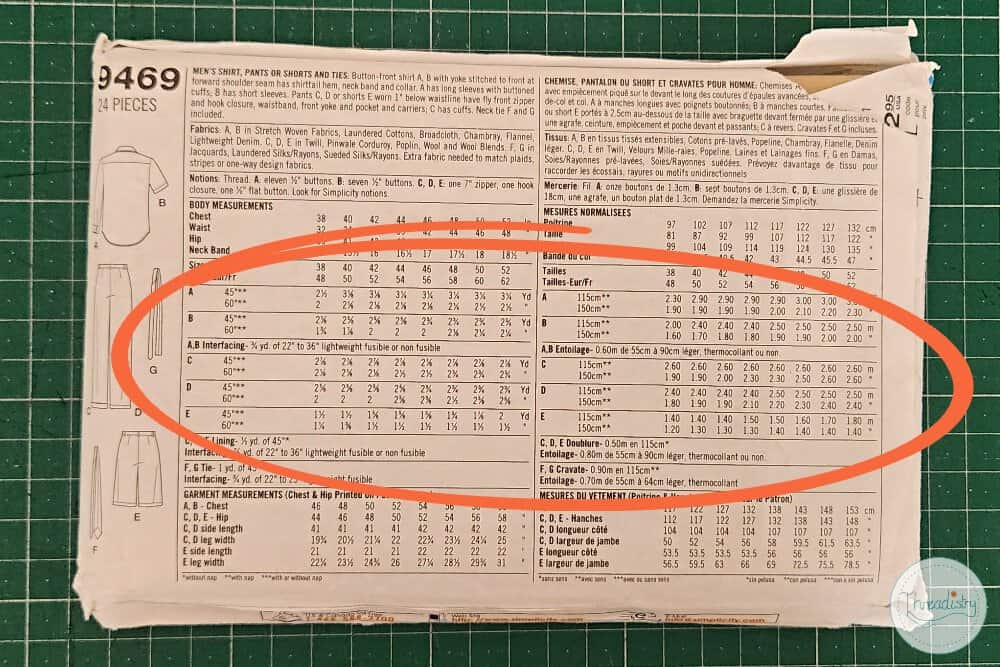
Note: sometimes interfacing is included in the fabric requirements (usually if the amount varies significantly with the size of the pattern). Other times, it can be included in the notions.
6. Notions
The notions section lists out all the bits and pieces you need to make your pattern, such as:
- Closures: zippers, buttons, clasps, buckles, hook and eyes etc
- Trim: ribbon, lace, cord, ric rac, pom poms, sequences etc
- Elastic
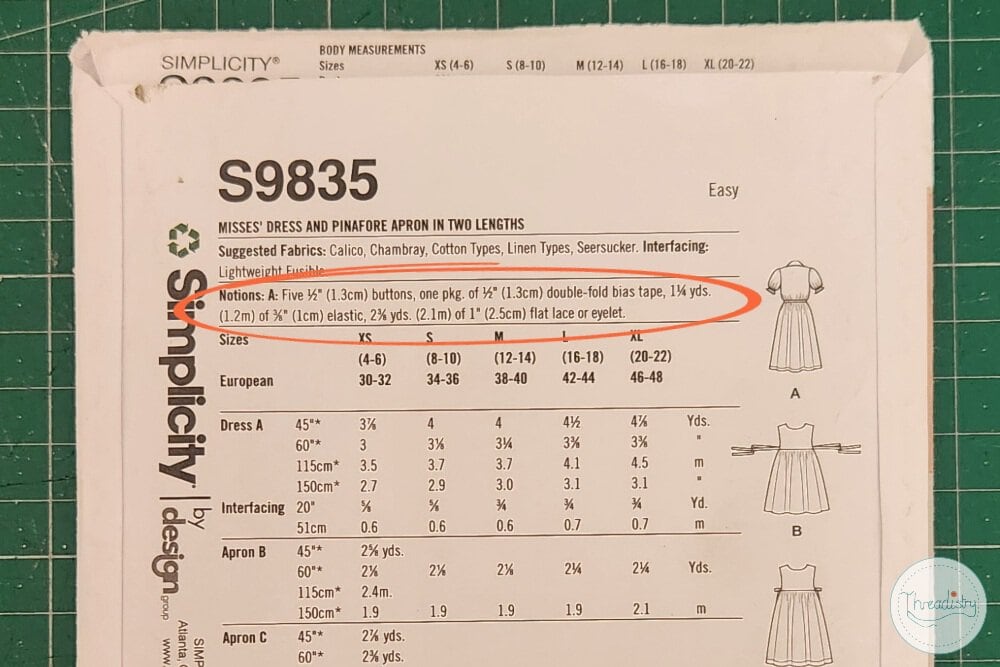
The notions section usually includes recommended sizes. These are often design choices, so it’s ok to choose something different (although using a 1/2 inch button where a 2 inch button is recommended may not go well!).
If you can’t find the exact zipper size, use a longer zipper as they can be shortened easily.
The one thing generally not included is coordinating thread. Don’t forget to buy that too! Here are my tips for choosing the best colored thread for your project.
So following this guide, you should leave the sewing store with the perfect pattern (in the right size) with all the fabric and notions you need to get sewing!