Easy DIY Heart Pillow (with reverse applique) | free pattern
Are you looking for a fun and creative sewing project that will add a touch of love to your home decor? Look no further than this reverse applique heart pillow tutorial!
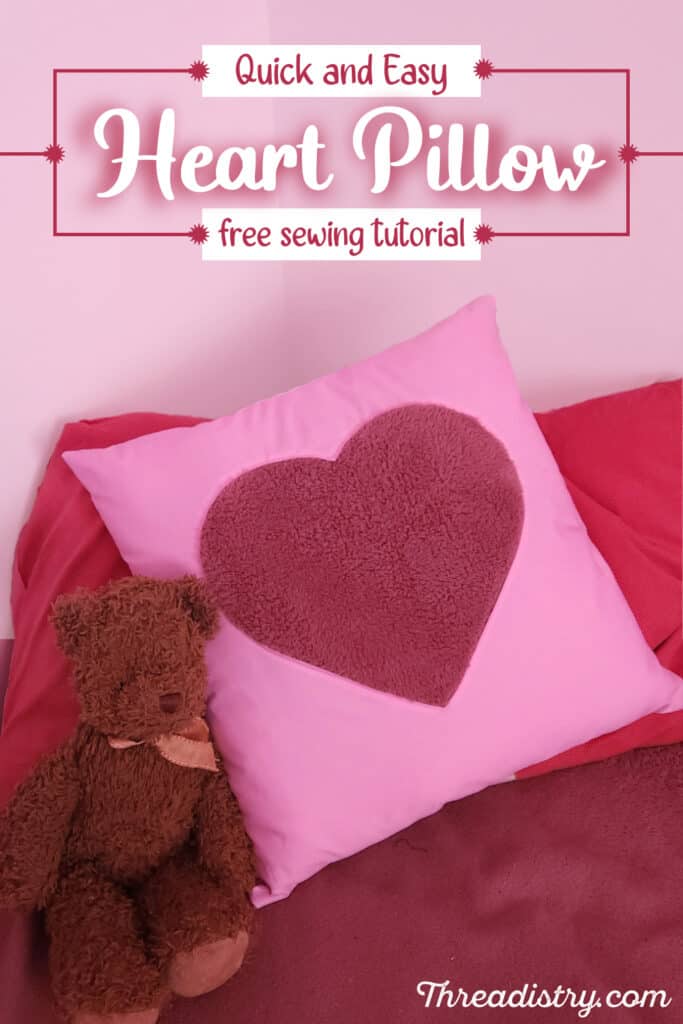
This is a quick and easy project, perfect for all levels. Reverse applique is a great way to feature a textured fabric (like teddy bear fleece) or to highlight a fun print.
It’s the perfect project for Valentine’s Day. Use it as a cute throw cushion on a sofa or as part of a girl’s bedroom decor.
So, grab your sewing machine and follow this step-by-step tutorial to make your own DIY Heart Pillow.
Disclosure: This post contains affiliate links. If you purchase after clicking these links, Threadistry may receive a small commission, at no cost to you.
Supplies
The first thing you’ll need is the free reverse applique heart pillow template. You can get your free copy here:
Want an ad-free printable PDF version of the Heart Pillow sewing pattern, including step-by-step photos? Head to the Threadistry store to purchase a copy at a low price.

- 1/2 yard quilting cotton fabric (main front and back of cushion)
- 1/2 yard fabric for lining (quilting cotton, poplin or any light to mid-weight woven fabric)
- 1/2 yard teddy bear fleece/minky (or other fabric) for the heart
- 18″ invisible zipper
- 20″ pillow insert for a fuller pillow or 18″ pillow insert for a flatter pillow
- Zipper foot or invisible zipper foot
- Wash away quilter’s tape (optional)
- Basic sewing supplies (eg sewing machine, thread, scissors etc)
Instructions
Watch the video or scroll down for the photo tutorial:
Step 1. Print your pattern piece templates
The free pattern download includes printable templates for the heart shape, a square for the main pillow and a rectangle for the fabric behind the heart cutout. Cutting measurements are also provided below. If you’d prefer not to print the square/rectangle pieces, just print pages 3-4 for the heart template.
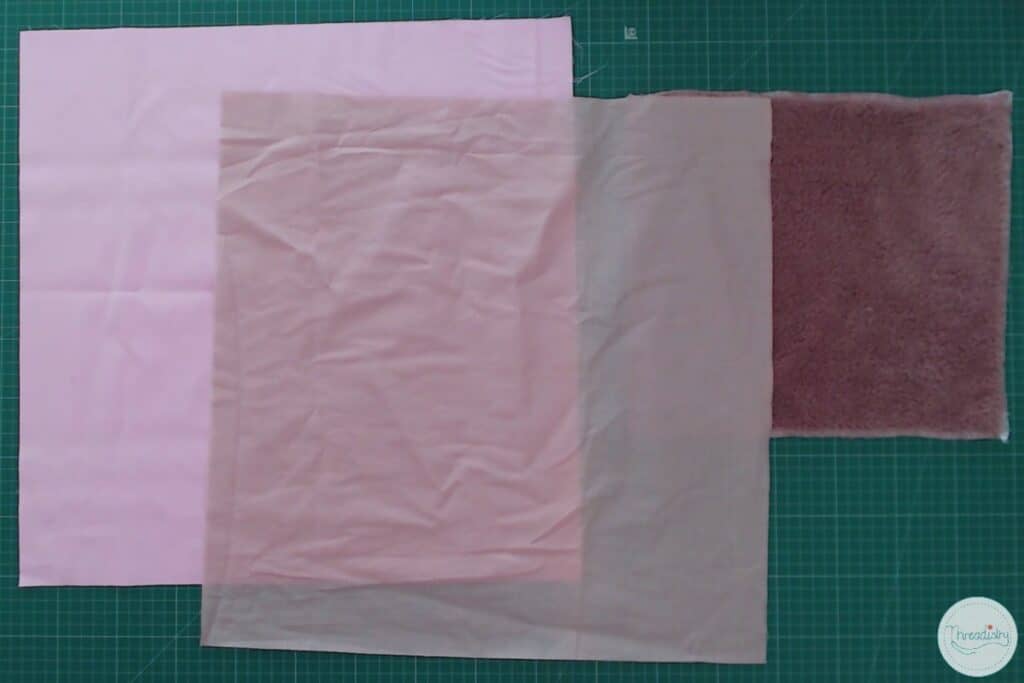
Step 2. Cut out the following fabric pieces:
- Front fabric – 18 x 18 inch (45 x 45 cm)
- Back fabric – 18 x 18 inch (45 x 45 cm)
- Lining fabric – 18 x 18 inch (45 x 45 cm)
- Fabric for heart – 13 x 11 3/4″ (33 x 30cm)
Note: you do not cut out the heart at this step.
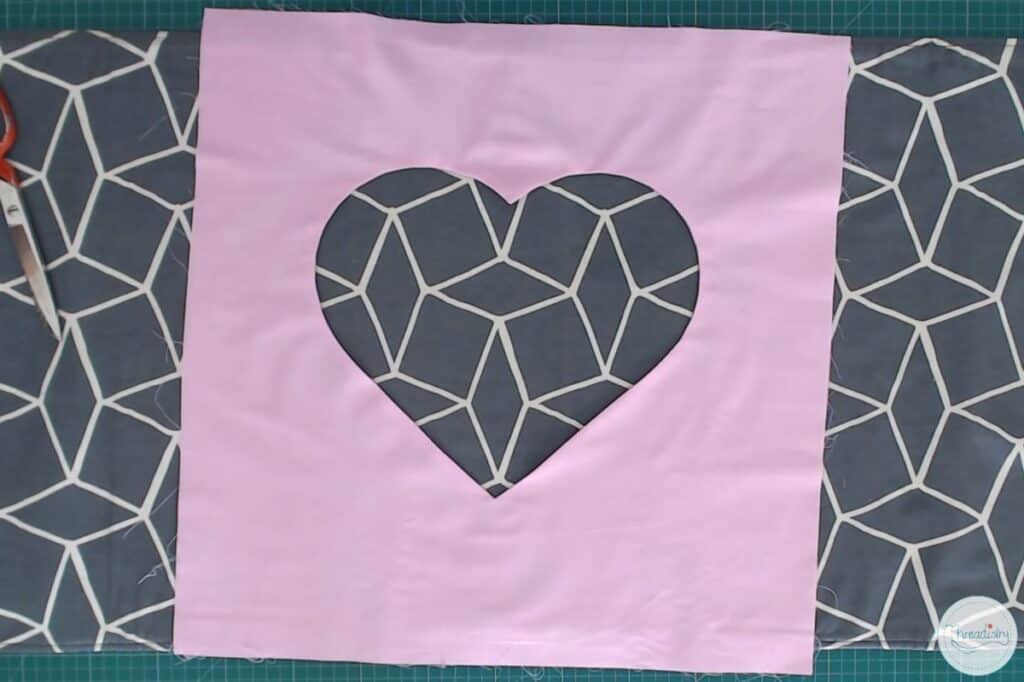
Step 3. Place the front fabric and lining fabric right sides together. Trace the heart shape onto the lining fabric. Pin the two layers of fabric around the heart.
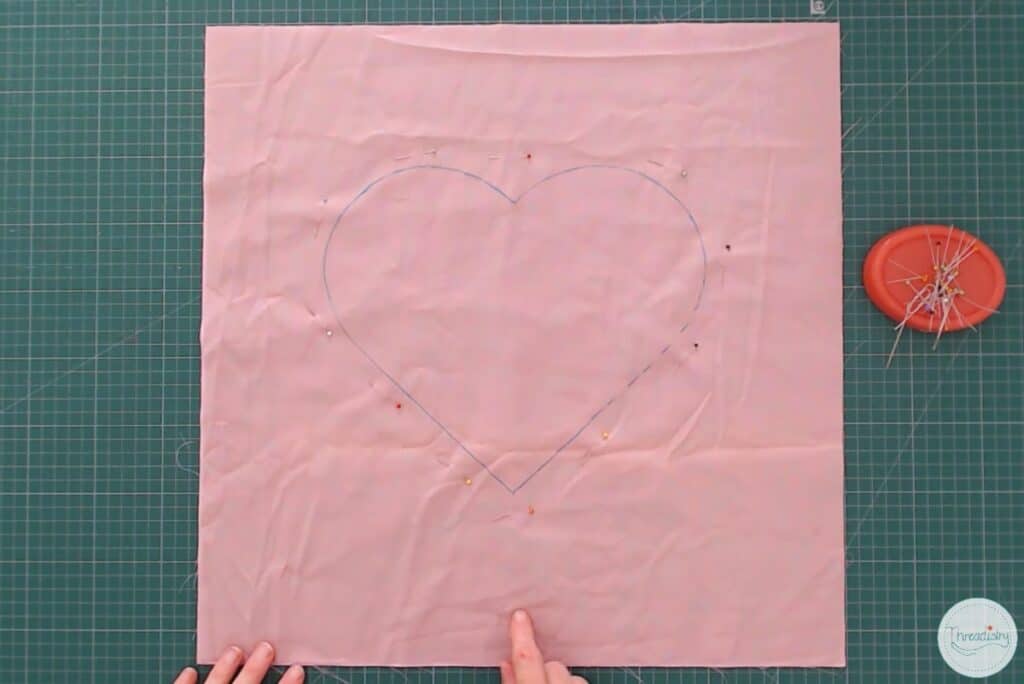
Step 4. Sew around the heart, just outside the line you marked with a straight stitch.
Step 5. Cut out the fabric in the centre of the heart approximately 3/8″ (1cm) from the sewn line. Clip the remaining seam allowance about every inch around the curves of the heart and to the point at the bottom of the heart. Trim the seam allowance at the top point.

Step 6. Pull the lining fabric through the heart so the outer and lining fabric are both right sides out (wrong sides together), easing out the heart shape at the centre. Press around the heart shape.
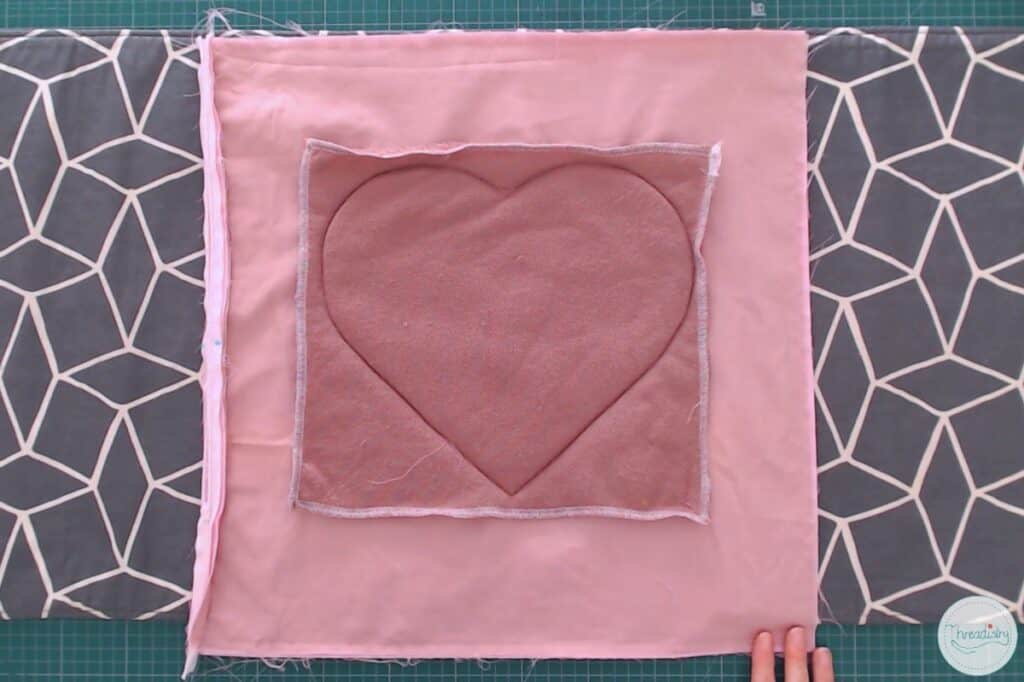
Step 7. Place the piece of fabric for the heart centre on your table, right side up. Lay the cutaway fabric over the top, also right side up. Pin all the layers together.
Optional: Use wash-away quilter’s tape to hold the backing fabric in place instead of pins.
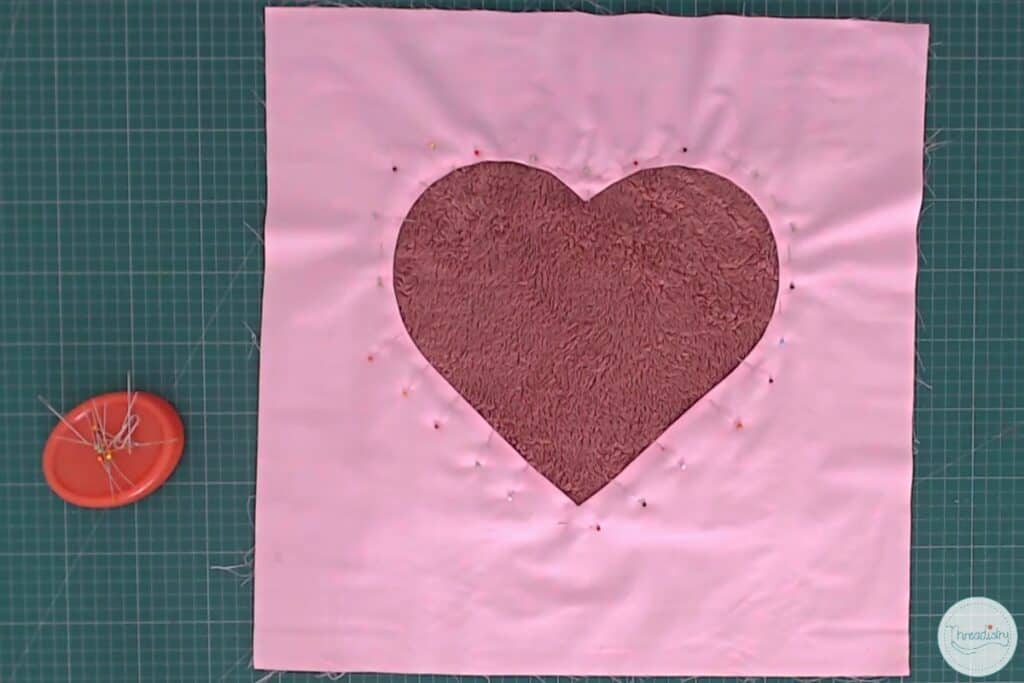
Step 8. Sew around the outside of the heart, approximately 1/8″ (3mm) from the edge.
Step 9. If using a standard zipper foot (not an invisible zipper foot), unfold the zipper teeth and press gently.
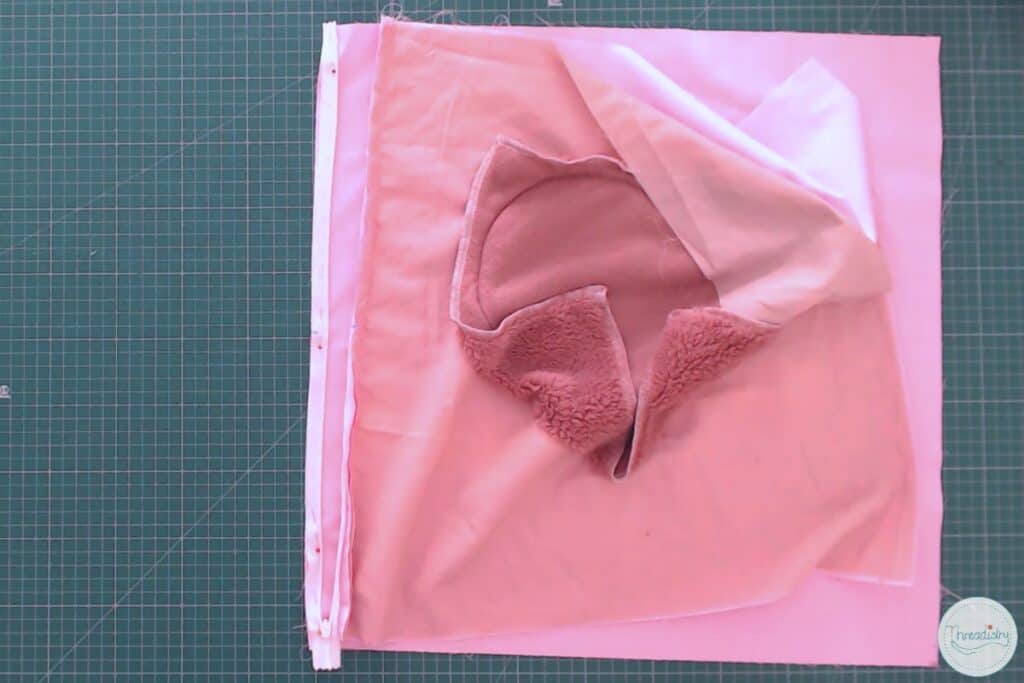
Step 10. Open up your zipper and place it right side down on one edge of the cushion front, with the edge of the zipper tape lining up to the edge of the fabric. Sew into place using a zipper foot as close to the zipper teeth as possible.

Step 11. Place the other side of the zipper right side down on one edge of the pillow back fabric, once again lining up the edge of the zipper tape with the edge of the fabric. Sew into place using a zipper foot as close to the zipper teeth as possible.
Step 12. Check the zipper closes and looks invisible. Press the zipper seams.
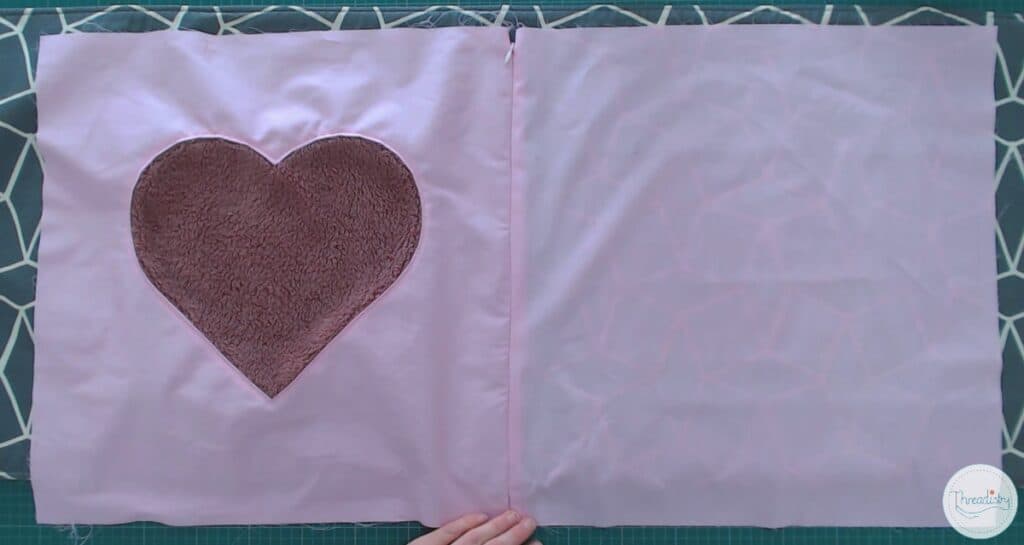
Step 13. Open the zipper. Place the pillow front and back fabric right sides together. Pin and sew the remaining 3 sides with a 3/8″ (1cm) seam allowance.
Note: If you will be washing your cushion cover regularly, you may want to finish your seams with a serger or zigzag stitch. Mine will only be used occasionally for decorative purposes, so I haven’t finished the seams.
Step 14. Turn the pillow right sides out through the zipper opening, easing out the corners. Place the pillow insert inside the cover and zip it closed.
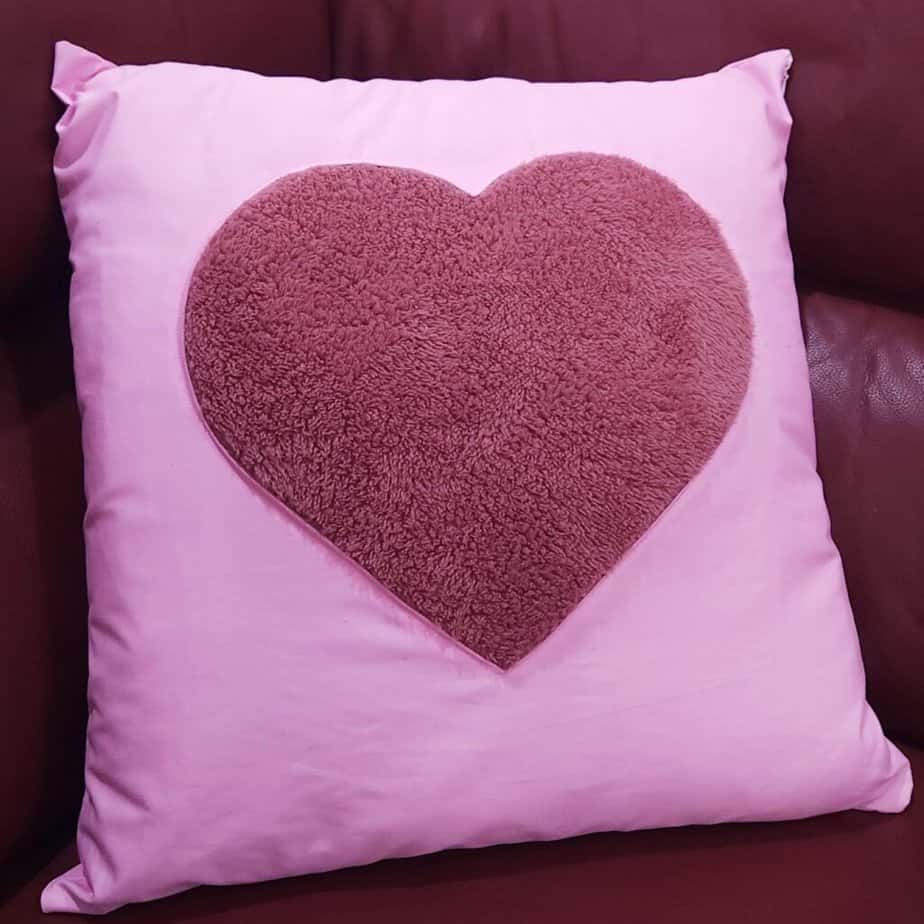
There you have a cute reverse applique heart pillow, ready to decorate your home!
Want an ad-free printable PDF version of the Heart Pillow sewing pattern, including step-by-step photos? Head to the Threadistry store to purchase a copy at a low price.
Find more cushion sewing patterns here.
Looking for more heart sewing projects? Check out this adorable heart plush toy pattern.