Quick and Easy Easter Craft: Felt Easter Eggs
Looking for a quick and easy Easter craft to decorate your home? Sew up some felt Easter eggs to brighten your home (without filling it with chocolate!).

Disclosure: This post contains affiliate links. If you purchase after clicking these links, Threadistry may receive a small commission, at no cost to you.
Do you decorate your home for Easter? I don’t really decorate my home during the year, other than for Christmas, mostly because I don’t have much space to store decorations.
One of my friends pulls her Christmas trees out at Easter and has and Easter tree. So I decided to make her some felt Easter eggs to add to her collection. They are so quick and easy to make – I can make them in under 30 minutes, and I love the ombre look.
Buy a big stack of felt in all different colours and get decorating!

Felt Easter Eggs Tutorial
Materials
3 sheets of felt (light, medium and dark colour) – or 1 sheet if only using one colour
4 inch (10cm) piece of coordinating ribbon
Egg template printout (download here)
Thread, needle, sewing machine
Method
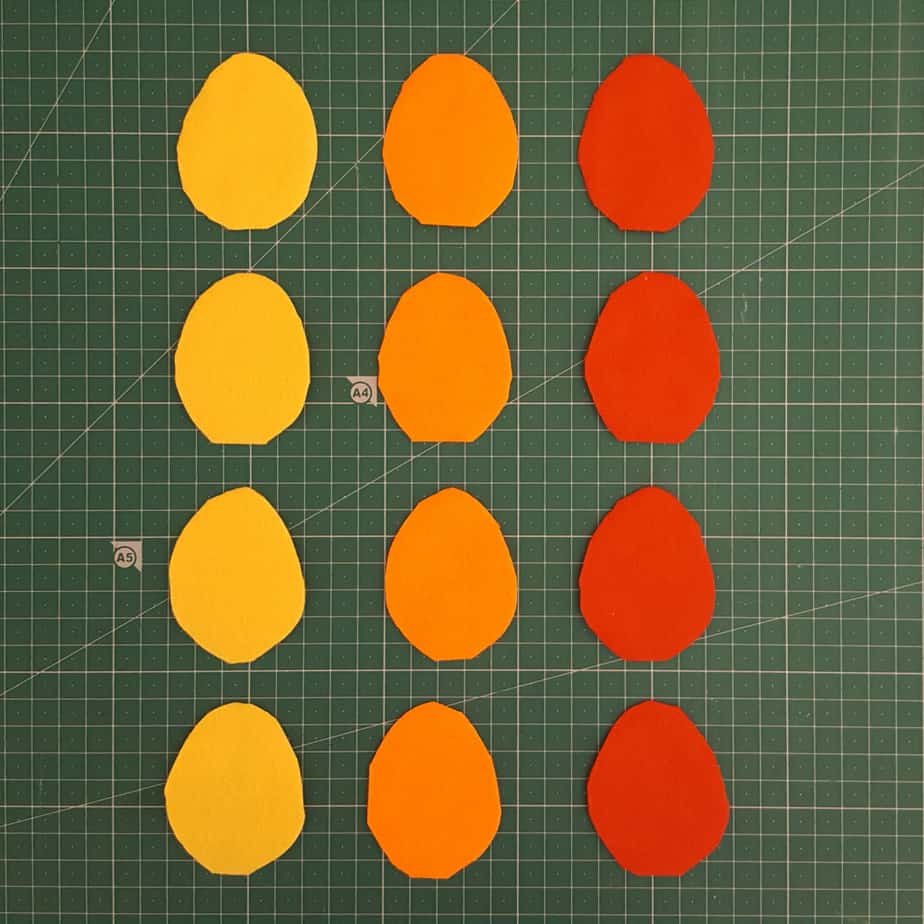
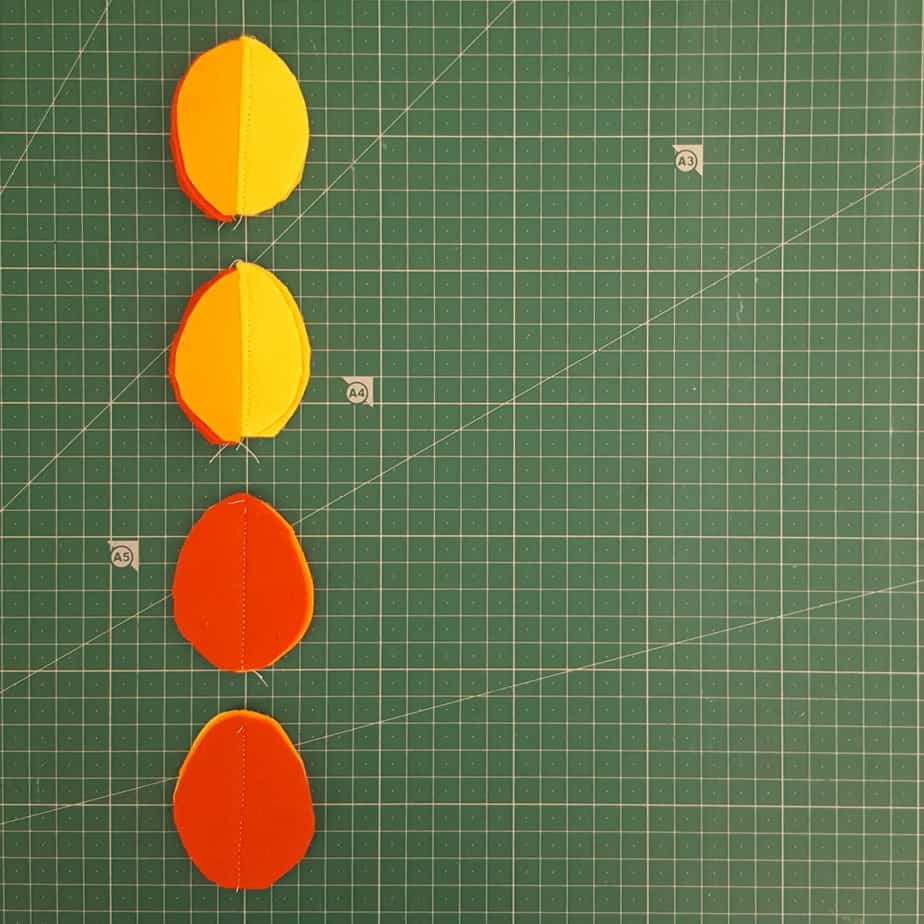
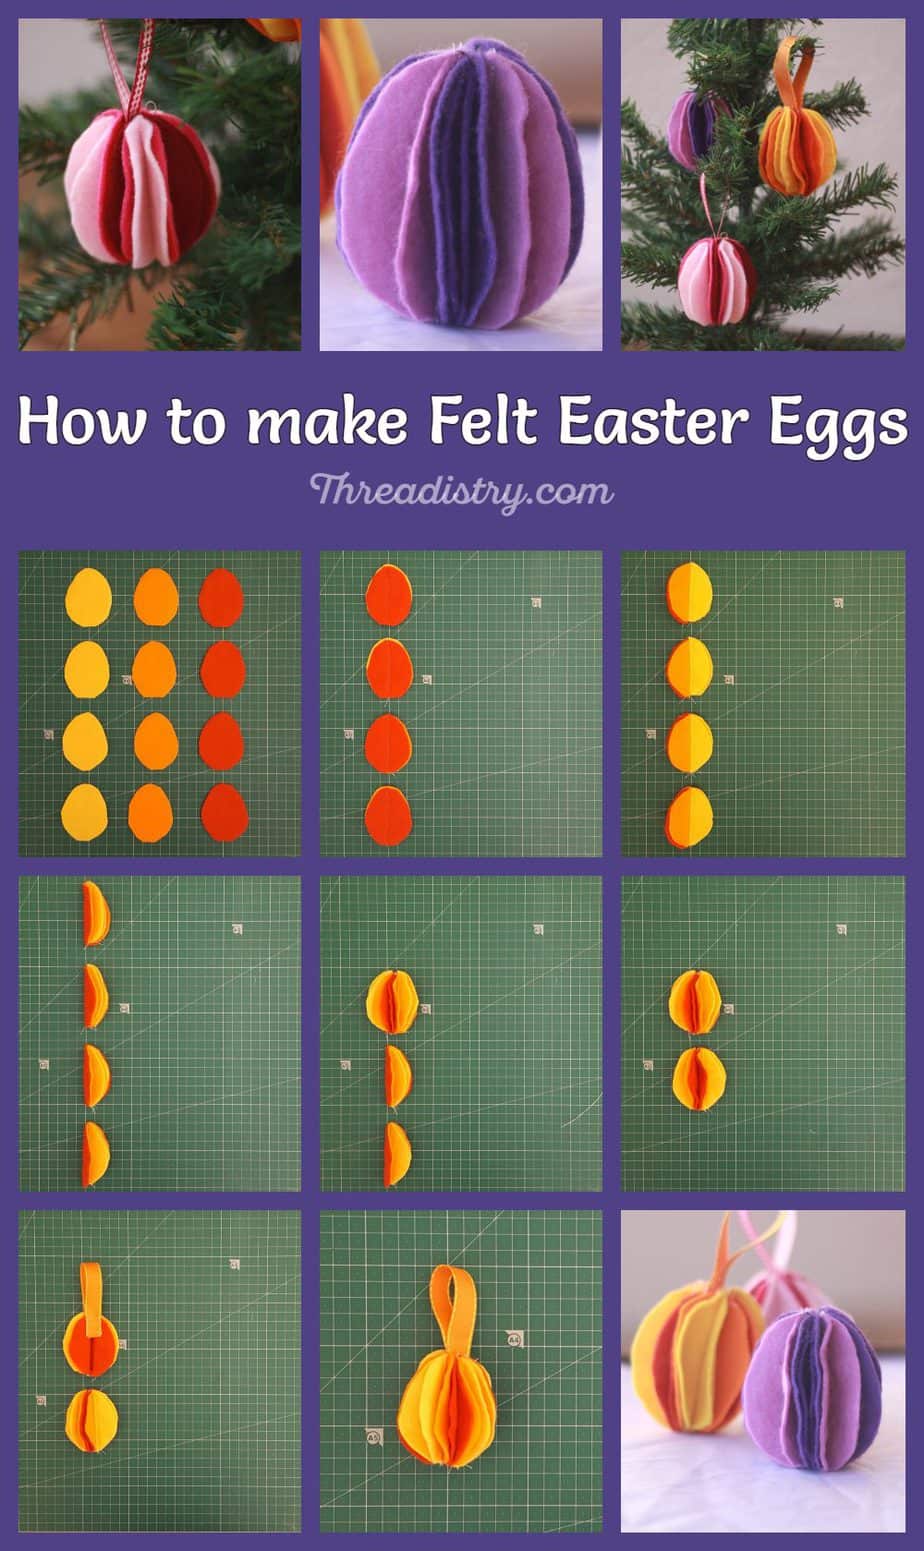
1. Cut out 4 pieces of the egg template from each felt colour (or cut 12 of one colour).
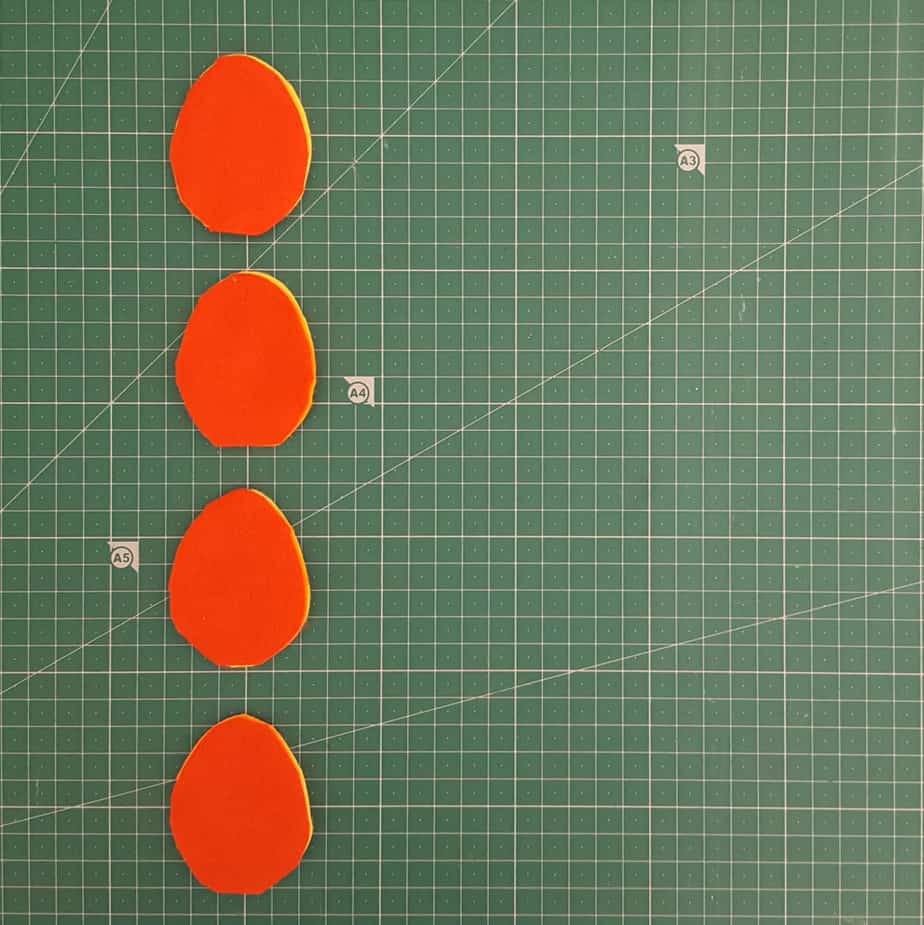
2. Stack the felt into four piles, with one piece of each colour. Order the felt from lightest to darkest, for the ombre effect.
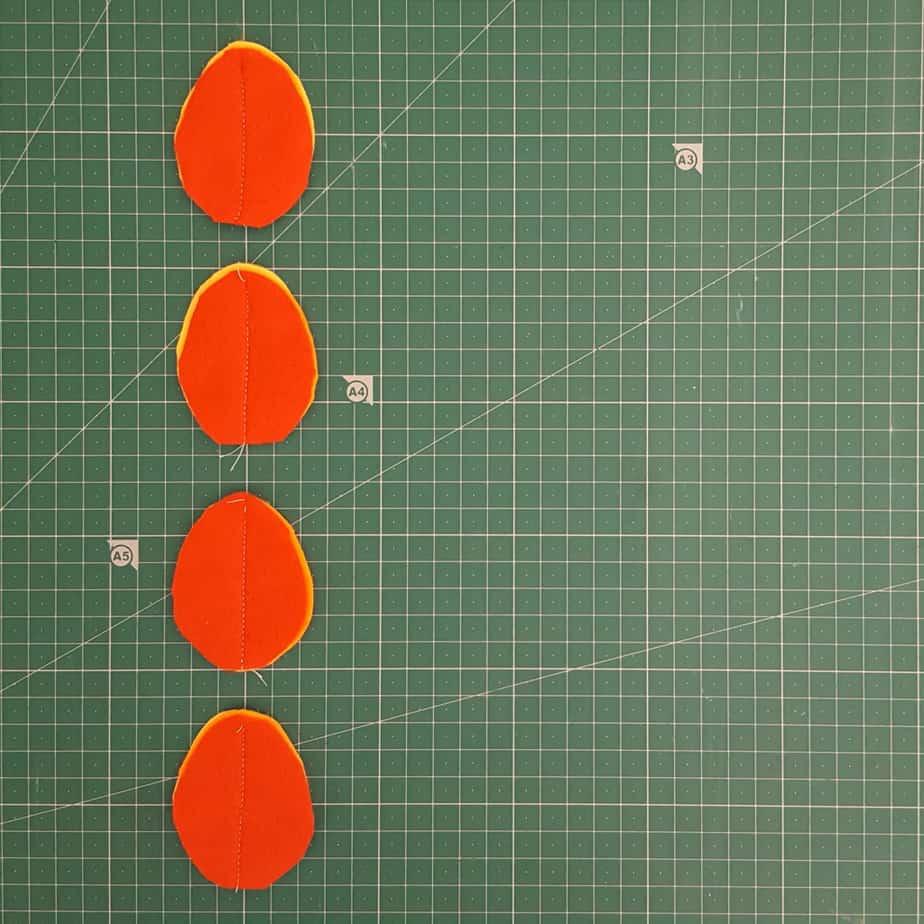
3. Sew a straight line down the middle, from top to bottom, by hand or by machine.
Tip: If the felt gets sucked under the needle plate of your sewing machine, start sewing a quarter of an inch or so from the end. Chain piecing (ie feed the next lot through without cutting the threads of the previous lot) will also help prevent this.
4. Fold the felt so that the two sides of the lightest colour are folding together and the darker two colours are out of the way. Sew a straight line from top to bottom 1/4″ away from the existing seam line. This helps the layers fan out evenly when fully assembled.
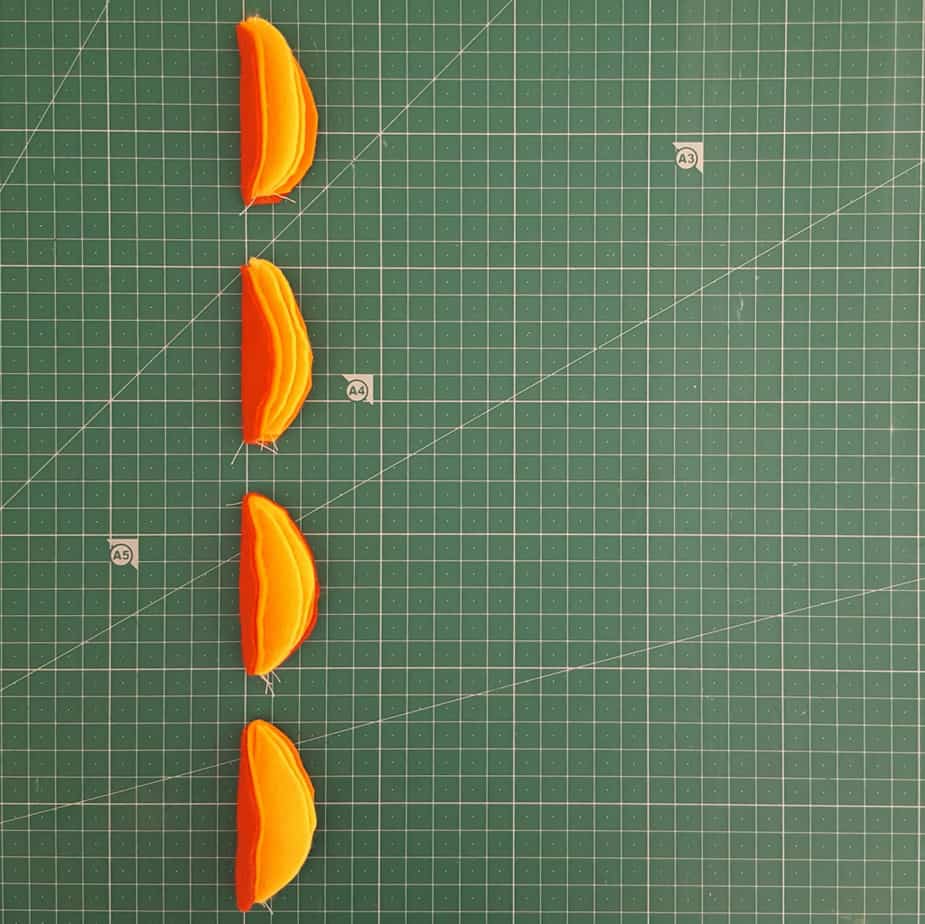
5. Fold each piece in half, with the lightest colour on the inside and darkest colour on the outside.
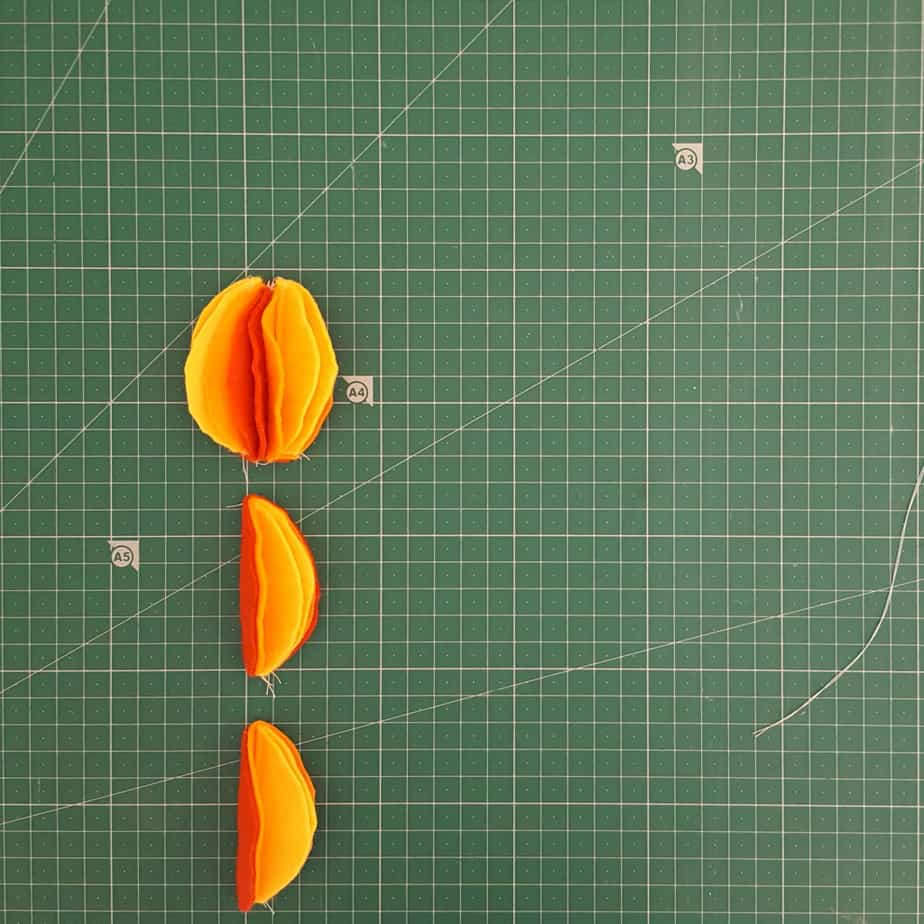
6. Place two pieces together, and hand-stitch the dark layer together at the top and bottom. Repeat for the next two pieces.
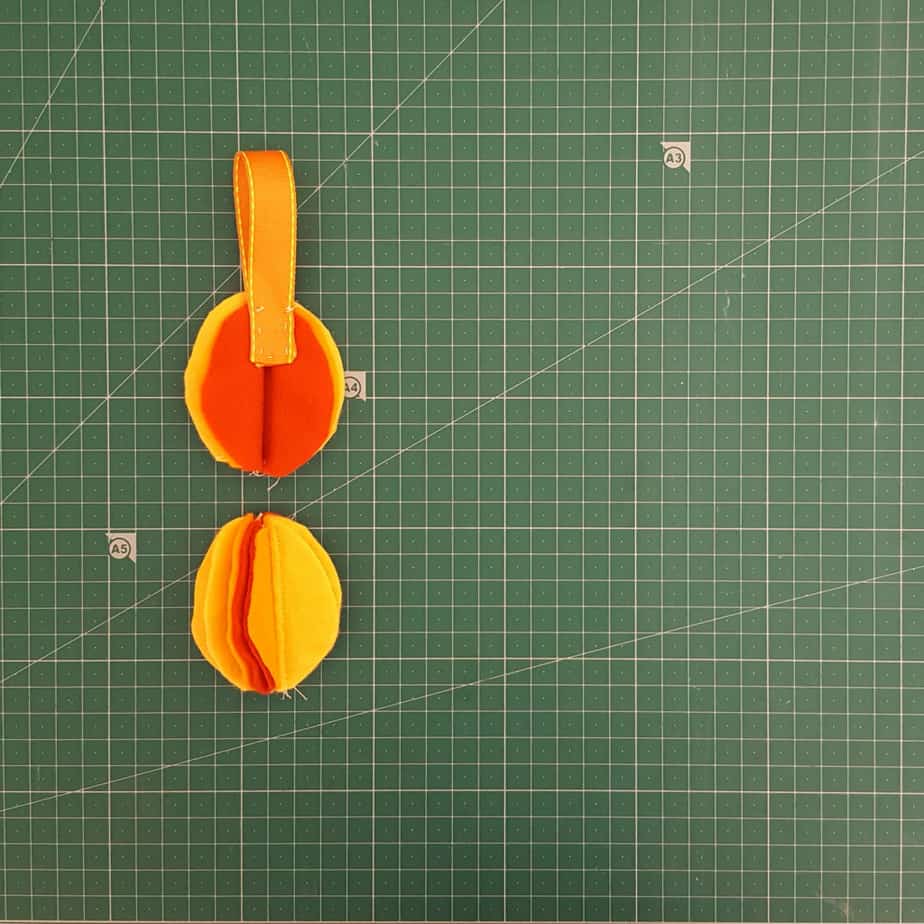
7. Fold the ribbon in half to create a loop, and place across the middle of the back (as shown above). Hand-stitch into place.
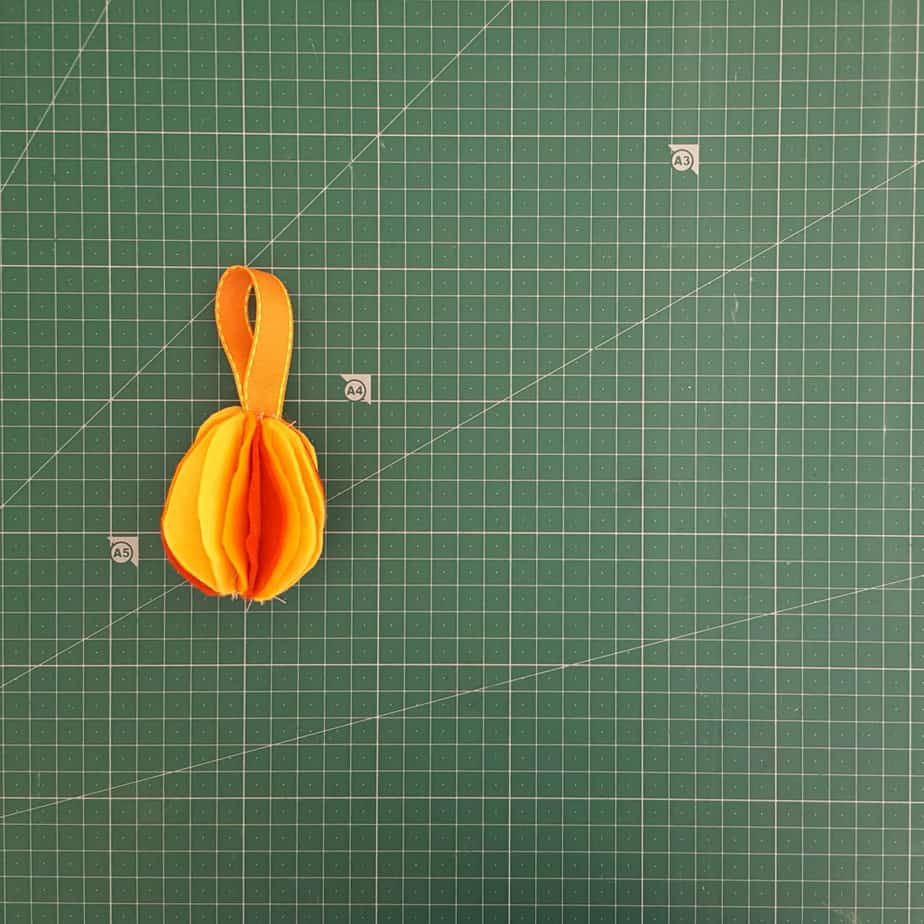
8. Place the two halves together (covering up the end of the ribbon, and stitch together at the top and bottom. Fan out the felt layers, and there you have your felt Easter eggs ready to decorate your home!
Note: Skip the ribbon, and you can use the eggs as a table decoration.
Looking for more sewing inspiration:
- Sew up a cute Easter basket for collecting those Easter eggs.
- Cuddle up with the Easter bunny with these bunny sewing patterns.
- Sew a sweet baby bonnet this Easter.