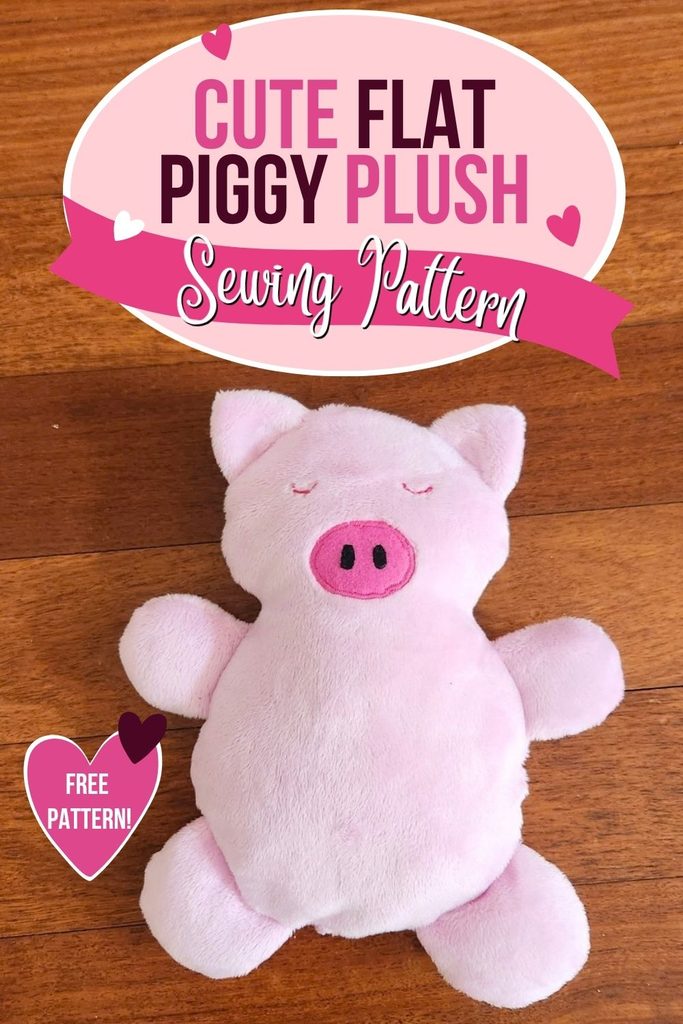
Flat Piggy plush toy sewing pattern with a cute curly tail (free pattern)
My collection of flat toy sewing patterns continues to grow, and I’m excited to introduce my first flat farm animal: Flat Piggy!
Disclosure: This post contains affiliate links. If you purchase after clicking these links, Threadistry may receive a small commission, at no cost to you.
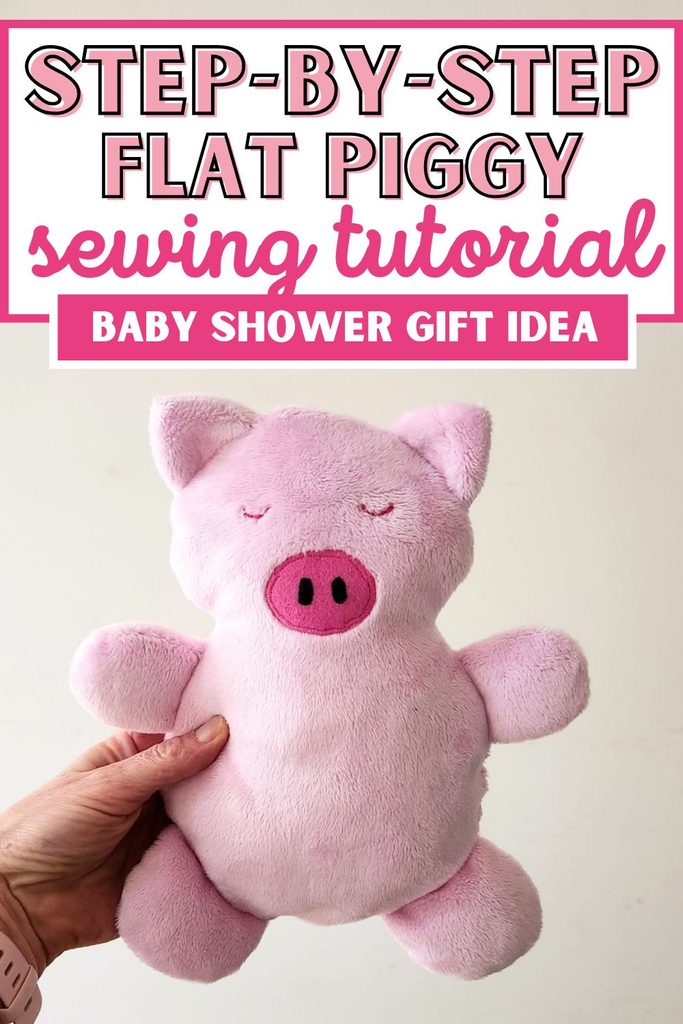
With the same simple, beginner-friendly design as Flat Teddy, this sweet little piggy features an appliquéd snout and an adorable curly tail. Make it from cuddly minky, cosy fleece, or quilting cotton. You’ll soon have a cheerful farmyard friend ready for plenty of hugs.
Flat toys are quick and satisfying to sew, making them lovely projects for both beginners and more experienced makers. They’re also wonderful baby shower gifts: soft, easy for little hands to hold, no buttons or bows, and simple to personalise with different colours and fabrics.
I really enjoy making flat toys for new babies, and I hope this Flat Piggy sewing pattern becomes a favourite in your handmade gift collection.
Supplies
The first thing you’ll need is your free Flat Piggy pattern template. You can get your free copy here:
Want an ad-free printable PDF version of the Flat Piggy sewing pattern, including step-by-step photos? Head to the Threadistry store to purchase a copy at a low price.
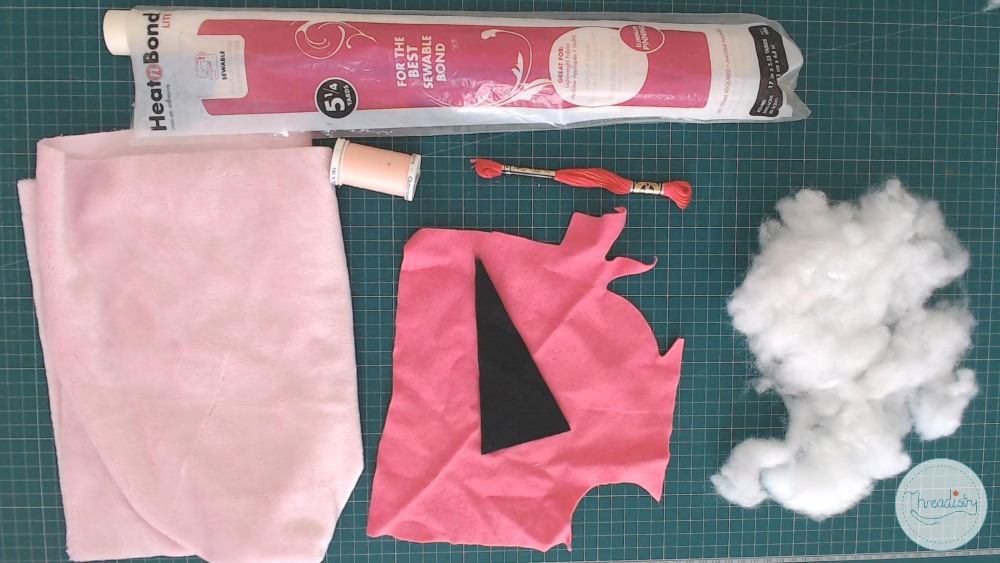
- Pink minky fabric
- Small piece of pink felt
- Small scrap of black felt
- Embroidery thread for eyes
- Fiber fill (or your preferred stuffing material)
- Small piece of Heat’n’Bond Lite (or fusible web)
- General sewing supplies (sewing machine, scissors, pins, thread etc)
Instructions
Watch the video or scroll down for the photo tutorial:
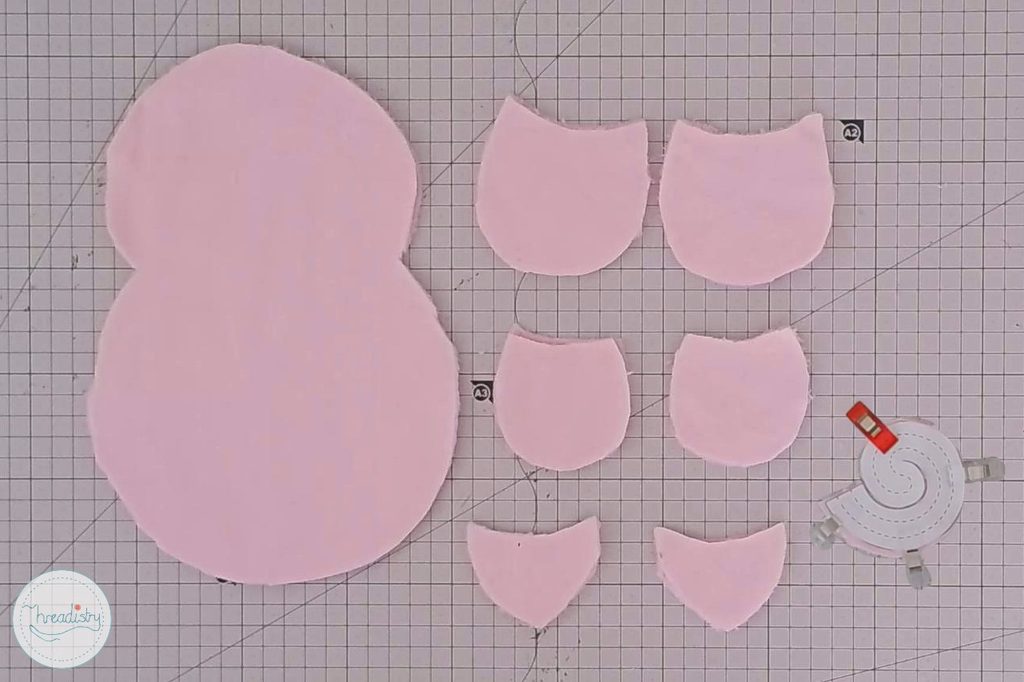
Step 1: Cut out pattern pieces. You’ll need:
- 2 body pieces
- 4 ear pieces (2 sets mirrored)
- 4 arm pieces (2 sets mirrored)
- 4 leg pieces (2 sets mirrored)
- 2 tail pieces (1 mirrored set) – cut along the solid line to make a spiral
Step 2: For the snout and eyes, trace the pattern onto Heat’n’Bond Lite. Iron onto the back of the felt (or fabric) for the snout and eyes, and then cut out the pattern pieces.
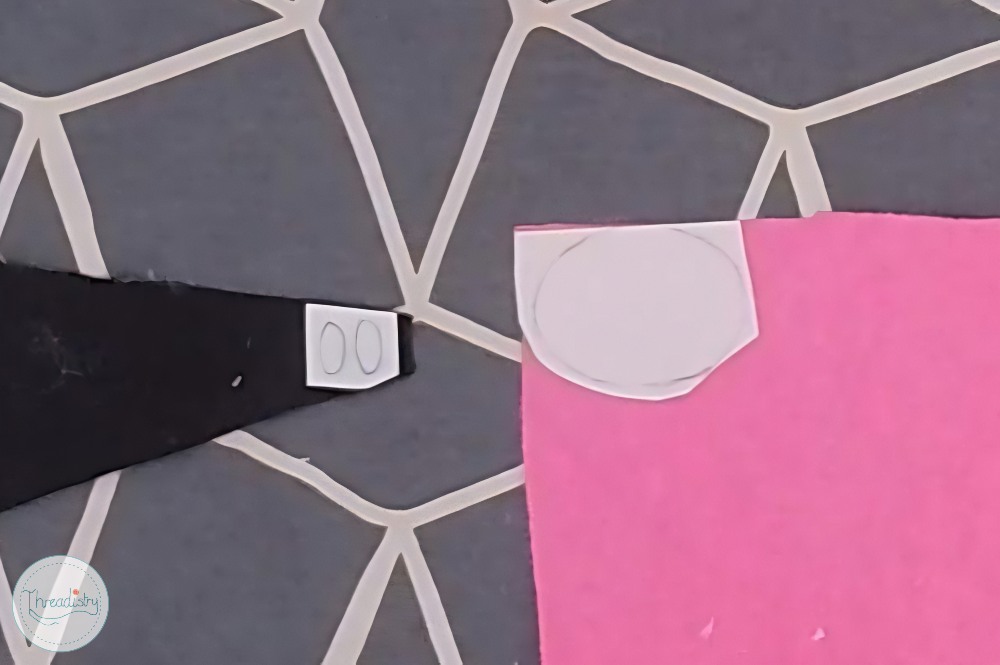
Step 3: Remove the backing paper from the nostril pieces only. Position on the snout as per the pattern markings, and iron into place.
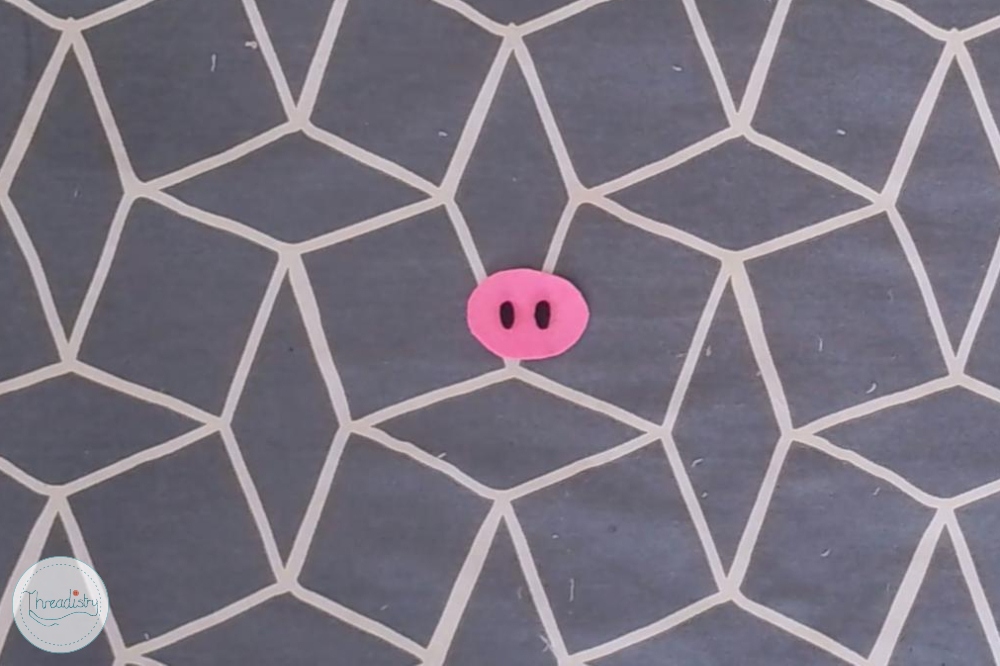
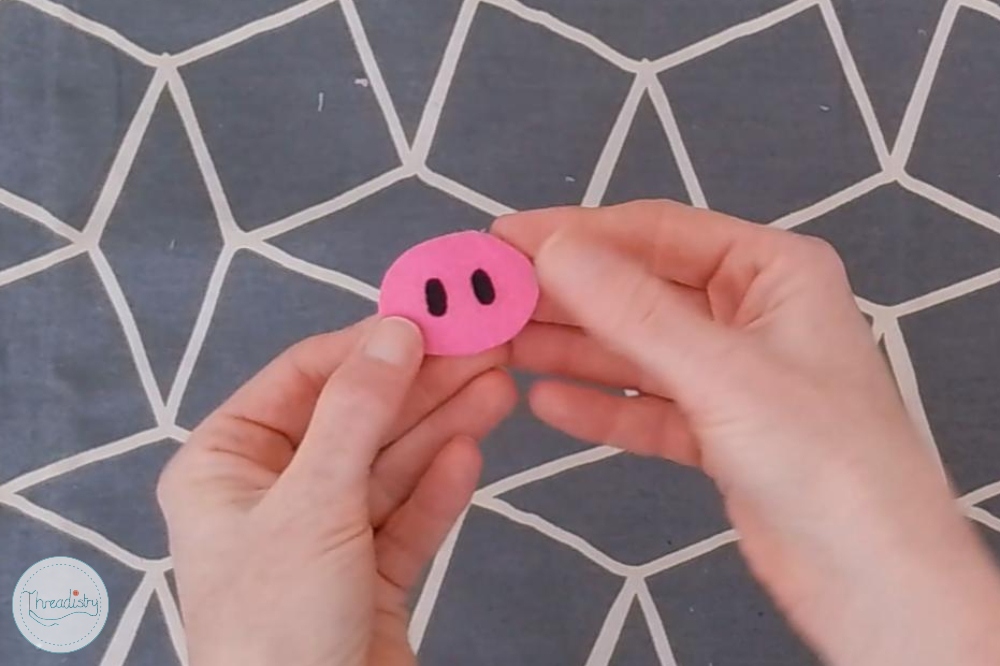
Step 4: Remove the backing paper from the snout. Sew around the edge of the nostril pieces to sercurely attach in place. I hand-sewed the pieces with a blanket stitch.
Step 5: Transfer face markings and markings for the ears, arms and legs placement to the right side of one body piece.
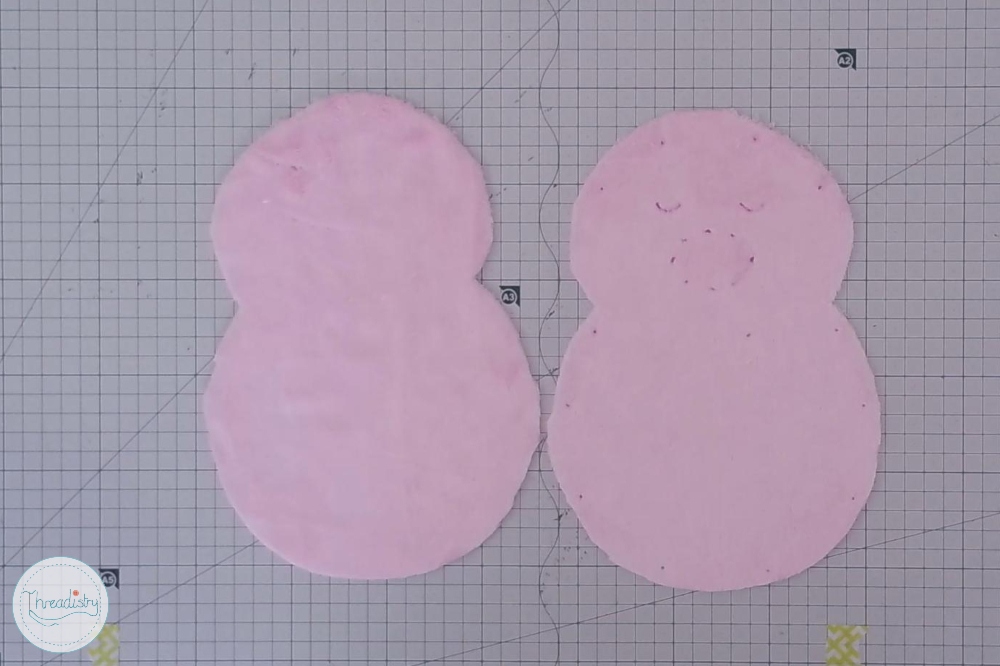
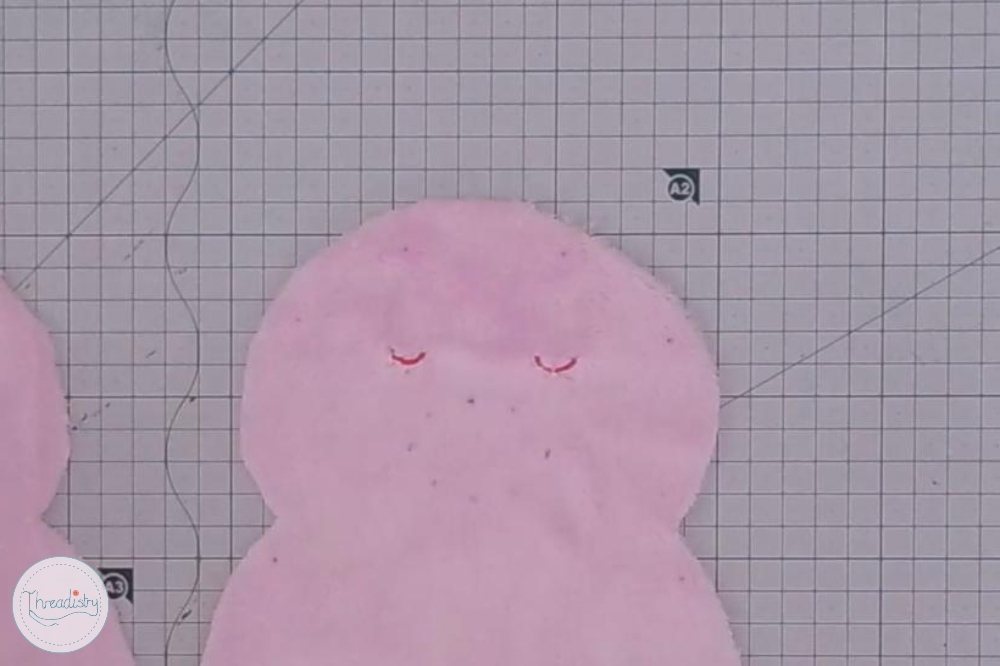
Step 6: Embroidery the eyes using 6 strands of embroidery floss.
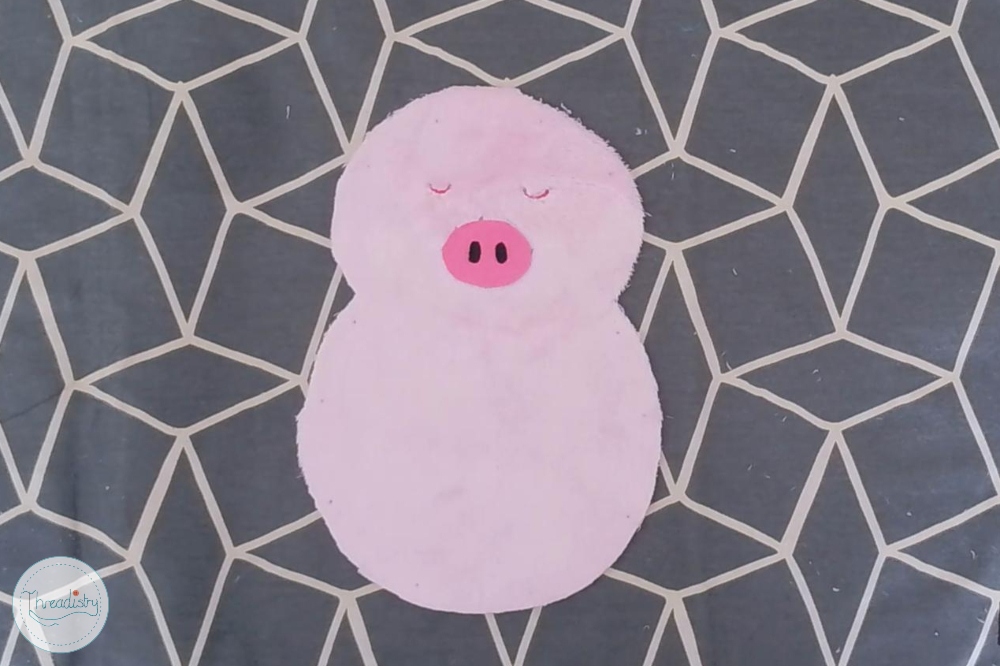
Step 7: Position the snout piece as per the pattern markings and press into place.
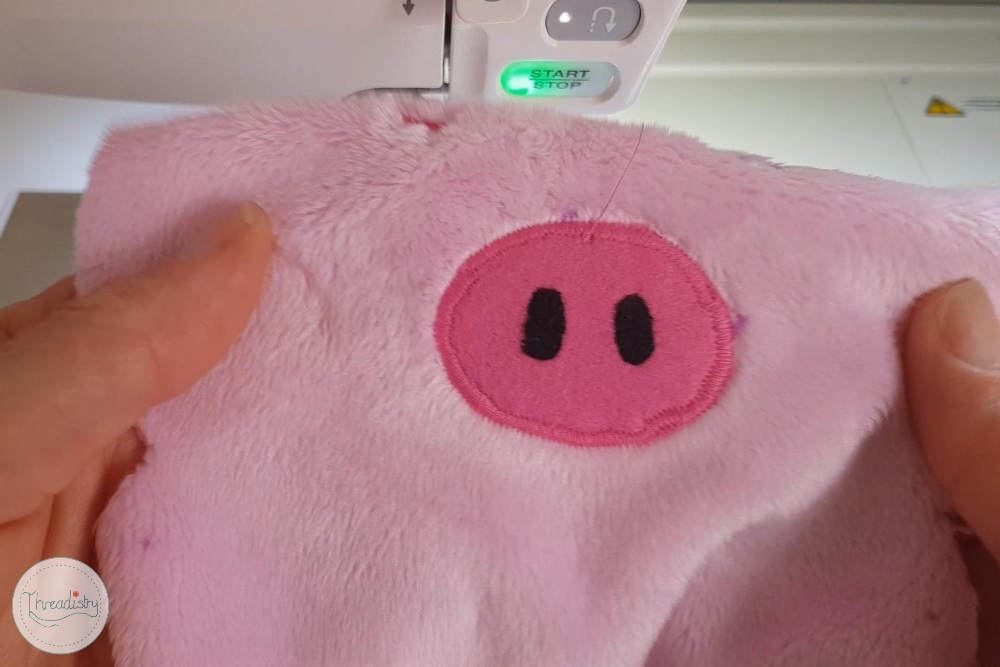
Step 8: Sew around the outside of the snout using a blanket stitch, satin stitch or straight stitch. (I used a satin stitch.)
Step 9: With right sides together, sew around the outside of the ear, arm and leg pieces (with a 1/4 inch/6mm seam allowance). Leave the side that attaches to the body open (the side that curves in).
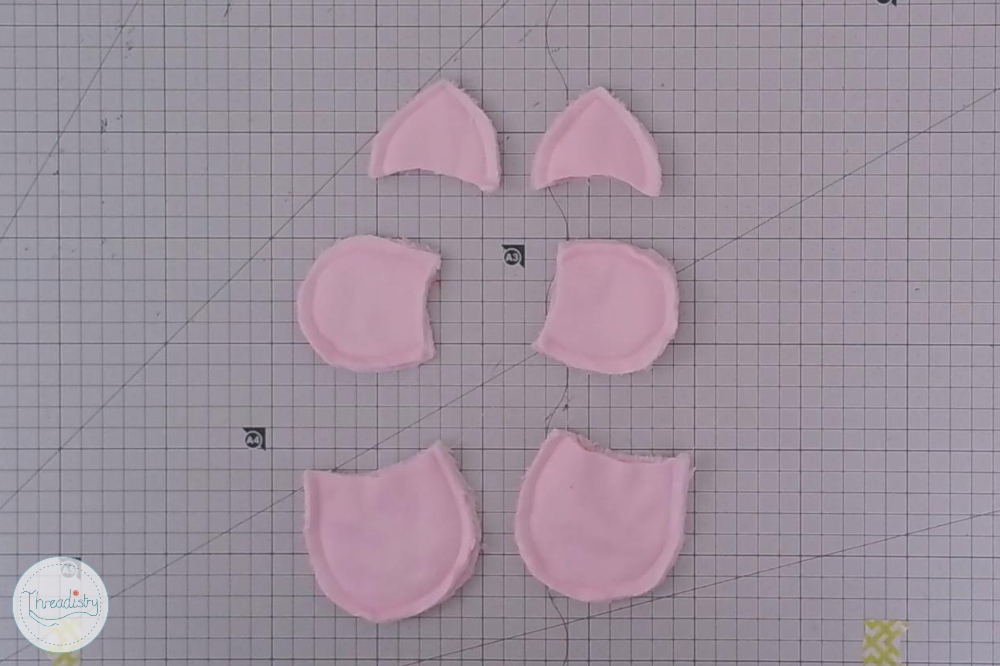
Step 10: Depending on your fabric, trim or notch the curves and clip the point at the top of the ear. I find this isn’t necessary with minky, except for the point of the ear. Turn ear, arm and leg pieces right sides out and press.
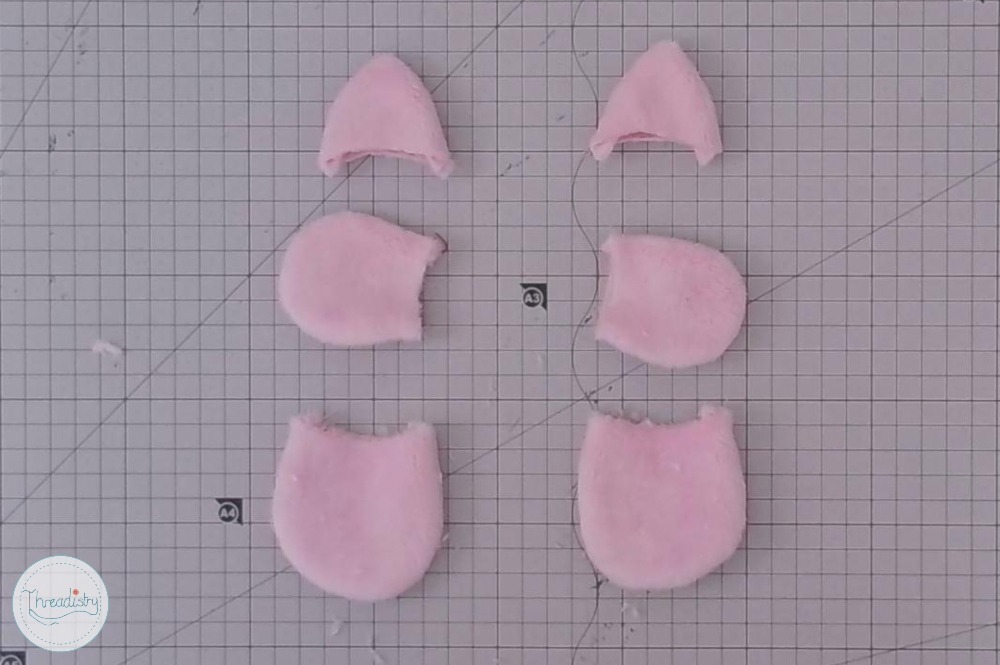
Step 11: Lightly stuff the arm and leg pieces. Do not stuff the ears.
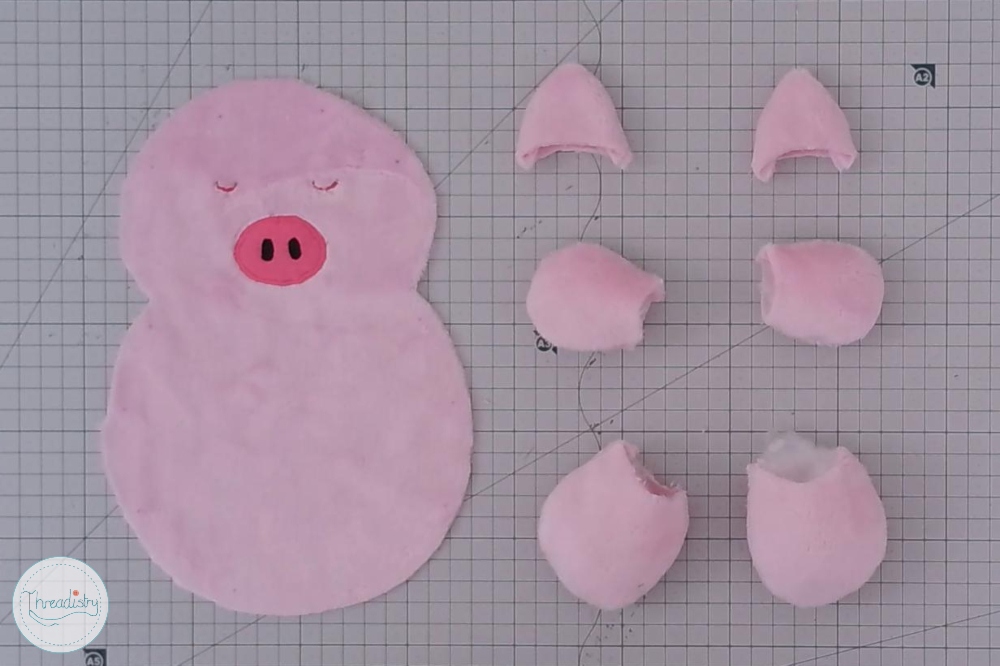
Step 12: Pin the ears, arms and leg pieces onto the right side of the embroidered body piece, as per the pattern markings. You will need to manipulate the small pieces to line up the inside and outside curve. I recommend using at least 3 pins to get everything lined up.
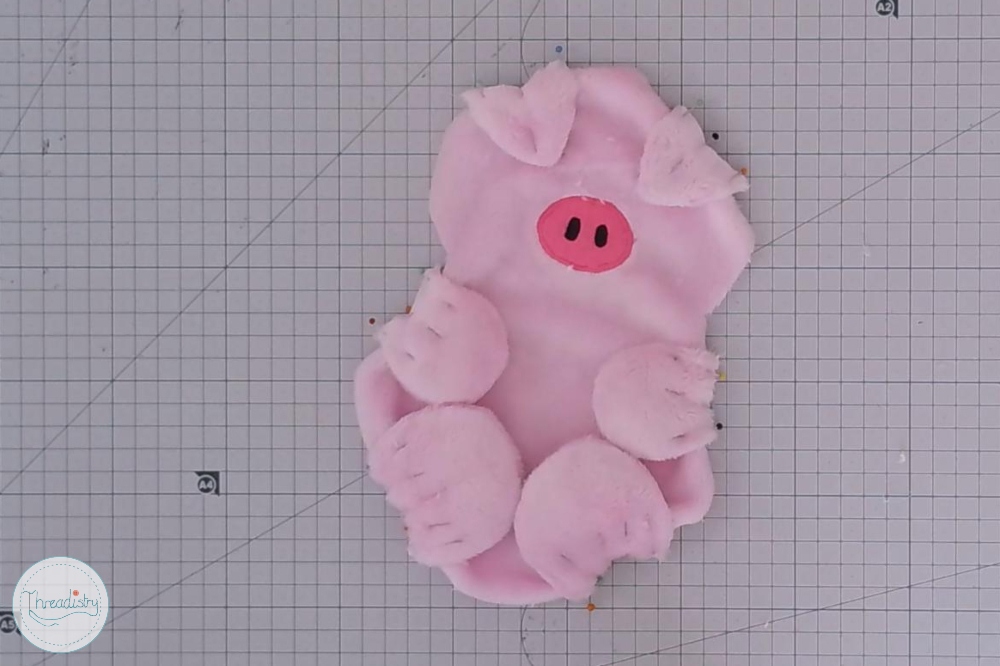
Step 13: Stitch into place with a basting stitch (by hand or on the sewing machine) just less than 1/4 inch/6mm from the edge.
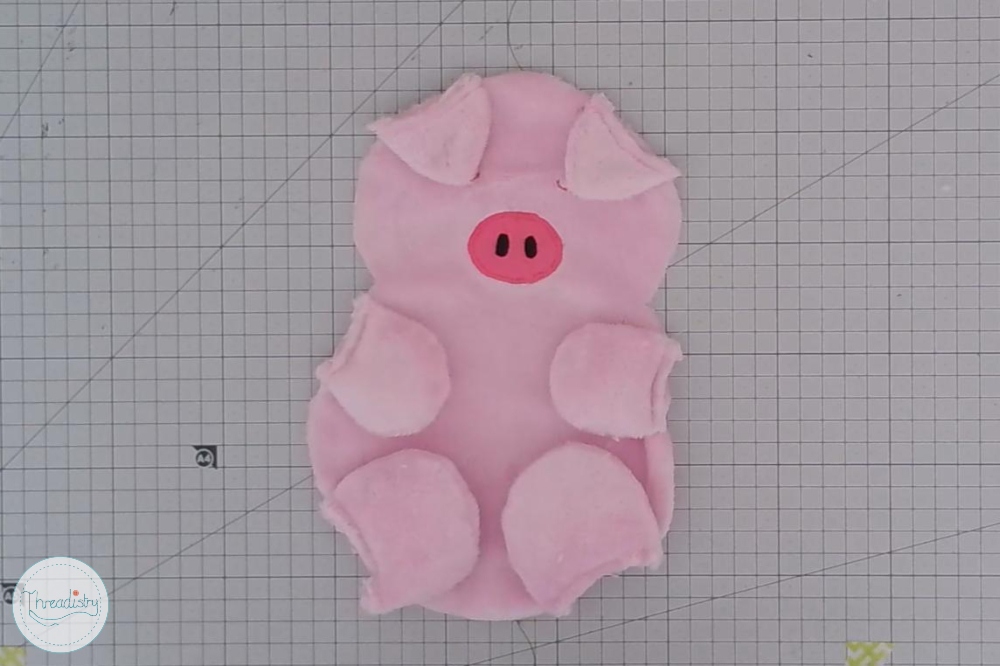
Step 14: With right sides together, sew the two tail pieces along the stitch line, from the outside edge to the inside of the spiral, turning in the middle and sewing back to the outer edge. Leave the small straight section open. (1/4 inch/6mm seam allowance)
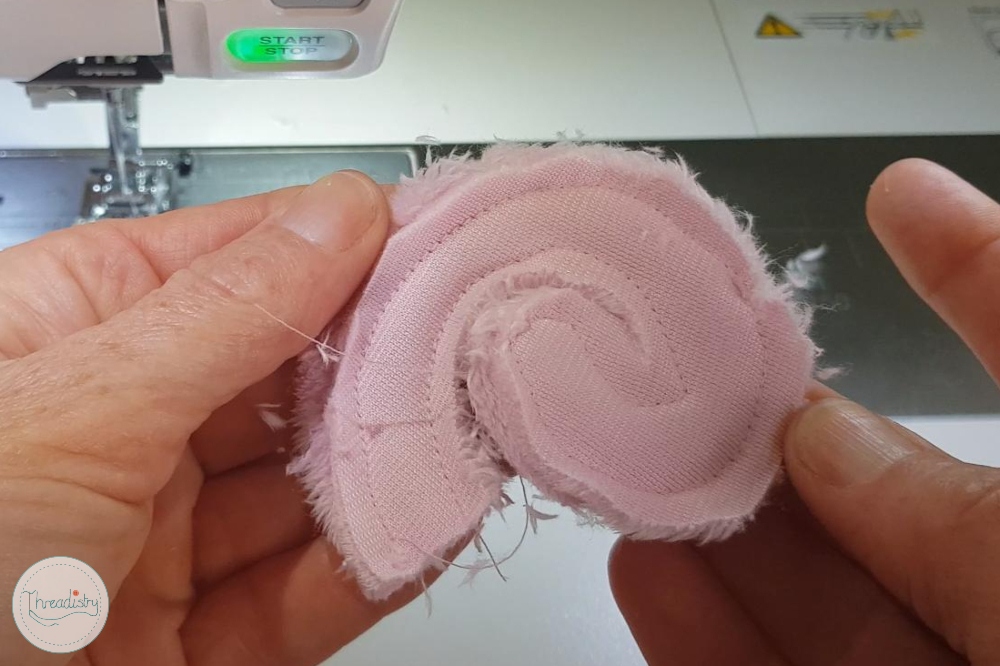
Step 15: Trim the seam allowance of the tail to 1/8″/3mm, and clip the curves. Turn the tail right sides out.
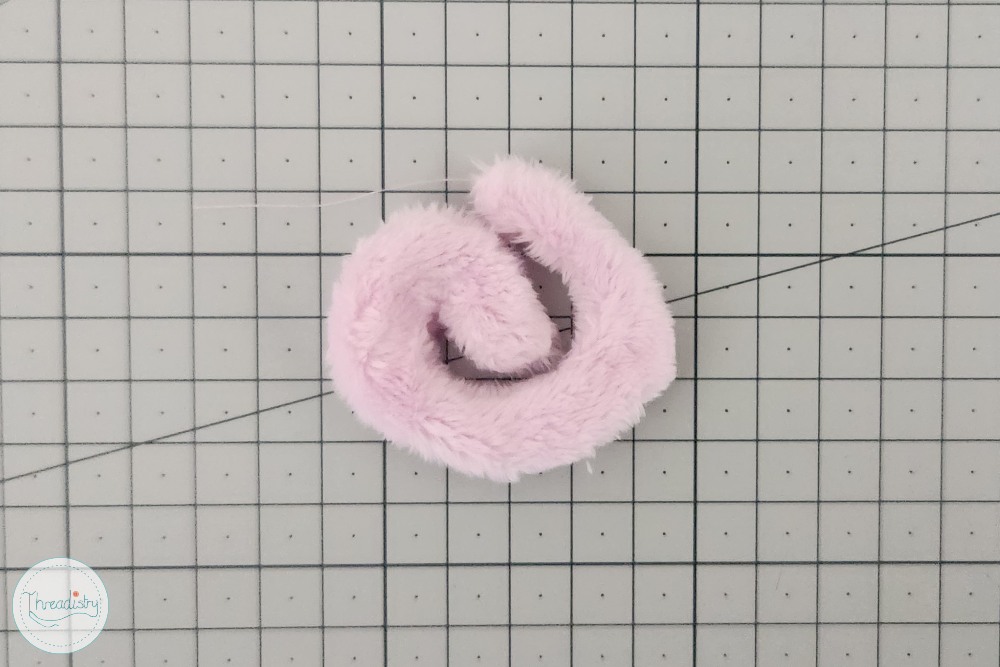
Step 16: Place the tail between the legs, with raw edges aligned. Baste into place.
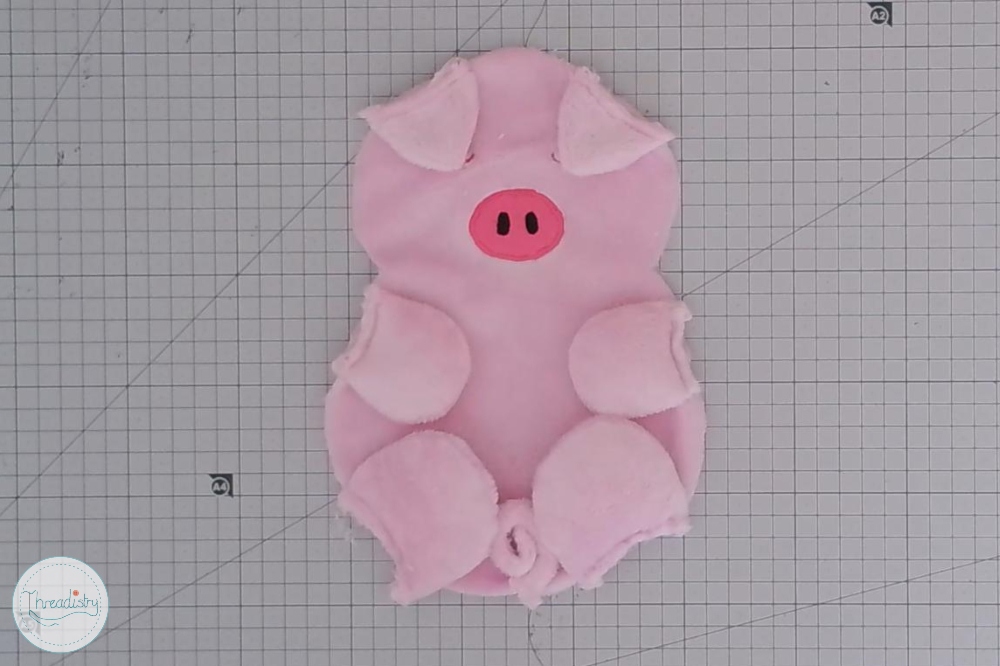
Step 17: Pin the front and back body pieces right sides together, making sure to tuck in the arms, legs and ears. I recommend using LOTS of pins, especially where the arms, legs and ears pull the edge of the fabric inwards.
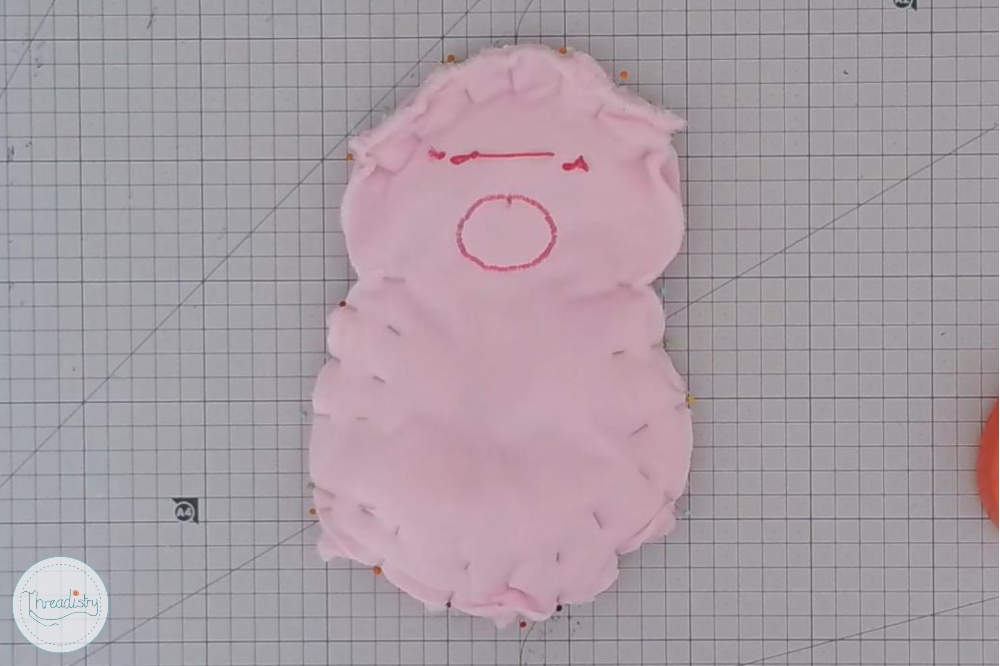
Tip: Place to pins in an X pattern where you want to stop sewing to make sure you leave a gap for turning the pig.
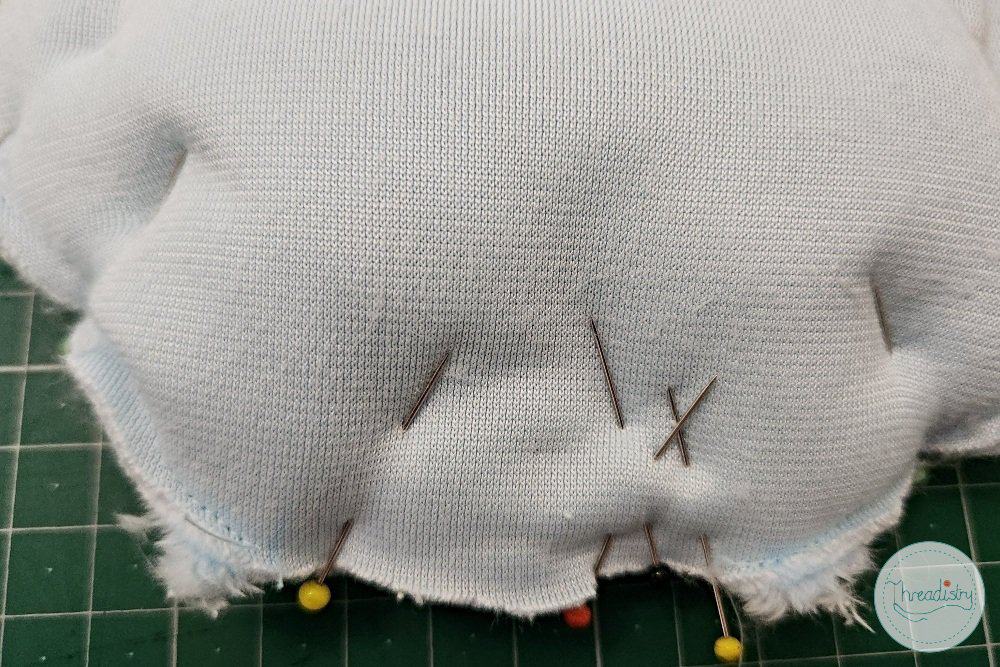
Step 18: Sew around the body with a 1/4 inch/6mm seam allowance, leaving a gap between an arm and leg for turning.
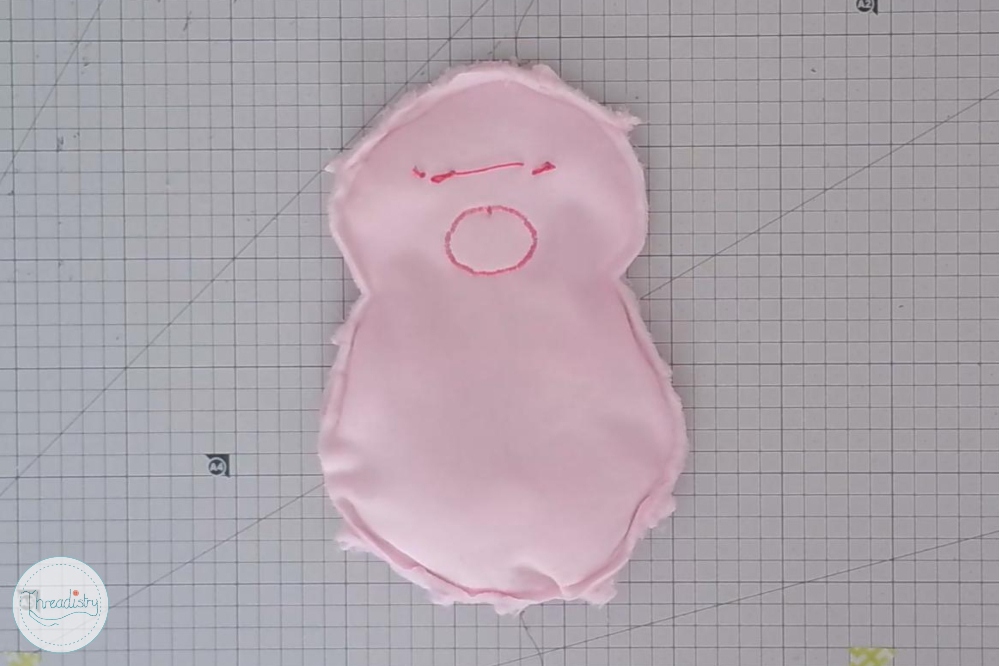
Step 19: Snip the seam allowance where the head and body meet. Trim the seam allowance and/or clip the curves.
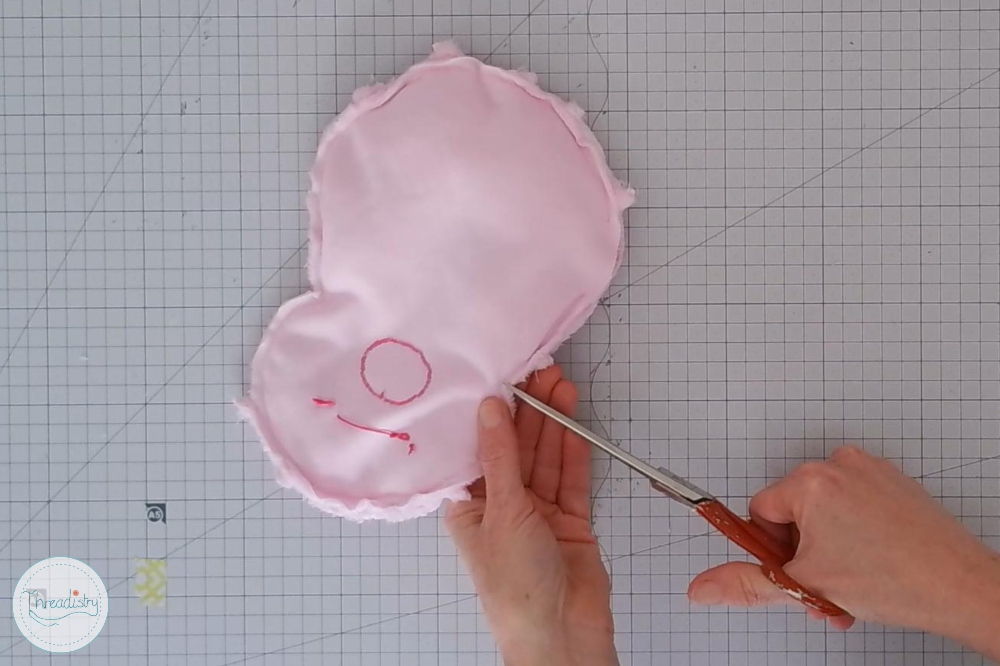
Step 20: Turn the pig rights sides out through the gap. You may want to run a turning tool, chopstick or just your finger along the seams to get a smooth seam, and press.
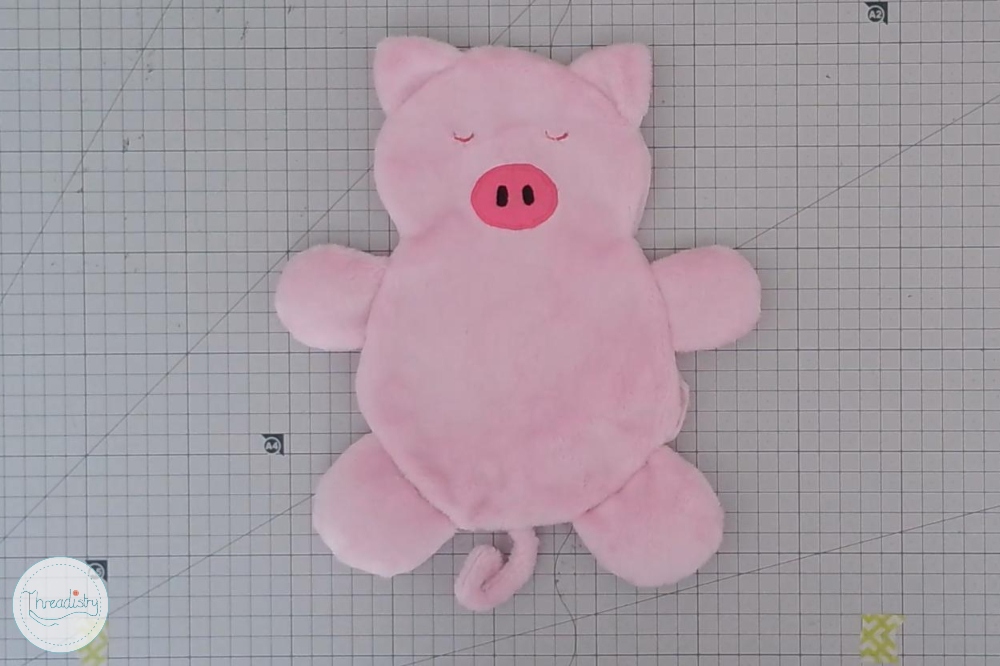
Step 21: Stuff the piggy with your preferred amount of polyfill. I recommend the snuggle test to get it just right: give it a quick cuddle to see how it feels. When it feels right, add just a little bit more to allow for the stuffing compressing over time.
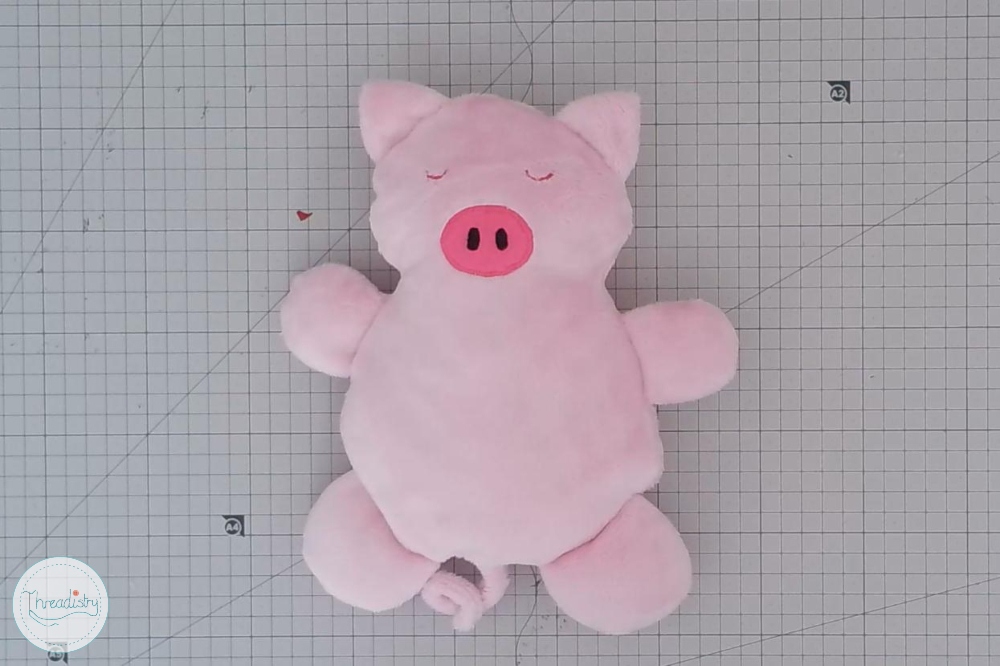
Step 22: Hand-stitch the gap between the legs closed with a ladder stitch.
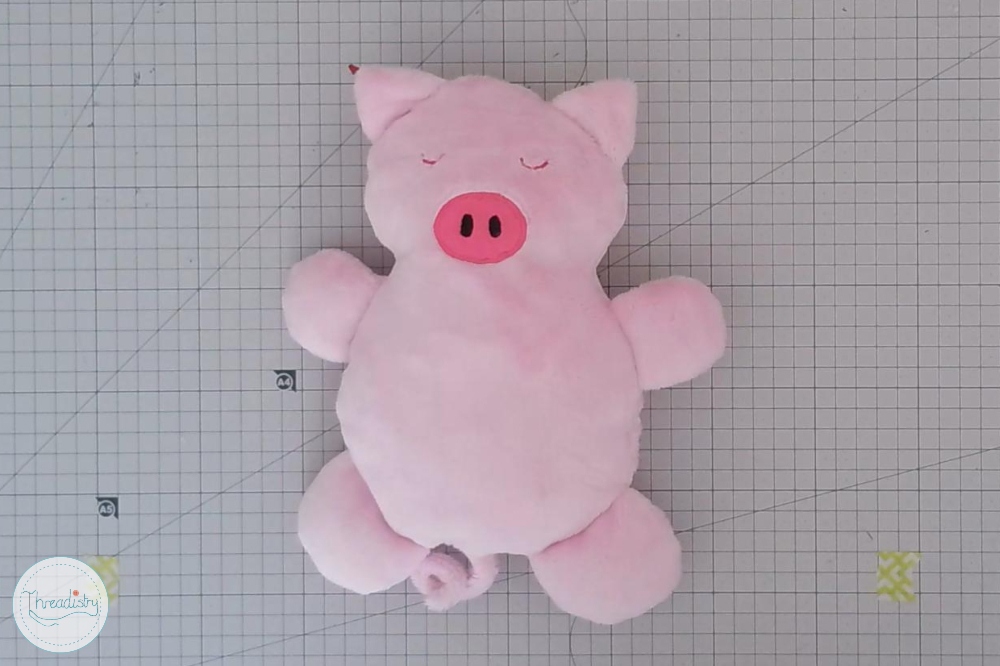
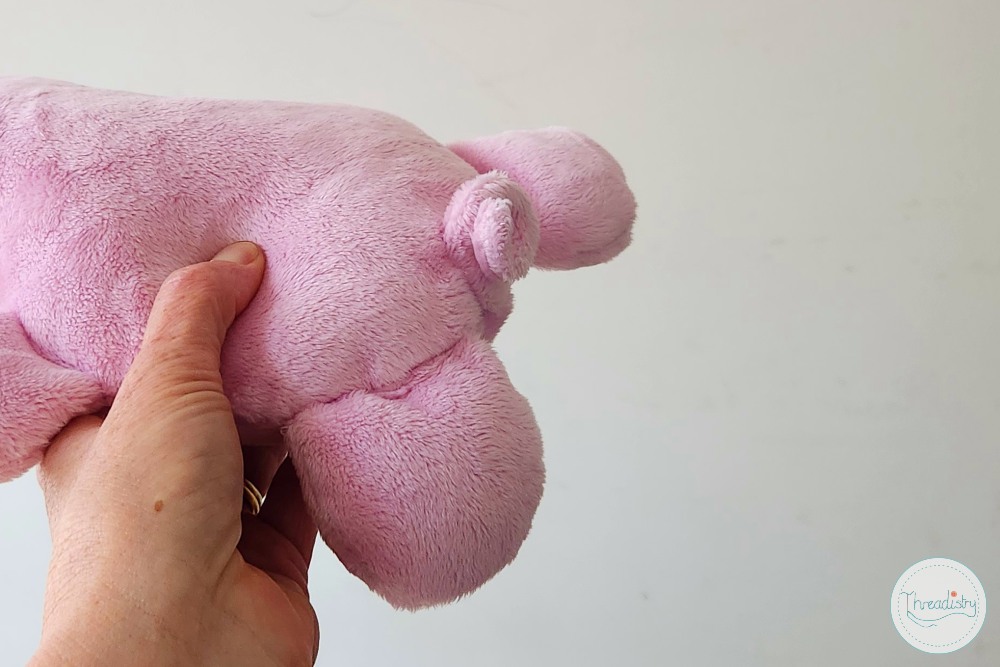
Step 23 (Optional): Turn the tail to the back and place a few hand stitches about an inch from the bottom to hold the tail in place. (I’m not a fan of the tail hanging between the legs!)
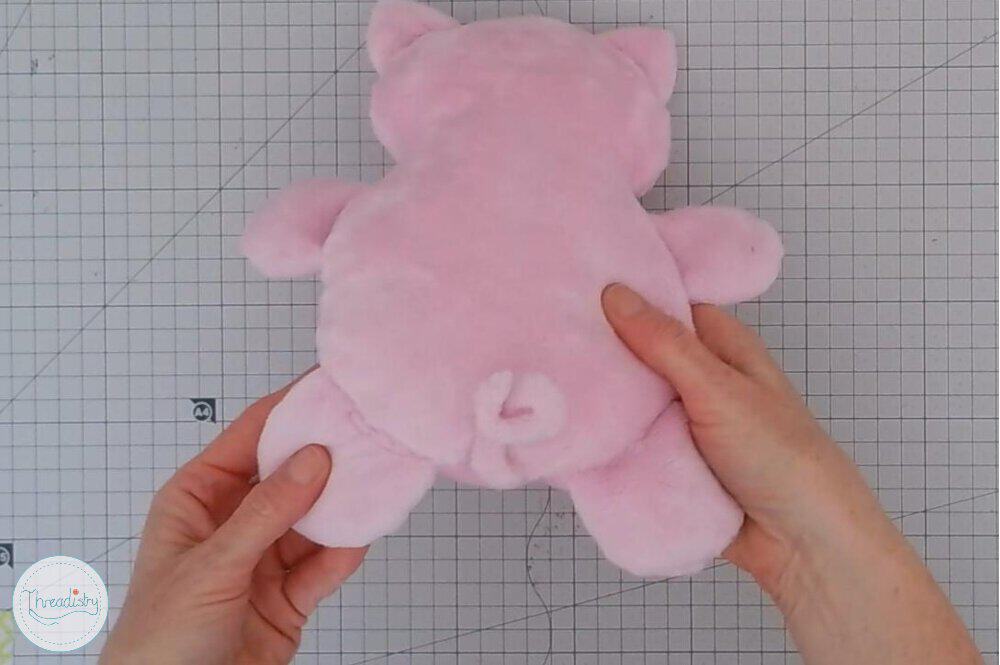
And there you have your finished Flat Piggy, ready for cuddles!
Not quite what you want? Find more pig sewing patterns here.