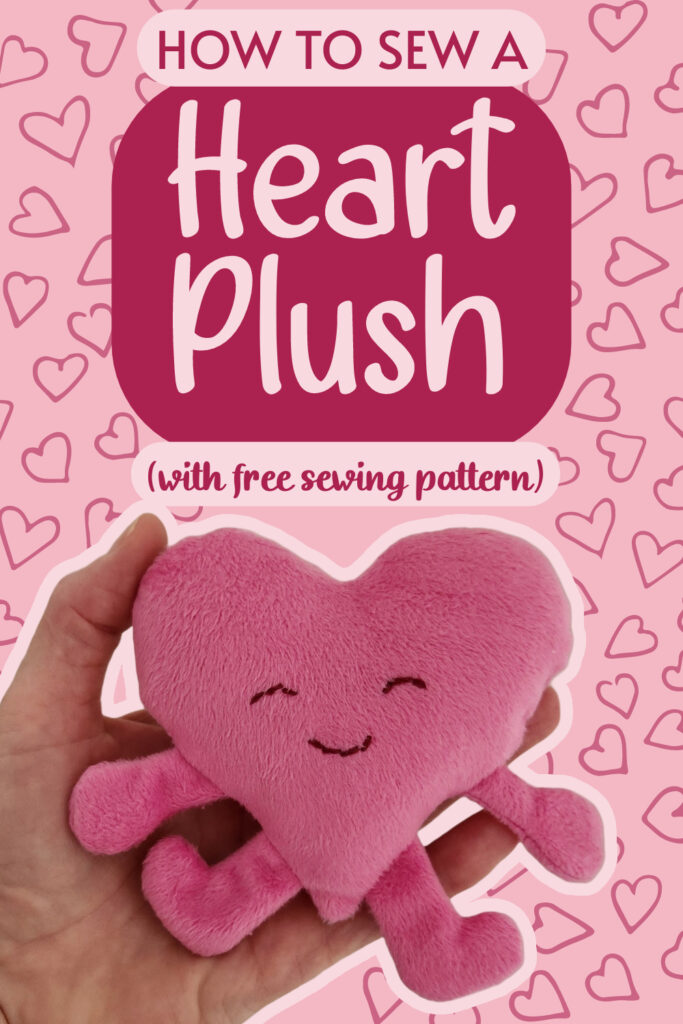
Cute & Cuddly Heart Plush Toy Sewing Pattern
There’s something irresistible about a tiny, squishy heart you can hold in your hand, and this Heart Plush Toy sewing pattern delivers all the charm in one adorable 11 cm bundle.
Disclosure: This post contains affiliate links. If you purchase after clicking these links, Threadistry may receive a small commission, at no cost to you.
Whether you’re stitching up a sweet surprise for Valentine’s Day, celebrating Galentine’s Day with your favourite crafty friends, or simply making a cute companion for the kids, this little plush is designed to spread joy.
With its simple embroidered face and tiny arms and legs, it comes together quickly and has plenty of personality. It’s the kind of project that makes you smile while you sew, and even more when you gift it.
Supplies
The first thing you’ll need is your free Heart Plush pattern template. You can get your free copy here:
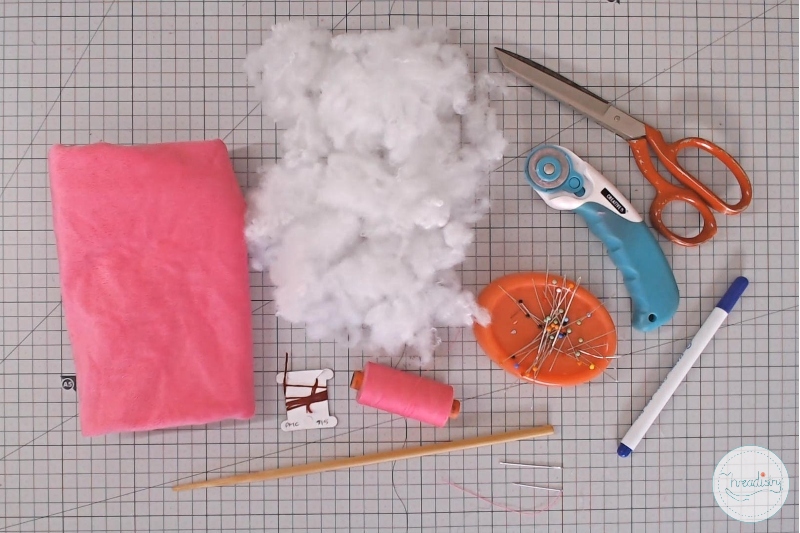
- Pink minky fabric (less than a fat quarter)
- Embroidery floss for face (I used DMC #815)
- Fiber Fill (or your preferred stuffing)
- General sewing supplies (sewing machine, scissors, pins, thread, fabric marker etc)
Instructions
Watch the video or scroll down for the photo tutorial:
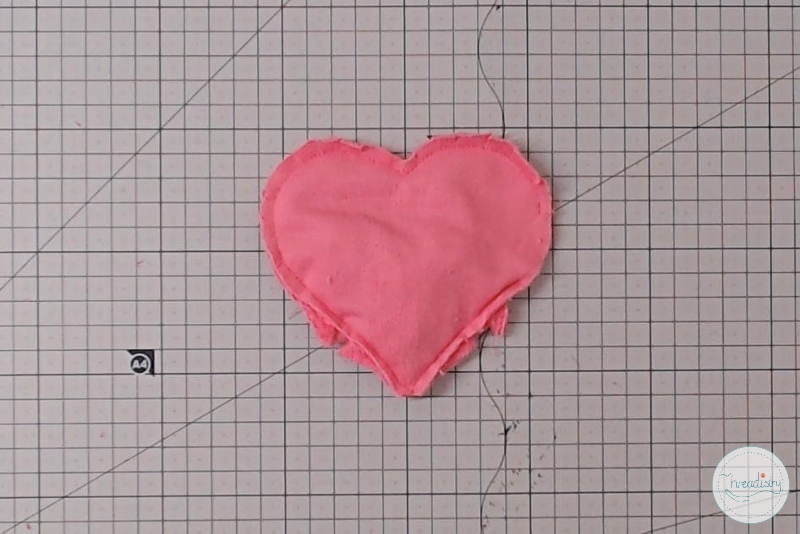
Step 1: Cut out pattern pieces. You’ll need:
- 2 body (heart) pieces
- 4 arm pieces (2 sets mirrored)
- 4 leg pieces (2 sets mirrored)
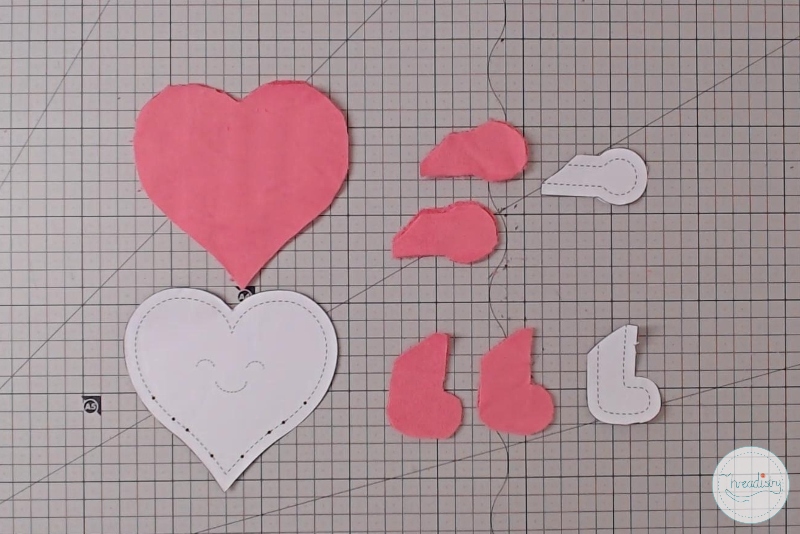
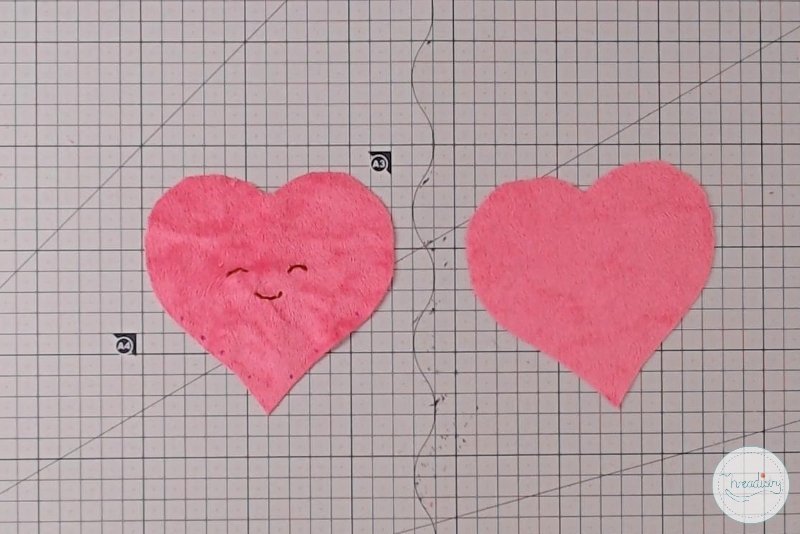
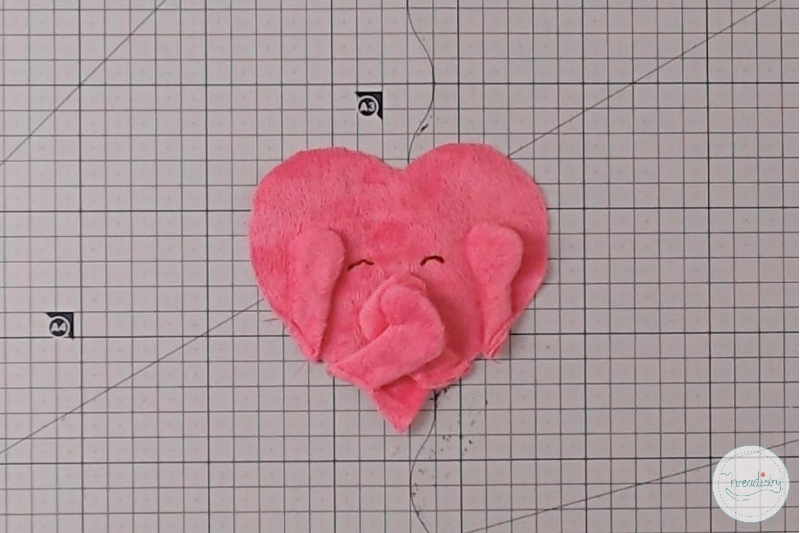
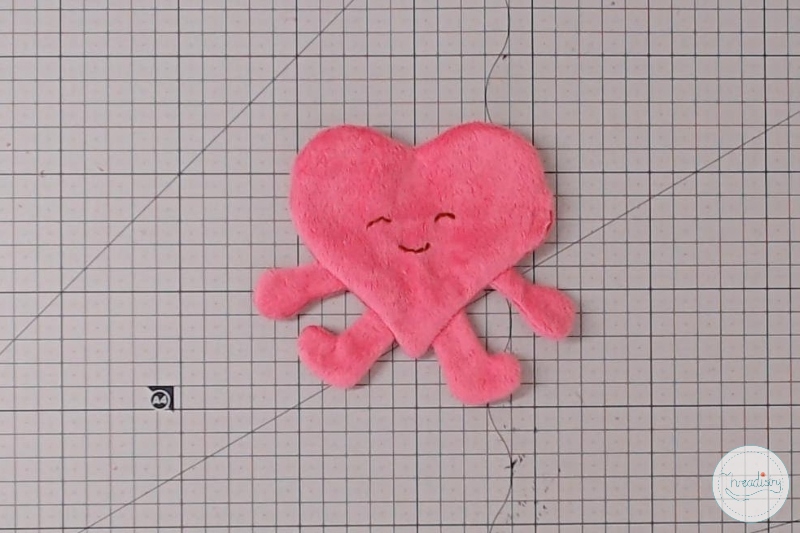
Step 2: Transfer face, arm and leg markings to the right side of one body piece.
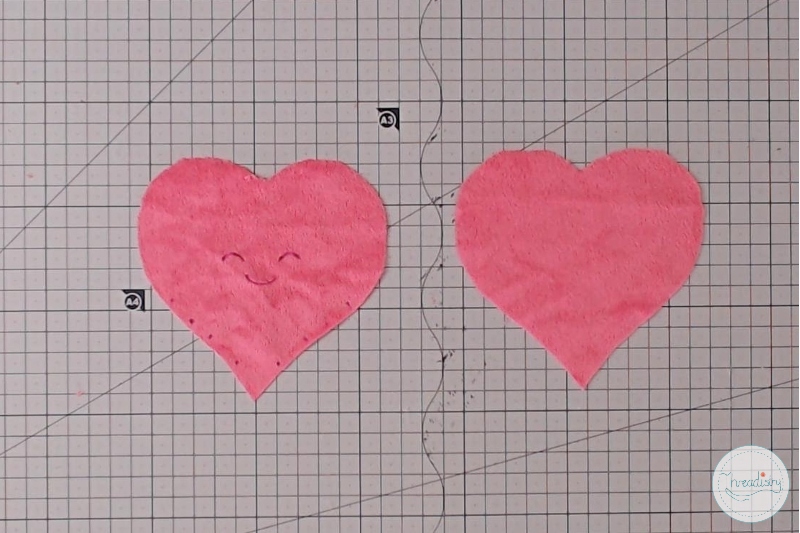
Step 3: Embroidery the face using 6 strands of embroidery floss.
Step 4: With right sides together, sew around the outside of the arm and leg pieces (with a 1/4 inch/6mm seam allowance). Leave the side that attaches to the body open (the side that curves in).

Step 5: Clip and/or notch the curves. Turn arm and leg pieces right sides out and press.
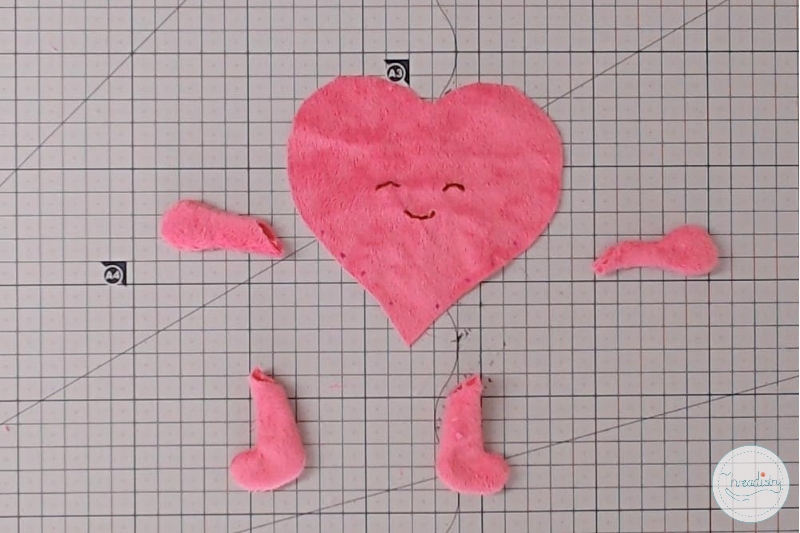
Optional: Stuff the arms and legs with polyfill. I chose not to use any stuffing as I like the flippy-floppy style!
Step 6: Pin the arms and leg pieces onto the right side of the embroidered body piece, as per the pattern markings.
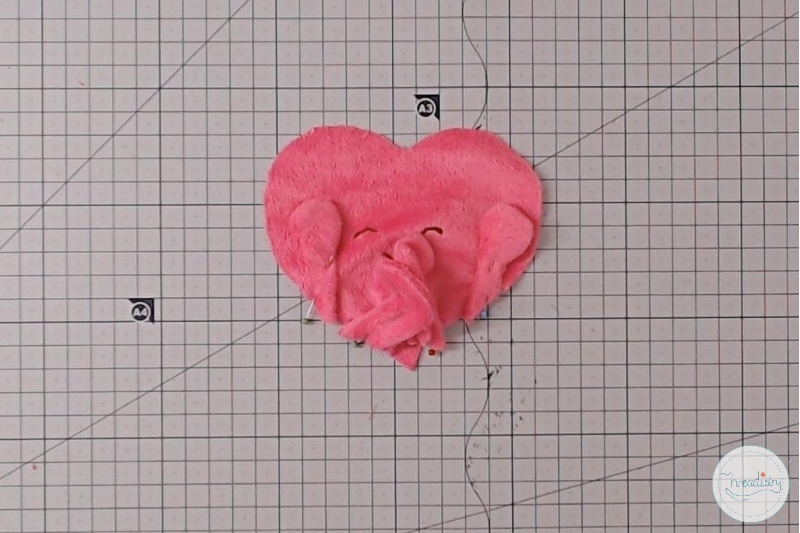
Step 7: Stitch into place with a basting stitch (by hand or on the sewing machine) just less than 1/4 inch/6mm from the edge.
Step 8: Pin the front and back body pieces right sides together, making sure to tuck in the arms, legs and ears.
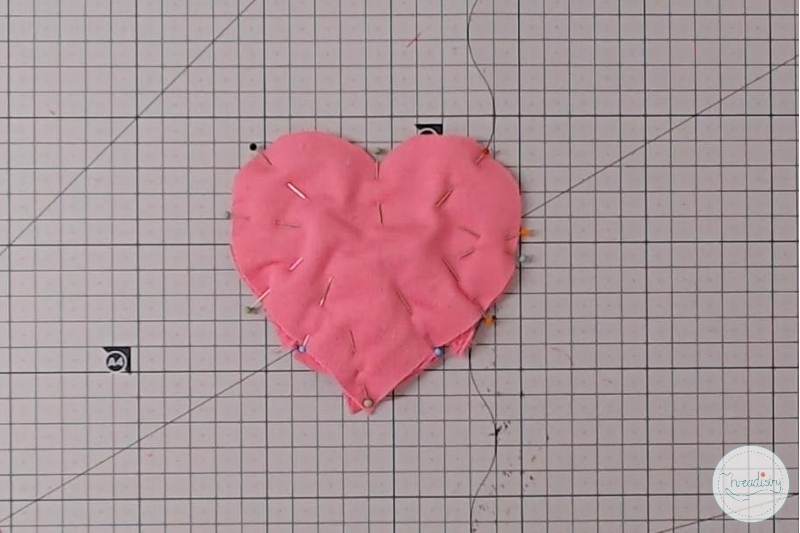
Tip: Place to pins in an X pattern where you want to stop sewing to make sure you leave a gap for turning the plushie.
Step 9: Sew around the body with a 1/4 inch/6mm seam allowance, leaving a gap just above one arm for turning.

Step 12: Snip the seam allowance at the top point of the heart. Trim the seam allowance and/or clip the curves.
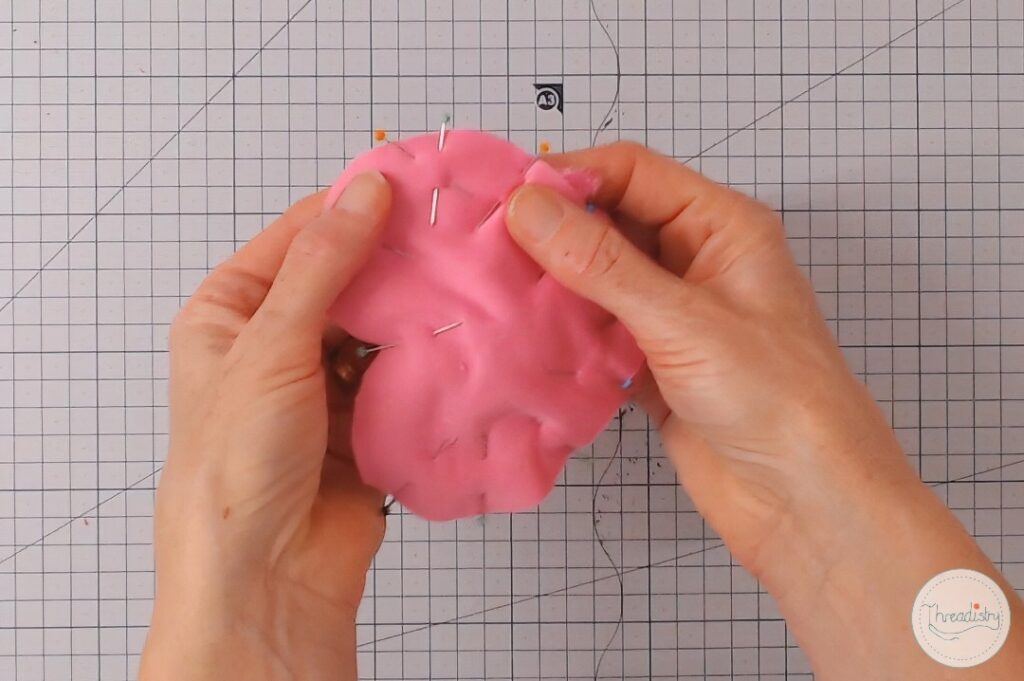
Step 13: Turn the heart plush right sides out through the gap above the arm. You may want to run a turning tool, chopstick or just your finger along the seams to get a smooth seam, and press.
Step 14: Stuff the teddy with your preferred amount of polyfill. I recommend the snuggle test to get it just right: give it a quick cuddle to see how it feels. When it feels right, add just a little bit more to allow for the stuffing compressing over time.
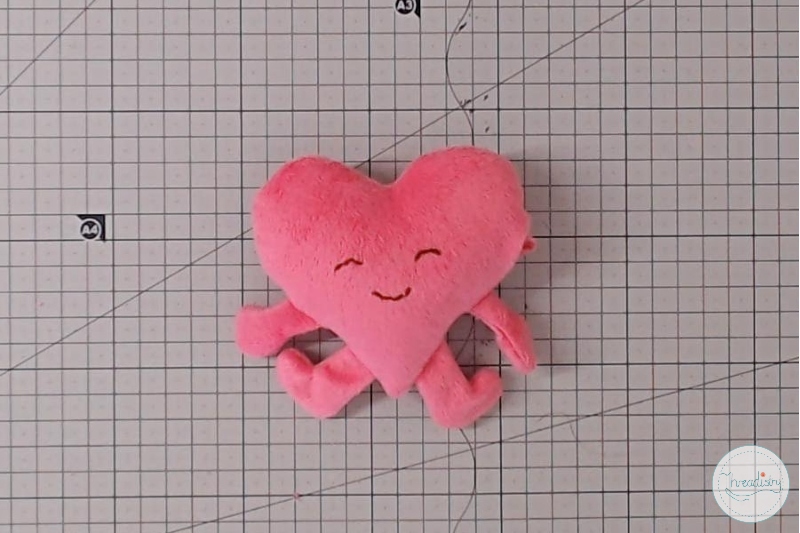
Step 15: Hand-stitch the gap above the arm closed with a ladder stitch.

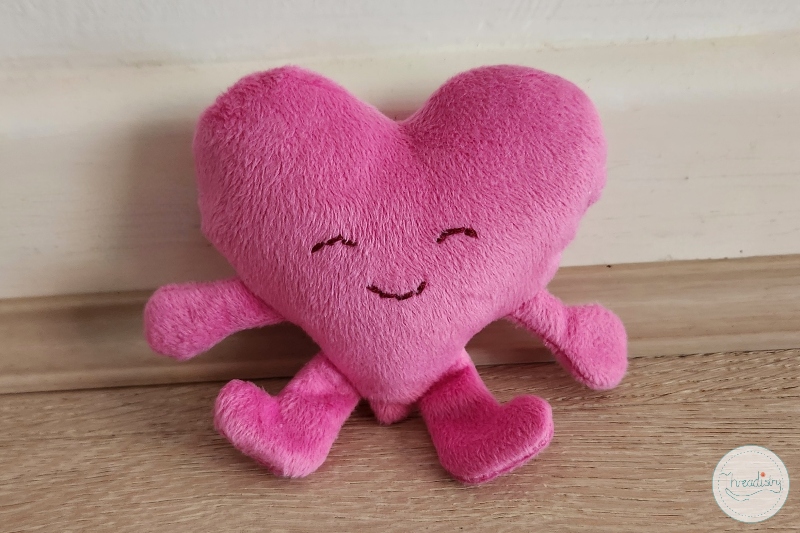
And there you have a cute and cuddly plush heart toy! Time for snuggles!
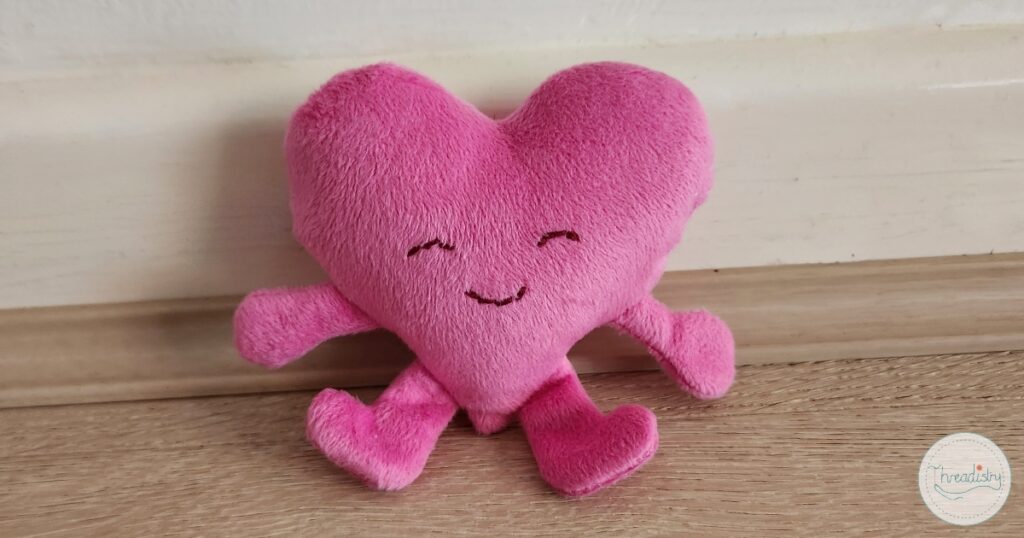
This little heart comes together quickly, but it’s amazing how much joy a tiny plush can bring. Whether it’s for Valentine’s Day, Galentine’s Day, or just because, your handmade heart is sure to make someone smile.
Looking for more heart sewing ideas? Check out this cute heart cushion.
Thank you,this is cute.God Bless.