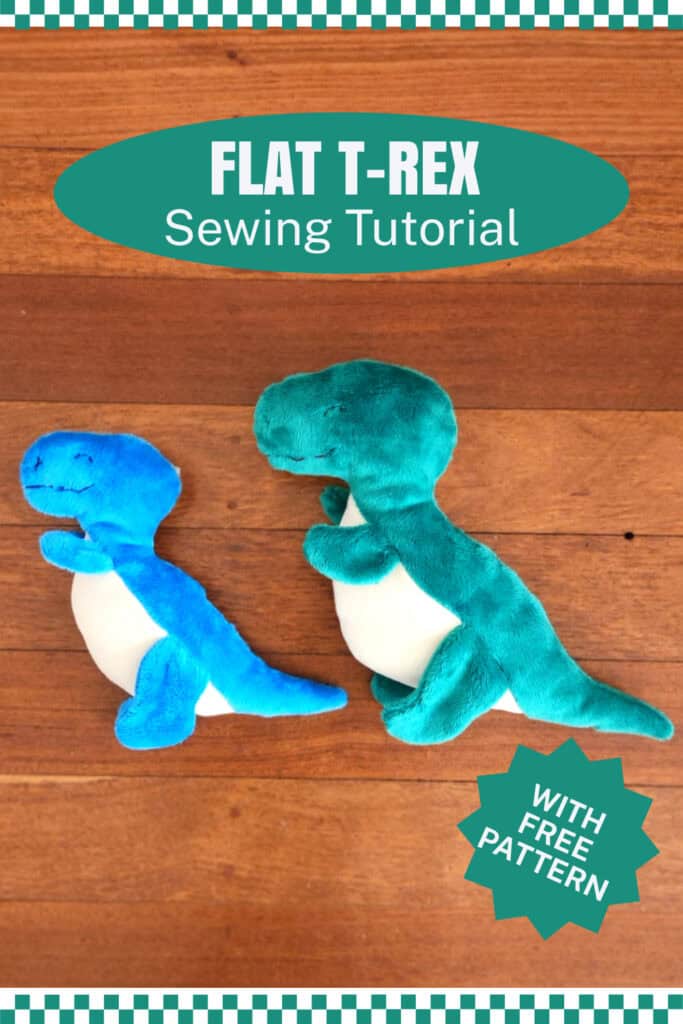
Flat T-rex plush sewing tutorial (with free pattern templates!)
Flat Dino is one of my most popular sewing tutorials, and lots of people asked for more dinosaur patterns. So here is my Flat T-Rex plush sewing pattern:
Disclosure: This post contains affiliate links. If you purchase after clicking these links, Threadistry may receive a small commission, at no cost to you.
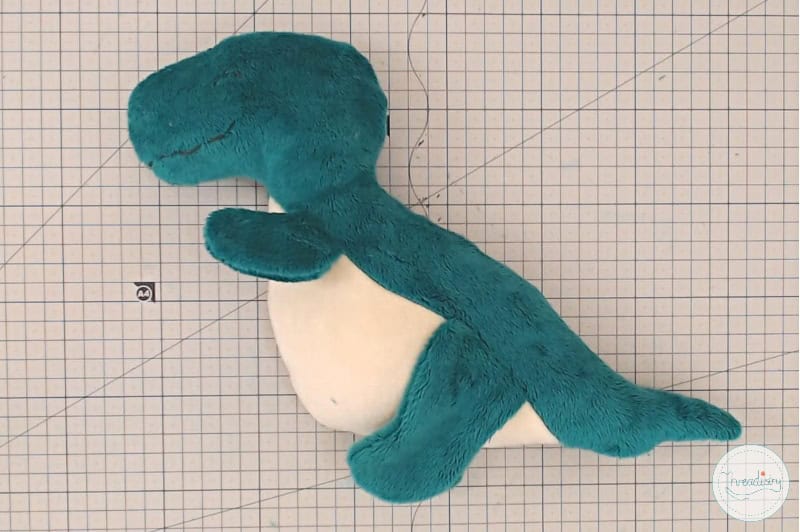
Like my other flat toy sewing patterns, it’s a simple, two-dimensional design. The legs and arms are sewn into the seam of the contrast belly panel, for an extra bit of detail.
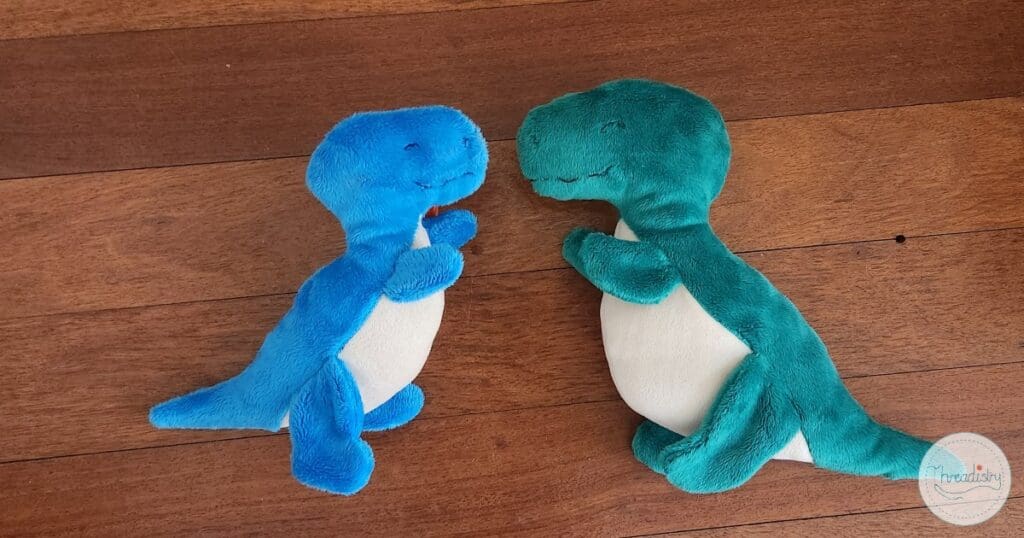
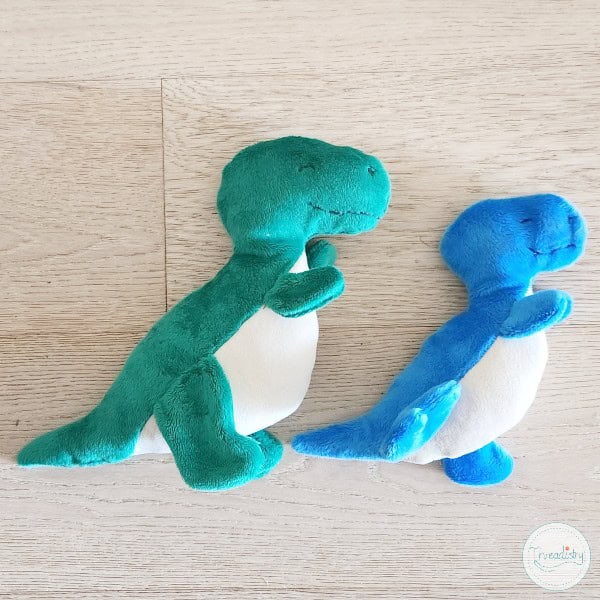
The blue one was my first prototype, but when I put it next to my Flat Dino plush, it look tiny and a bit ridiculous, not big and fierce. I try to keep my pattern pieces on one page, so there’s no cutting and taping patterns. But like Flat Dino, that wasn’t going to work.

But my (teenage) daughter thought the the original was super-cute, and convinced me that I should keep that size. So now the pattern comes in two sizes!. The small is 8 inches (20cm) tall and the large is 10.25 (26cm) tall. (And they look really cute together, so maybe you need to make both!)
You need less than a fat quarter of fabric for each size. And the face is a simple hand-embroidered design. The pattern is suitable for a confident beginner (depending on your fabric choice!)
Here’s how to sew a cute Flat T-rex plush toy:
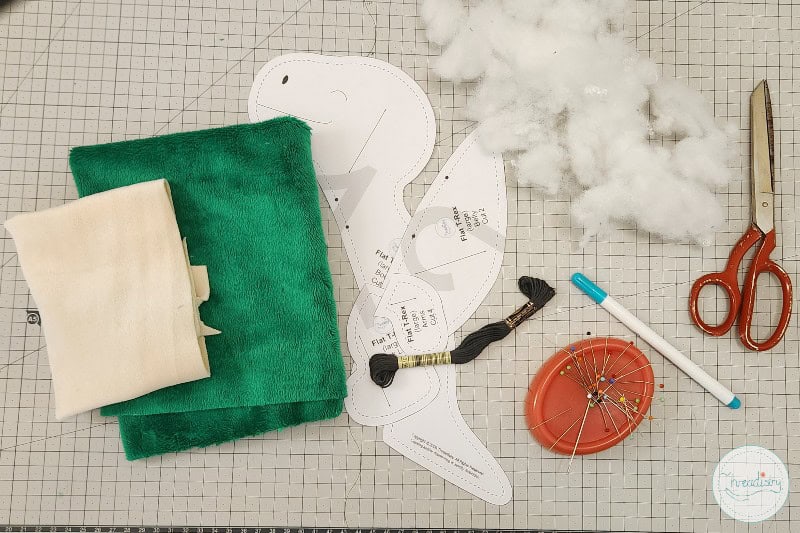
Supplies
The first thing you’ll need is your free Flat T-rex Plush template. Just enter your details below to join the Threadistry sewing community. Receive sewing projects, ideas and inspiration plus your FREE Flat T-rex Plush pattern template!
Want an ad-free printable PDF version of the Flat T-rex sewing pattern, including step-by-step photos? Head to the Etsy or the Threadistry store to purchase a copy at a low price.
Fabric
Large Main fabric (w x h): 20” x 16” (50cm x 40cm)
Belly fabric: 13” x 7” (33cm x 17cm)
Small Main fabric: 17” x 13” (42cm x 33cm)
Belly fabric: 11” x 6” (27cm x 15cm)
Notions
- Fiberfill (or your preferred stuffing material)
- Small amount of embroidery floss (for face)
- General sewing supplies (thread, needles, pins, scissors, rotary cutter and cutting mat, sewing machine)
Instructions
Watch the video or scroll down for the photo tutorial:
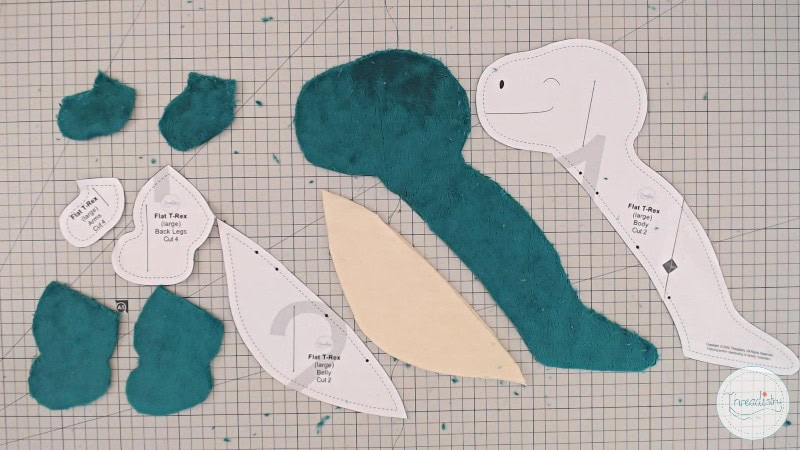
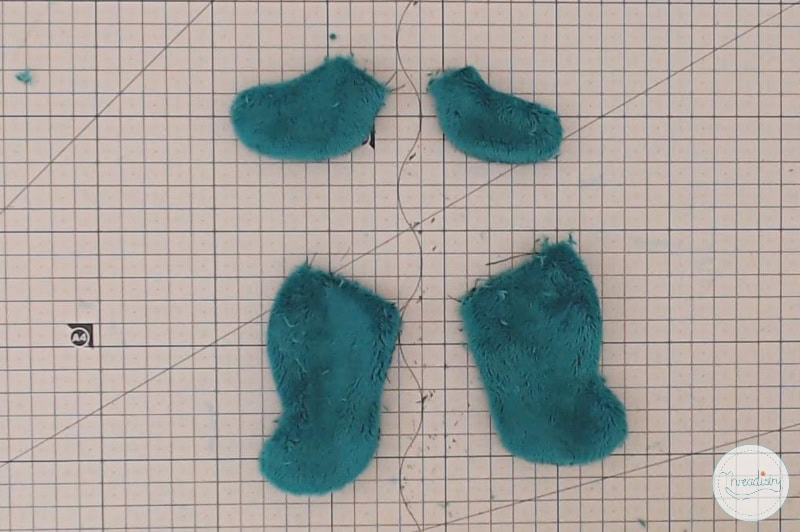
Step 1: Cut out pattern pieces. You’ll need:
- 2x Body (mirrored)
- 2x Belly (mirrored)
- 4x Front Legs (2 mirrored sets)
- 4x Back Legs (2 mirrored sets)
If your fabric has nap or is a directional print, ensure that it runs in the same direction for all pattern pieces.
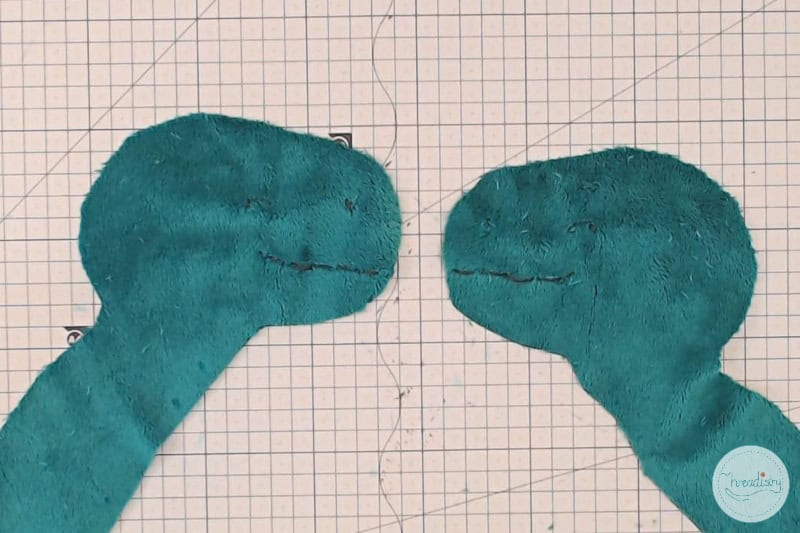
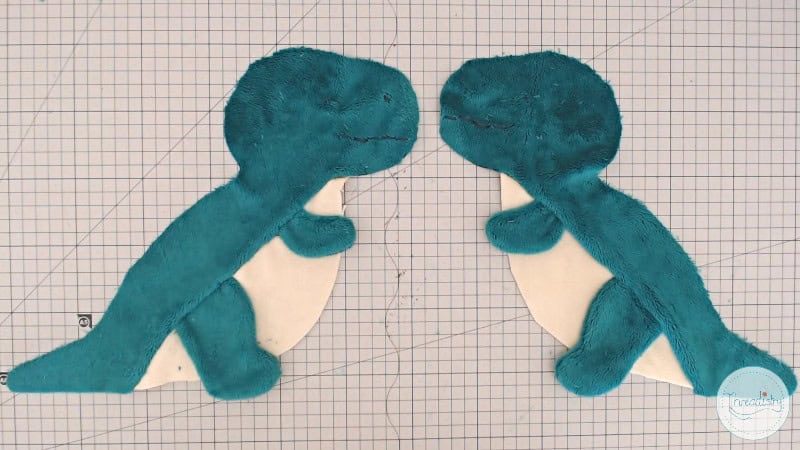
Step 2: Transfer the pattern markings, including the eyes, mouth, nose and the placement of legs and arms to the right side of the body and belly pieces.
Step 3: Embroider the eyes, mouth and nose by hand using a backstitch with 6 strands of embroidery floss.
Step 4: With right sides together, sew the outside of the leg pieces, with a 1/4 inch (6mm) seam allowance. Leave the side that attaches to the body open.
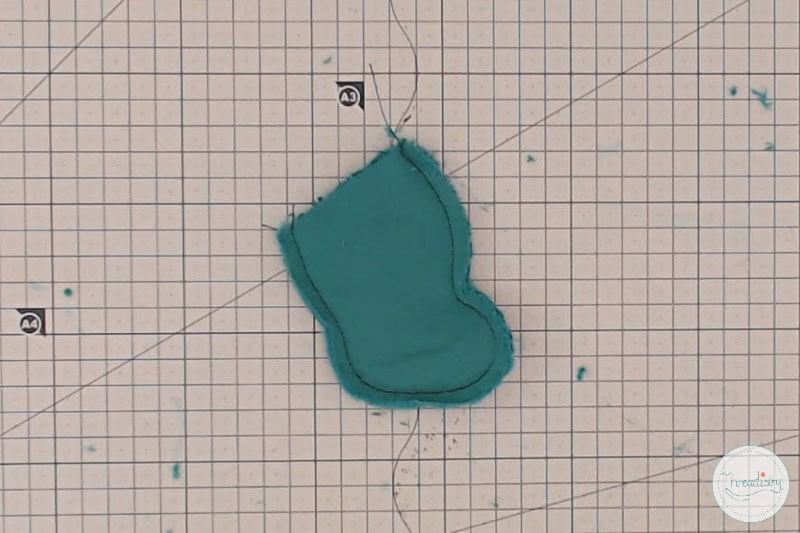
Step 5: With right sides together, sew the outside of the arm pieces, with a 1/4 inch (6mm) seam allowance. Leave the side that attaches to the body open.

Step 6: Turn the arm and legs right sides out.
Note: I didn’t stuff the arms and legs, so they sit flat against the body. You could lightly stuff them, if you prefer.
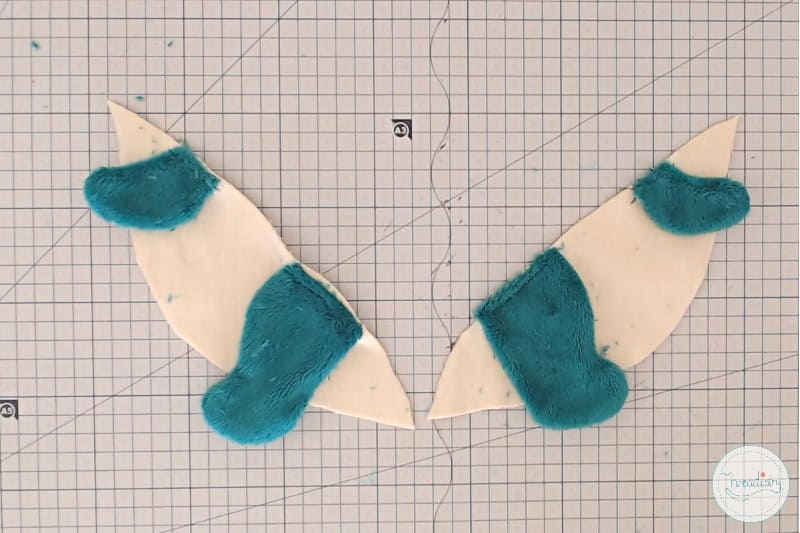
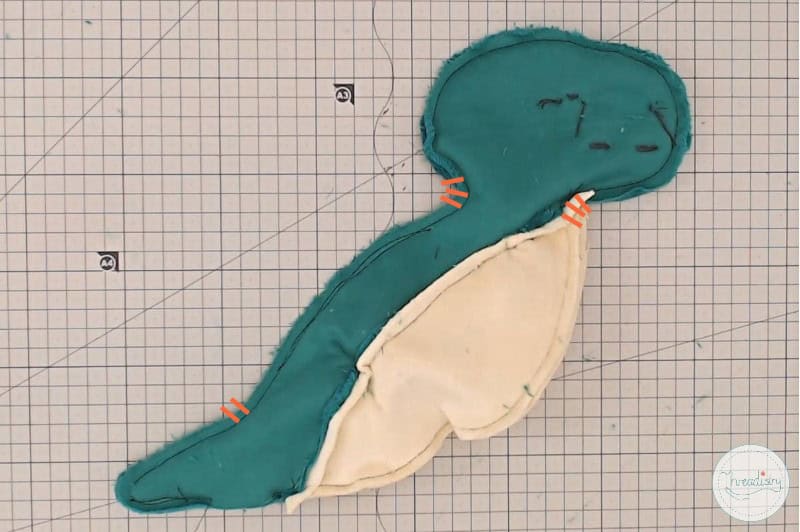
Step 7: Pin the arm and leg pieces onto the right side of the belly pieces, as per the pattern markings.
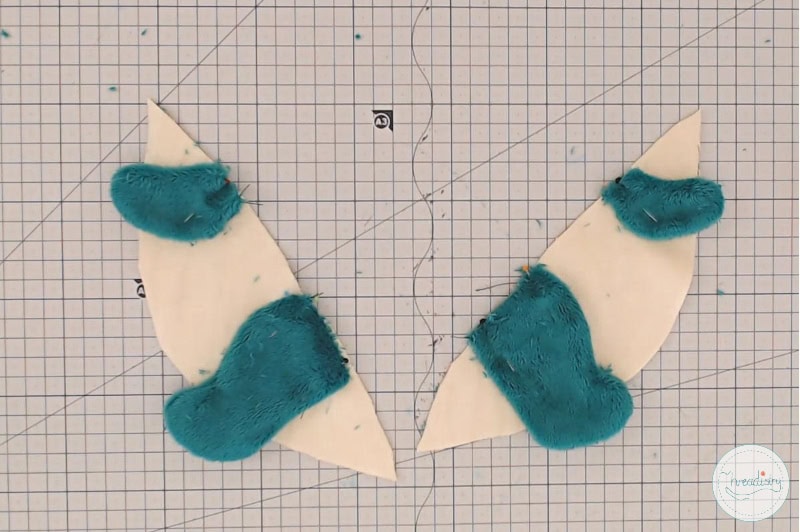
Step 8: Stitch into place with a basting stitch (by hand or on the sewing machine) just less than 1/4 inch (6mm) from the edge.
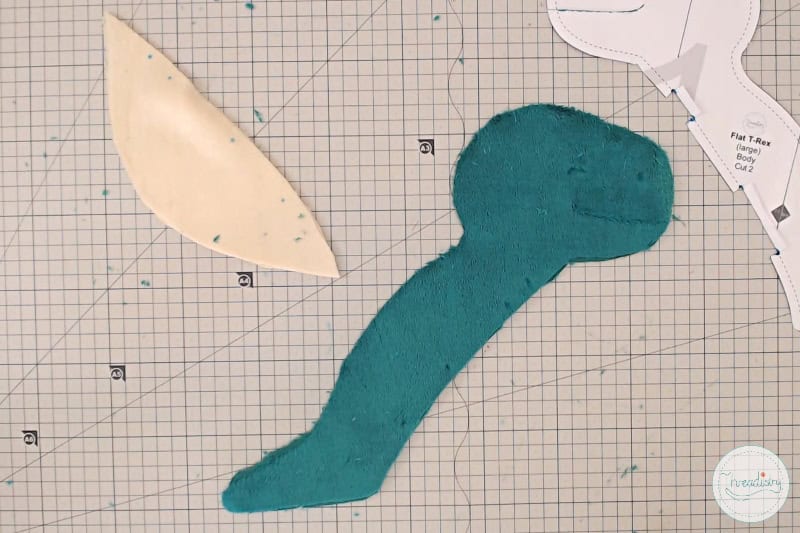
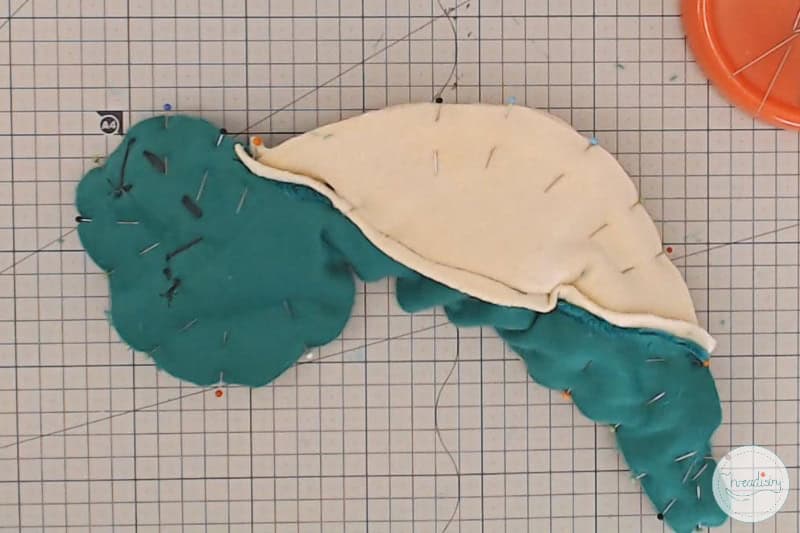
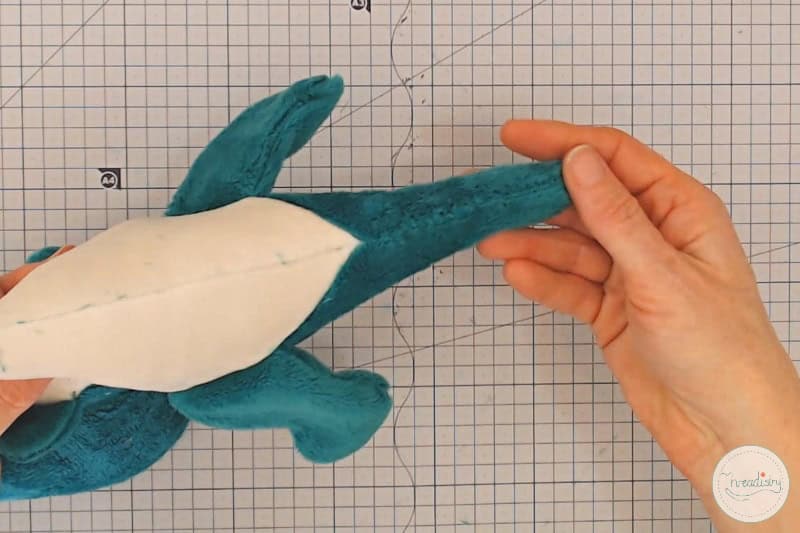
Step 9: With right sides together, pin the belly to the main body piece, lining up the arm and leg pattern markings. Sew into place with a a 1/4 inch (6mm) seam allowance.
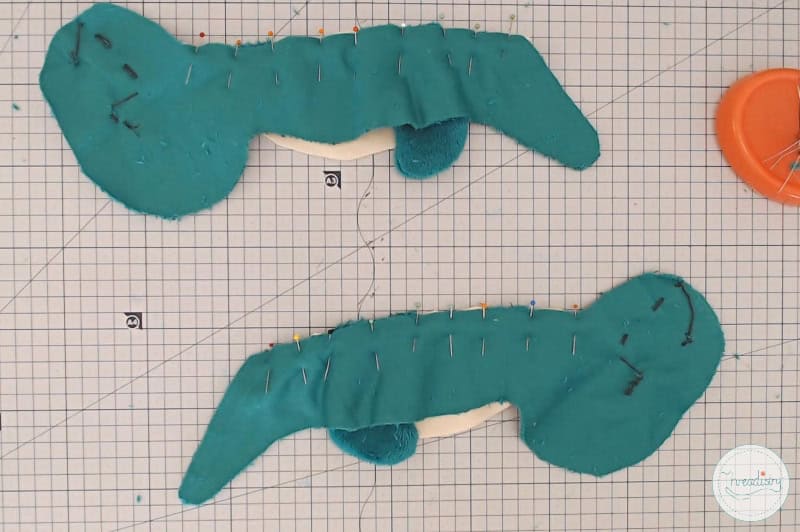
Step 10: With right sides together, pin the two body pieces together. Sew into place with a a 1/4 inch (6mm) seam allowance, leaving a 1-1.5 inch gap along the bottom of the tail for turning.
Step 11: Snip the seam allowance where the head and body meet, taking care not to clip the stitches. Trim the seam allowance and/or clip the curves, if required.
Step 12: Turn the dinosaur right sides out through the gap in the tail.
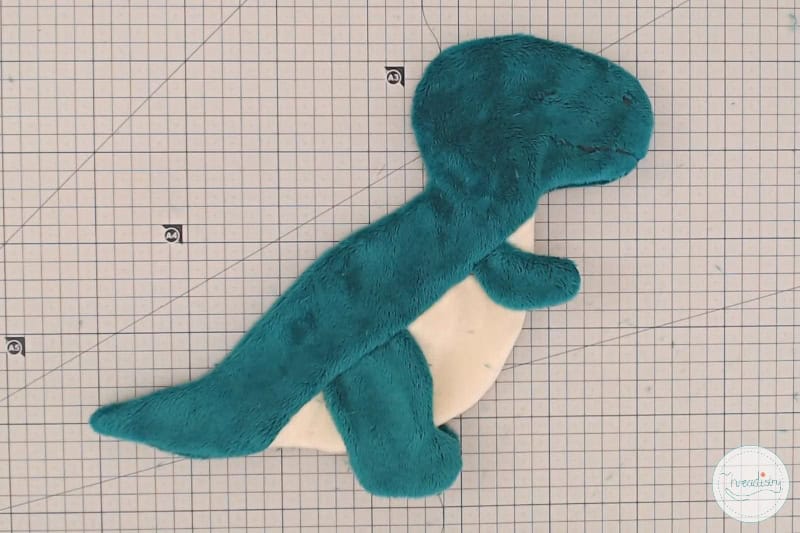
Step 13: Stuff the T-rex with your preferred amount of fiberfill. I recommend the snuggle test to get it just right: give it a quick cuddle to see how it feels. When it feels right, add just a little bit more to allow for the stuffing compressing over time.
Step 14: Hand-stitch the gap between the legs closed with a ladder stitch.
And it’s time to snuggle your cute and cuddly flat dinosaur plush. Or make another one in the other size (or maybe a flat dino too)!
Find even more adorable dinosaur sewing patterns here.