
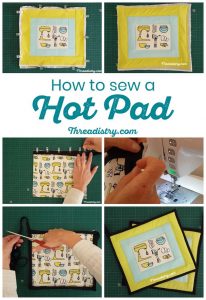
How to sew a pot holder: sewing for beginners
A pot holder or hot pad is a great sewing project for beginners. It uses only straight stitches, and is a practical item that everyone can use. Add a personal touch to your kitchen with this easy sewing tutorial. Watch the video or keep scrolling for the step-by-step tutorial for how to sew a pot holder.
Disclosure: This post contains affiliate links. If you purchase after clicking these links, Threadistry may receive a small commission, at no cost to you.
What materials do you use to make a pot holder?
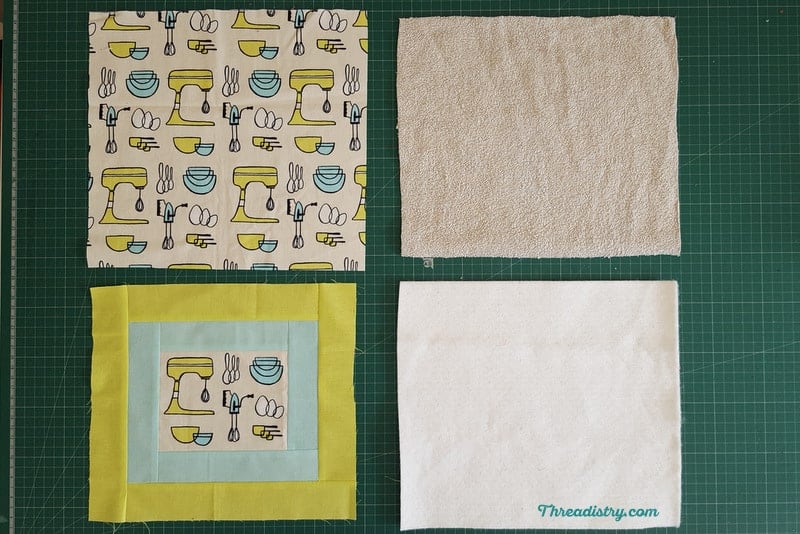
For a simple pot holder with binding, you need 3 things:
- Outer fabric made from natural fibres – quilting cotton is a great option.
Find kitchen-themed fabric at Fat Quarter Shop - Inner insulating material – I prefer to use one layer of Insul-Bright insulated lining and one layer of natural-fibre quilt batting (cotton or bamboo) or towelling. If you can’t find Insul-Bright, use two layers of natural-fibre quilt batting.
- Double fold bias binding – enough to go around your pot holder + 4 inches for a loop
You will also need basic sewing supplies: a sewing machine, thread, scissors or rotary cutter, pins or sewing clips.
While store-bought pot holders can be smaller, I prefer to make my pot holders 10 to 12 inches. This makes it much harder to burn your hand but is still a manageable size. A great scrap-busting project is to piece together fabrics or use a quilt block. For this tutorial, I’ve used a log cabin quilt block.
How to sew a pot holder
Cut your front fabric (or quilt block) to the desired sized.
Cut the two layers of insulating material approximately 0.5 inches bigger than the front fabric.
Cut the backing fabric another 0.5 inches bigger than the insulating material. This makes it easier to quilt all the layers and allows some shifting of the fabric whilst quilting.
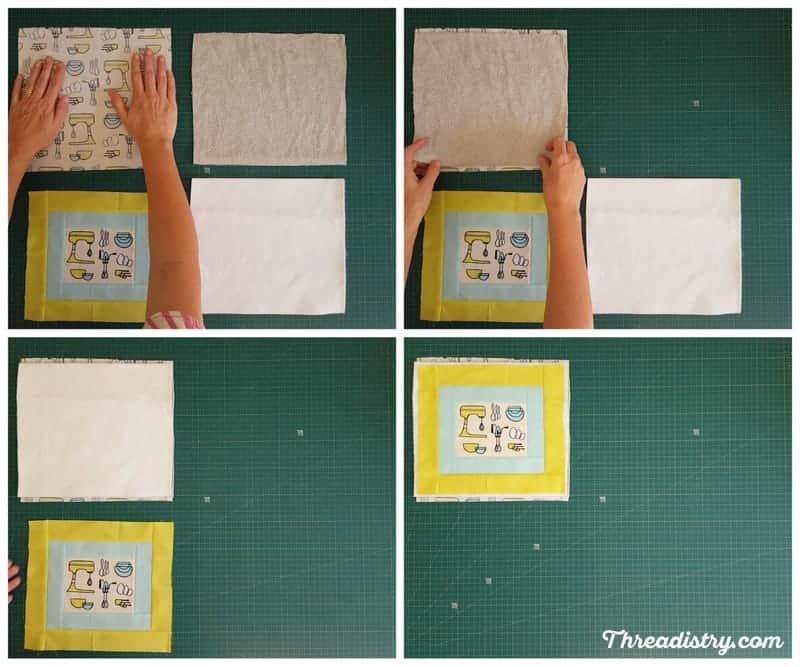
Place the backing fabric right side down. Place the batting or towelling on top, then place the Insul-Bright on top of that. Lastly place the front fabric on top.
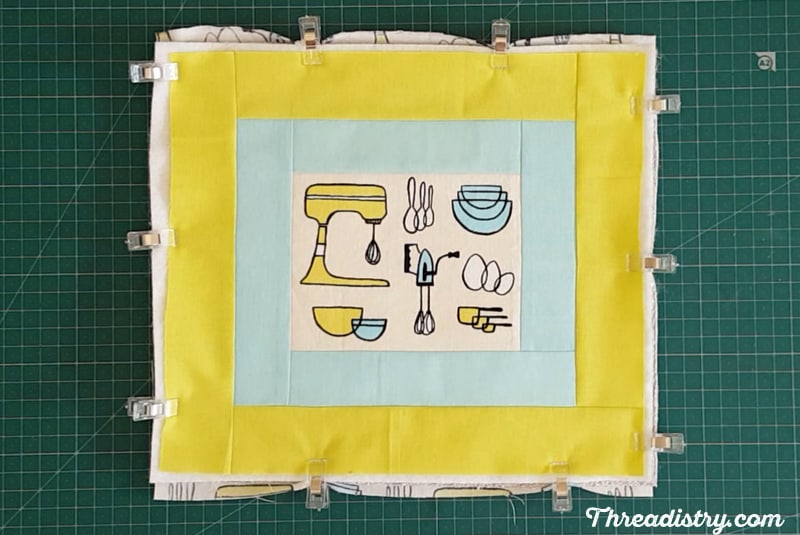
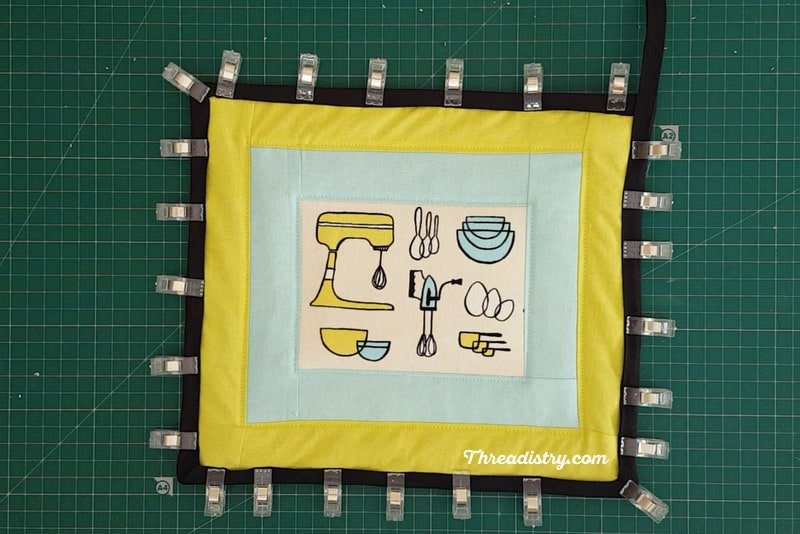
Pin or use wonderclips to hold all the layers together.
Quilt or sew through all of the layers in your preferred pattern eg horizontal, vertical or diagonal lines, stippling, or following the lines of the quilt block. Also sew around the outside of the pot holder, approximately 1/4″ from the edge of the top fabric – this will make binding the pot holder easier.

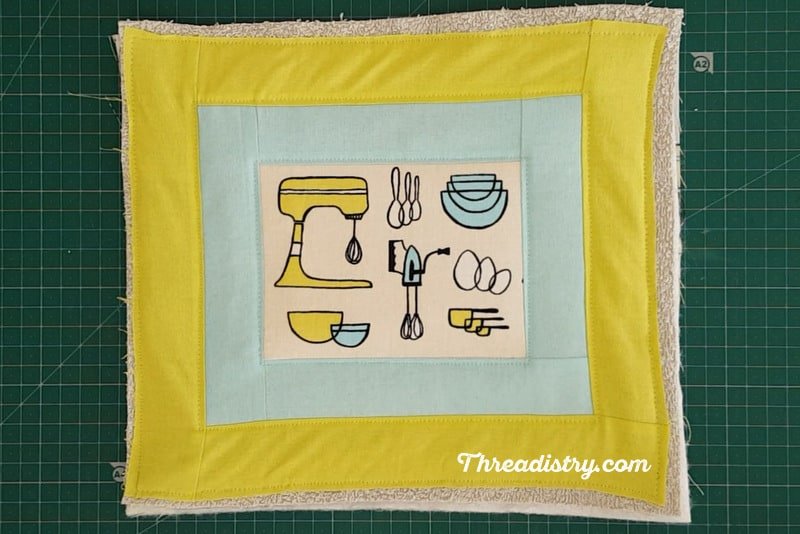
Trim the excess batting and fabric from your quilted pot holder.
How to bind a pot holder
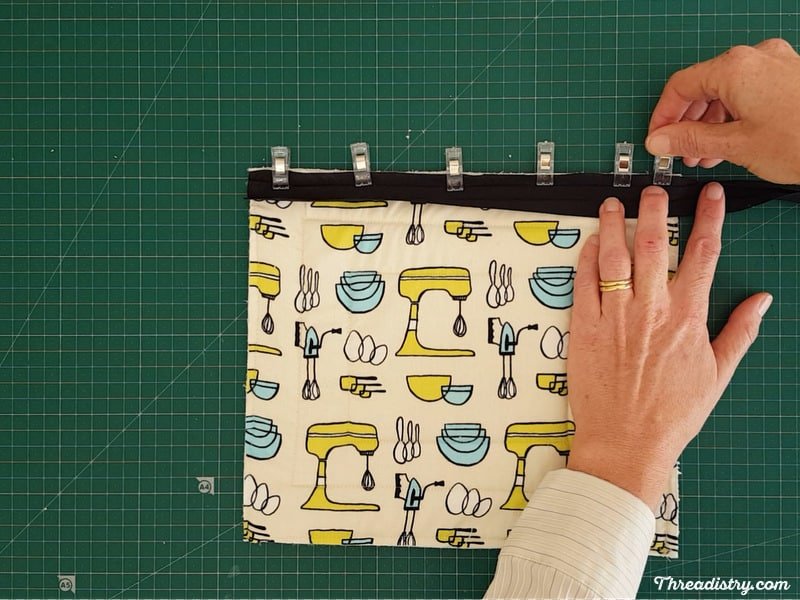
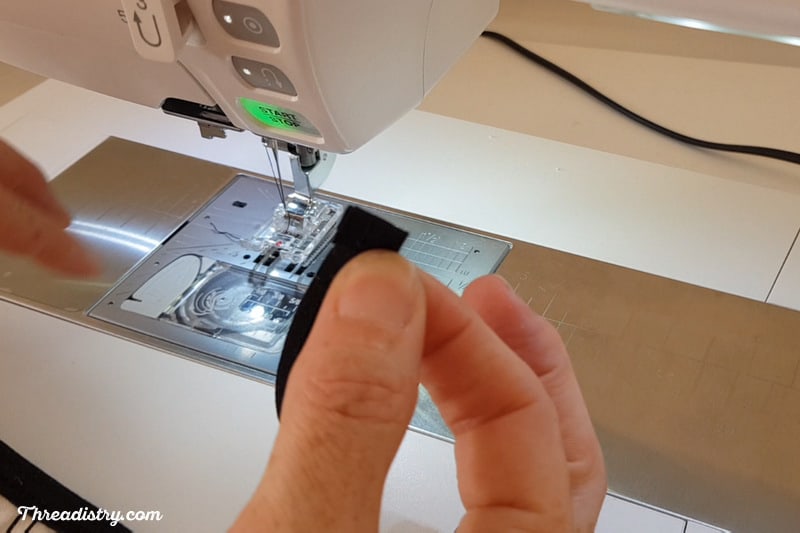
Unfold the bias binding and line up the edge with one corner of the pot holder on the backing side of the pot holder. Pin the binding along one edge of the pot holder.
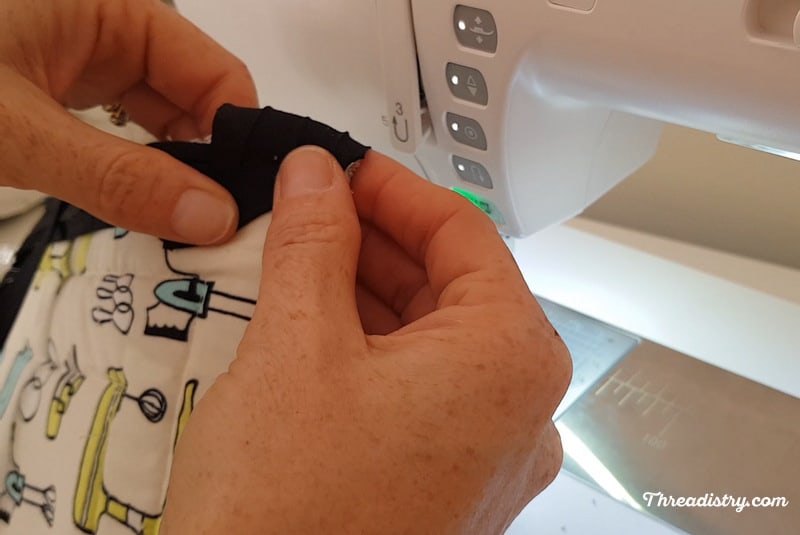
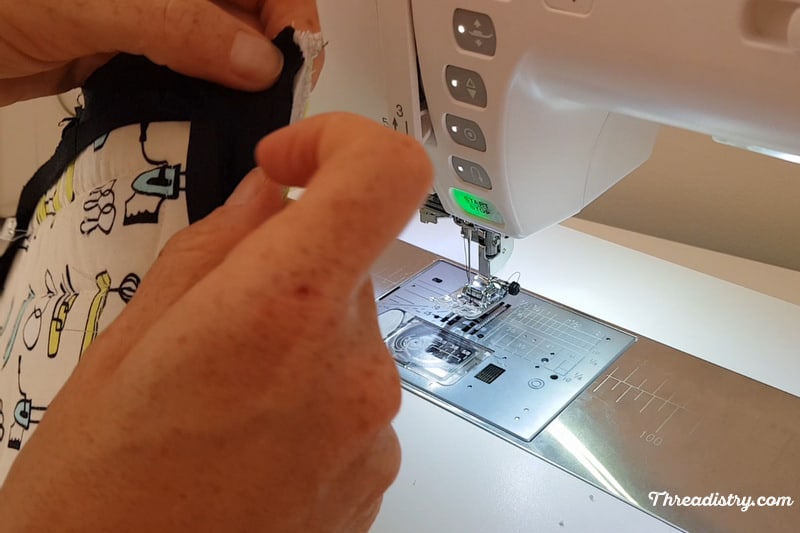
Sew the binding along that side in the first crease. Stop approximately 3/8″ away from the end of the fabric, and back-stitch or sew a locking stitch.
Fold the binding on a 45 degree angle from the corner upwards.
Then fold the binding down along the sewn edge of the pot holder, lining up the edge of the binding with the edge of the pot holder.
Repeat step 9 and 10 for the next two corners.
For the last side, sew the binding in place, stopping just before you reach the first side of the binding.
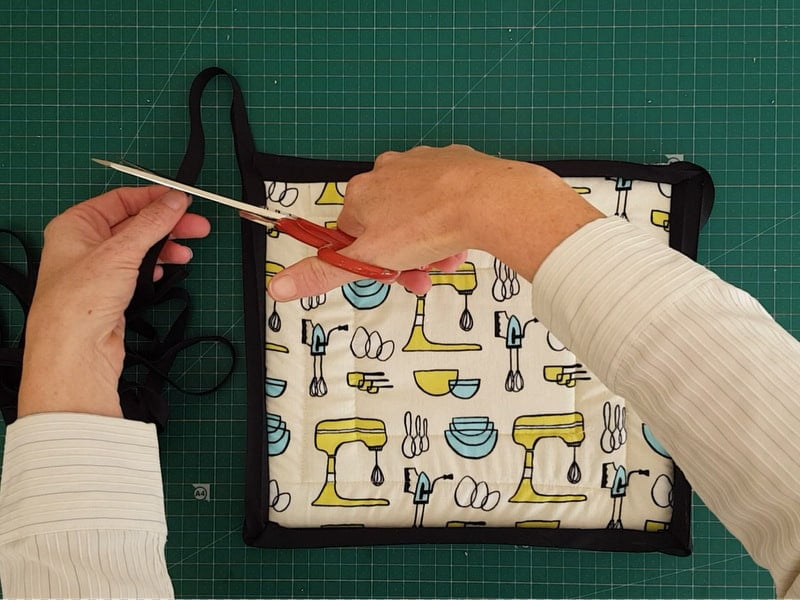
Trim any excess binding, leaving a tail of approximately 4 inches.
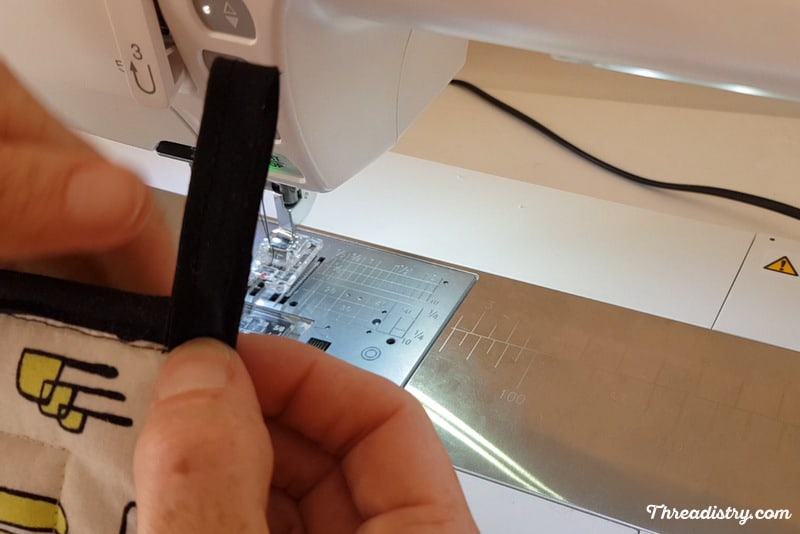
Flip the binding to the front of the pot holder and pin or clip in place, making sure the binding covers the previous row of stitching. Leave approximately an inch at the end.
Sew the binding in place. When you reach the last inch, fold in over the first section and sew to the end of the tail.
Fold under 1/2″ at the end of the tail. Create a loop by folding this in half and stitching in place at the corner of the pot holder.

Now you know how to sew a pot holder, when you’ve finished sewing, head to the kitchen and get cooking!
Looking for more beginner sewing projects?
- Check out the best beginner sewing projects here.
- Sew up a quick and easy placemat
- Update your home decor with these decorative pillow sewing patterns.